Low Voltage Landscape Lighting
Wiring brilliance into every bulb—master low voltage landscape lighting for large-scale installs without flickers, flops, or fried budgets.
How to Design a Low Voltage Landscape Lighting Layout (Pro Tips)
Designing low voltage landscape lighting isn’t just about plugging in pretty lights and calling it a night—it’s about wiring brilliance into every corner of your outdoor space. For folks managing big installs—think commercial patios or long winding garden paths—a sloppy plan can mean saggy brightness, flickering fixtures, and cables tangled like last year’s Christmas lights. Get it wrong, and you’re not just wasting power—you’re burning cash.
If you’re buying in bulk for a property portfolio or outfitting a public park, smart planning is your golden ticket. You’ll need to think like an electrician and dream like a designer: transformer placement matters, cable runs aren’t guesswork, and weatherproof gear isn’t optional—it’s survival gear.
Reading Notes on Mastering Low Voltage Landscape Lighting Design
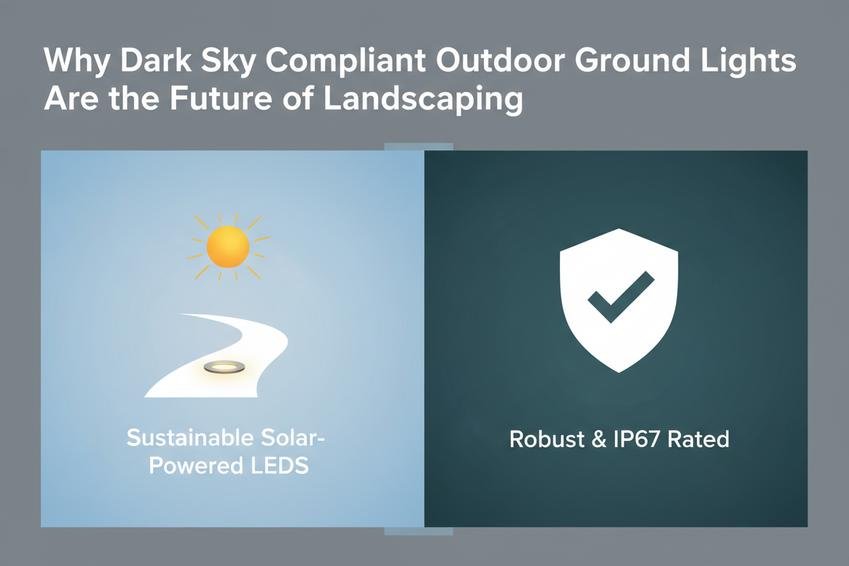
- Component Essentials: Use LED ground lights, directional spotlights, and recessed well lights to define ambiance and enhance safety across patios, paths, and facades.
- Transformer Strategy: Step-down transformers (12V AC or 24V DC) should be centrally placed within compatible voltage ranges to avoid inefficient power delivery.
- Smart Cable Routing: Sketch cable runs carefully—long distances require thicker gauges to prevent voltage drop in large-scale installations.
- Fixture Durability Matters: Choose housings made from cast aluminum, brass, or polycarbonate for reliable corrosion resistance and impact protection outdoors.
- Weatherproof Everything: Install IP67-rated composite cables with UV shielding for long-term performance in all weather conditions.
- Match Color Temperatures With Mood: Warm white 3000K LEDs invite relaxation; cool whites highlight architectural features—balance them based on application zones.
- Zone Mapping First: Plan by mapping key lighting zones such as garden paths or building exteriors before selecting fixtures or running wire.
- Load Balancing Tips: Distribute fixture wattage evenly across circuits to maintain consistent brightness—especially when mixing warm and cool white LEDs over distance.
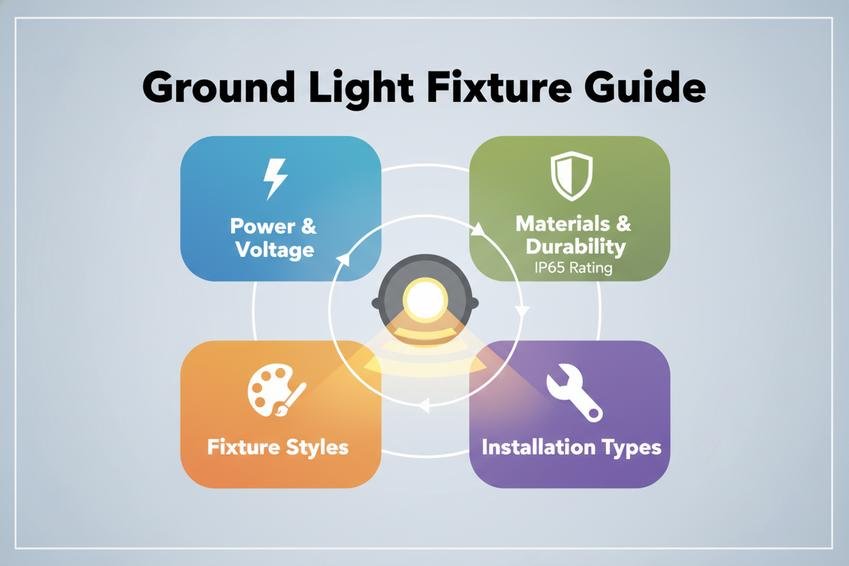
Key Components Of Low Voltage Landscape Lighting

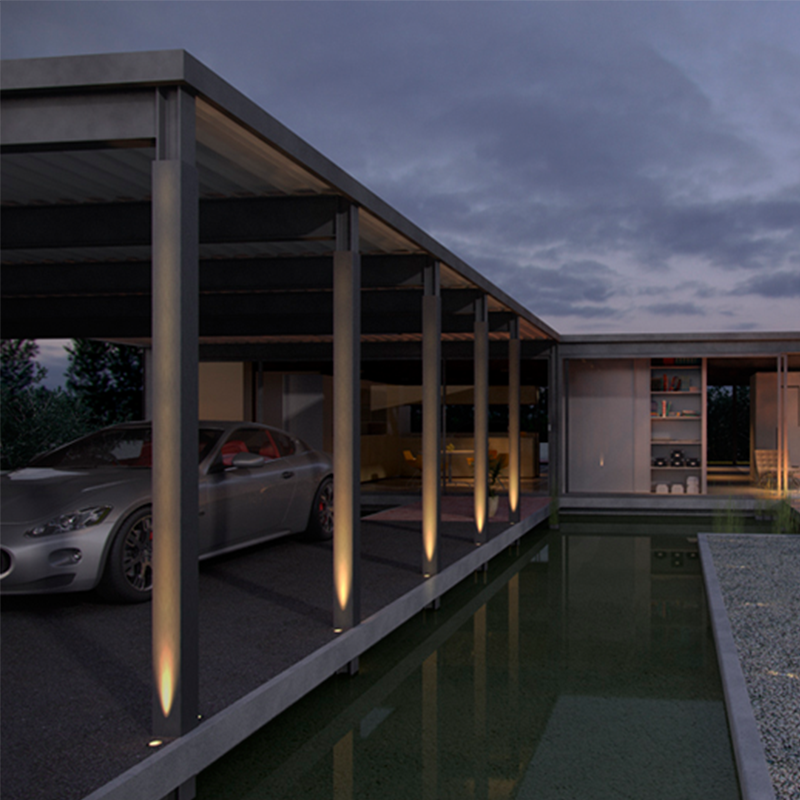
Elegant low voltage landscape lighting fixtures enhance garden aesthetics while providing functional illumination
Understanding the essential pieces of a low voltage setup makes outdoor lighting safer, longer-lasting, and easier to install.
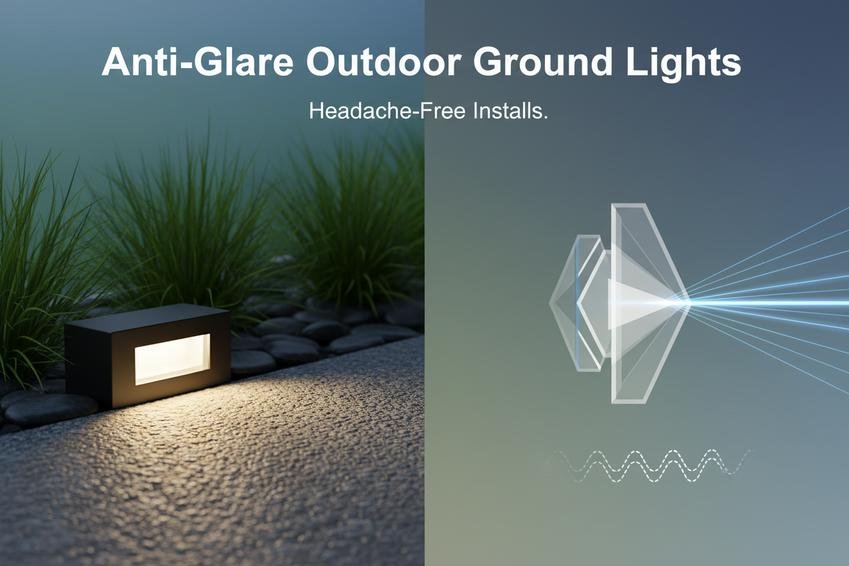
LED Ground Lights and Directional Spotlights for Accents

Recessed LED ground lights provide subtle pathway illumination while maintaining an unobtrusive daytime appearance
- Add subtle glow to walkways using LED ground lights with wide beam spreads.
- Use directional spotlights to highlight trees, sculptures, or walls.
- Go for adjustable heads to fine-tune angles after dusk.
1) LED ground lights are ideal for flush mounting along driveways or patios.
2) Directional spotlights work best when mounted slightly above ground level, angled upward.
3) Choose warm white LEDs (~2700K) for cozy vibes or cool white (~4000K) for crisp effects.
♦ Pairing both types of fixtures gives you layered lighting that feels intentional and never overdone.
The beauty of these accents? You can mix them up depending on mood or season—no need to stick with one style forever.
Short beam = focused drama. Wide beam = soft wash. That’s the trick when playing with focal points outdoors.
Step-Down Transformers: 12V AC and 24V DC Options

Low voltage transformer for landscape lighting systems
• A transformer is your gateway from standard household current down to safe low voltage—usually 12V AC or sometimes 24V DC.
• Most residential setups use 12V AC because it’s compatible with a broader range of fixtures and accessories like timers or dimmers.
• For more stable output over long cable runs, 24V DC might be worth considering—especially if you’re running multiple high-output LEDs across a large yard.
Multiple short descriptions:
– Mount your transformer near an exterior outlet.
– Always check its wattage capacity before wiring everything up.
– Use models with built-in timers if you want automatic control without extra gear.
– Keep it off the ground using brackets or mounts—it’ll last longer that way.
The right transformer keeps your whole system humming quietly while protecting against overloads and shorts—basically the unsung hero of any low voltage setup.
Durable Housings: Cast Aluminum, Brass, and Polycarbonate

Various materials used in outdoor lighting fixtures
1) Cast aluminum offers affordability plus decent corrosion resistance; great for dry climates but may oxidize near saltwater zones.
2) Brass housings are pricier but practically indestructible—they develop a natural patina over time that adds character rather than wear.
3) Polycarbonate, aka heavy-duty plastic, is surprisingly tough and UV-resistant—perfect where impact risk is high (kids + pets = chaos).
Short comparisons:
– Cast aluminum = lightweight + sleek finish.
– Brass = timeless + rugged longevity.
– Polycarbonate = budget-friendly + shatterproof flexibility.
If you’re going all-in on curb appeal, brass wins every time—but mixing materials based on fixture location can stretch your budget smartly without sacrificing durability.
Weatherproof Composite Cabling with IP67 and UV Protection

Weatherproof composite cable for outdoor lighting
• The backbone of any outdoor system is the cabling—and not just any wire will do here. You’ll need specialized low voltage wire, usually rated at IP67 or better for full-on weather protection.
• Look for cables marked “UV stabilized” so they don’t crack under sun exposure after just one summer season.
Grouped items:
- IP67-rated wires resist water intrusion during storms.
- Sun-safe insulation prevents brittleness from heat exposure.
- Flexible sheathing makes routing through mulch beds or under decks way easier.
- Thicker gauges handle longer distances without voltage drop (try 10AWG for big yards).
Also don’t forget solid connectors, which should be waterproof too—or else even top-notch wire won’t save you from corrosion headaches later on. Keep those connections tight and dry; your future self will thank you when everything still works flawlessly next spring!
By combining proper wiring with reliable gear like timers/controllers, photocells, and sturdy ground stakes, your entire low voltage landscape lighting setup stays solid through rainstorms, heatwaves—even rogue lawnmowers.
Five Steps To Plan Your Low Voltage Lighting

Strategic low voltage lighting transforms ordinary landscapes into captivating night-time vistas
Getting your low voltage landscape lighting right isn’t just about plugging things in—it’s about smart planning, smart gear, and smarter placement.
Map Your Zones: Garden Pathways to Building Facades
Lighting zones aren’t just fancy talk—they’re the backbone of a good setup. Here’s how you break it down:
- Pathways: These need soft yet clear illumination for safety at night.
- Entry points: Make sure doors, gates, and garage areas are well-lit but not blinding.
- Architectural features: Highlight walls, pillars, or textures using uplights.
- Garden beds & trees: Use spotlights or wash lights for depth and drama.
- Water elements: If you’ve got fountains or ponds, use waterproof fixtures with low glare.
Each zone should be planned with both function and mood in mind—don’t just light what you see; light what you want others to notice.
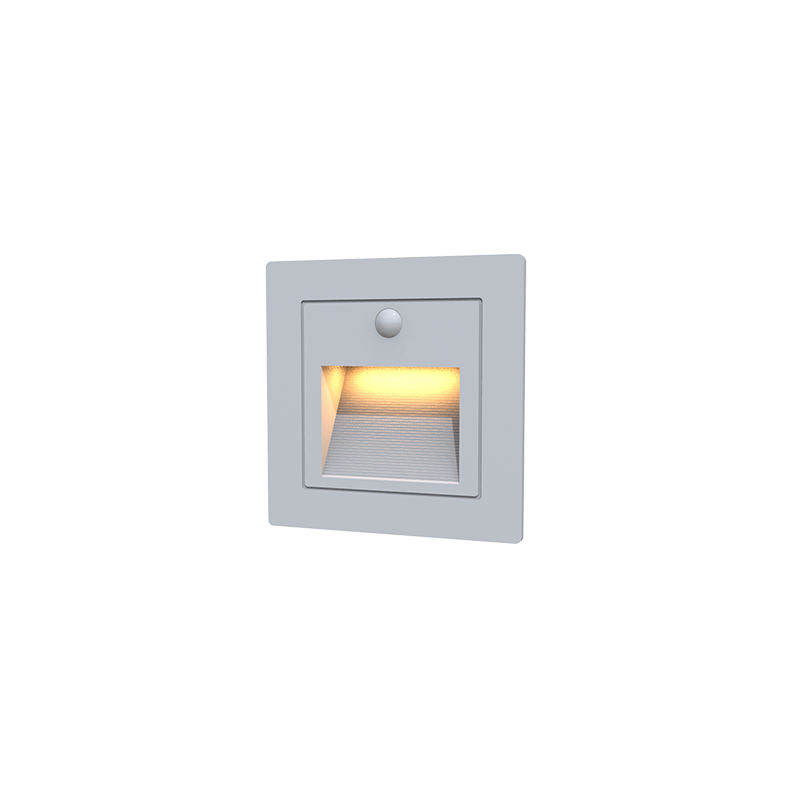
Choose LED Ground Lights for Pathway Lighting Fixtures

LED ground lights installed along a pathway
Choosing the right fixture isn’t about trends—it’s about longevity and clarity. Here’s why LED ground lights make sense:
- They offer serious energy savings without compromising brightness.
- LEDs last longer than halogens—less fuss on replacement.
- Their directional beam keeps walkways lit without spilling light everywhere.
For any solid installation, these fixtures are a no-brainer when it comes to illuminating high-use areas like walkways.
Plan Transformer Placement within Compatible Voltage Range
You can have top-tier lights—but if your transformer is off? Nothing works right. According to a recent report by LSI Research Group released March 2024, “Transformer misplacement accounts for over 35% of early system failures.”
So here’s how to keep yours dialed-in:
• Keep transformers close enough that voltage stays stable—ideally within 100 feet of the farthest fixture.
• Choose one that matches your total wattage but still leaves headroom—about +20%.
• Avoid placing them where water pools or heat builds up; ventilation matters.
Proper transformer design ensures smooth power flow across all fixtures—and prevents annoying flickers or dimming.
Sketch Cable Runs to Prevent Excessive Voltage Drop
Voltage drop kills performance—and it sneaks up on you if cables aren’t mapped out properly. Here’s how you stay ahead:
- Use thicker gauge wire the farther your run goes.
- Break long runs into multiple branches rather than one big loop.
- Try T-connections instead of daisy chains—they distribute power more evenly.
This part of your lighting wiring plan may not be sexy—but it’s essential if you want consistent brightness from start to finish.
Verify Component Ratings: Corrosion Resistance and Impact Resistance
Outdoor gear takes a beating—from weather, foot traffic, even lawnmowers gone rogue. So don’t skimp here:
Rain? Go corrosion-resistant housing only.
Kids playing soccer nearby? Get impact-rated lens covers.
Live near saltwater? Marine-grade finishes are non-negotiable.
Everything from connectors to screws should meet outdoor-grade standards—you’re not just building pretty lights; you’re building something that’ll last through seasons of wear-and-tear without constant maintenance headaches.
Prevent Voltage Drop In Low Voltage Outdoor Lighting

Professional voltage drop calculators help ensure consistent lighting performance across your entire landscape system
Keeping your low voltage outdoor lighting running bright and steady isn’t just about plugging things in—it’s about smart planning, wiring, and load balancing.
Calculating Voltage Drop in 12V AC Landscape Systems
- A 12V system is sensitive—drop even a couple of volts, and your lights dim out fast.
- Measure total wire length from transformer to farthest fixture and back again.
- Use the formula: Voltage Drop = (Current × Length × Resistance) ÷ 1000.
- Keep total drop under 10% of 12V—so no more than 1.2V lost end-to-end.
- Use a voltage tester at the last fixture to confirm actual readings during peak load.
Choosing Cable Gauge and Material for Long Runs

Low voltage landscape lighting cable with connectors
When you’re stretching out across big yards or long driveways, cable choice is everything. Here’s how to keep your lights shining bright:
• Larger distances? Go thicker—use 10-gauge instead of standard 12-gauge for anything over 100 feet.
• Copper beats aluminum every time when it comes to conductivity—less resistance means less voltage drop.
• Bury cables deep enough to avoid damage but not so deep they’re impossible to reach later (typically around 6 inches).
• Avoid splicing wires mid-run unless absolutely necessary; each connection adds resistance.
| Distance (Feet) | Fixture Load (Watts) | Recommended Gauge | Estimated Voltage Drop |
|---|---|---|---|
| Up to 50 | <100 | 12 AWG | ~0.5V |
| Up to 150 | <150 | 10 AWG | ~1.0V |
| Over 200 | >200 | 8 AWG | ~1.5V |
Locate Step-Down Transformers at Safe Low Voltage Points
Think of your transformer like the heart pumping power through arteries—it needs smart placement or things get sluggish fast.
- Place it as close as possible to the center of your lighting layout.
- For larger yards, consider multiple smaller transformers rather than one massive unit way off in a corner.
- Always mount on a solid surface away from direct water contact—safety first!
- Ensure it’s rated for outdoor use with proper weatherproofing.
- Keep all wiring connections inside waterproof junction boxes near the transformer.
- Use a timer or photocell with the transformer for automatic control without manual fussing.
Balance Fixture Loads between Warm White and Cool White LEDs
Balancing different types of LED fixtures isn’t just an aesthetic decision—it helps manage electrical loads too.
- Start by grouping similar wattage fixtures on the same circuit loop—don’t mix high-wattage cool whites with low-wattage warm whites randomly.
- Aim for symmetry: if you’ve got six warm white LEDs on one side, try matching that number with cool whites on the other side of the yard.
- Use split wiring paths from the transformer so one doesn’t hog all the juice while another dims out halfway through dinner guests arriving.
- Test each group individually using a voltage tester, checking brightness uniformity across all zones before final burial of wires.
- Be mindful that even though LED lights are low draw, stacking too many on one line can still overload thin wires and cause uneven performance in your low voltage landscape lighting setup.
By keeping these tips tight, you’ll avoid flickers, save energy—and make sure every evening glow is just right every time you flip that switch.
Patio Ambiance With Low Voltage Landscape Lighting

Low voltage lighting transforms outdoor spaces into inviting evening retreats with subtle, warm illumination
Turn your backyard into the ultimate hangout zone with smart, stylish tweaks using low voltage landscape lighting.
Dinner Gatherings: Warm White 3000K LED Ground Lights
For laid-back dinners under the stars, warm white ground lights make all the difference. Here’s how they shine:
- Warm white 3000K tones create a cozy vibe that feels like candlelight without the hassle.
- Tuck LED ground lights along walkways, under benches, or beside flower beds for subtle glow.
- Pair with dimmable transformers to adjust brightness depending on mood or meal.
- Choose weatherproof fixtures to keep things low-maintenance and long-lasting.
- Use timers so your setup turns on automatically just before guests arrive.
- Combine with soft deck lighting for layered warmth across dining zones.
These small upgrades using outdoor lighting not only elevate aesthetics but also improve safety and comfort during evening meals.
Game Night Lighting with Recessed Well Lights
Game nights outdoors? Dial up the fun—and visibility—with recessed well lights that blend right in.
• Recessed lights stay flush with the ground—no tripping hazards here.
• Their focused beams highlight game tables without blinding glare.
- Install beneath seating areas for under-glow effects that double as ambient light.
- Add around cornhole boards or dart setups to define play zones clearly at night.
– Want extra flair? Mix in color-changing LEDs controlled by app-based systems.
According to a 2024 report by Outdoor Living Trends Monitor, “Homeowners who invest in integrated lighting solutions see a 23% increase in patio usage after dusk.” That’s reason enough to rethink your current setup using smartly placed recessed well lights, part of any solid path lighting strategy.
Adjustable Flood Lights for Customizable Patio Ambiance
Adjustable floodlights are like mood rings for your backyard—here’s why they’re essential:
Change angles easily — spotlight trees today, illuminate lounge chairs tomorrow.
Shift brightness levels — go bold during parties, mellow during late-night chats.
Use motion sensors — saves energy while adding an extra layer of security.
And don’t forget: pairing them with other types of spotlights, like those mounted near pergolas or fences, lets you balance drama and function effortlessly when working with segmented setups of low voltage landscape lighting systems.
One tweak at a time and suddenly your patio isn’t just lit—it’s alive.
FAQs about Low Voltage Landscape Lighting
Frequently Asked Questions
What materials hold up best for outdoor lighting fixtures?
Durability matters when your lights face rain, sun, and time. Some metals just handle it better:
- Brass: Tough as nails and corrosion-resistant—perfect near the ocean or in damp climates.
- Cast aluminum: Lightweight but still strong; a favorite for general use.
- Polycarbonate lenses: These don’t crack easily, even if kids kick a soccer ball right into them.
Each material has its own personality—choose based on where you live and how much wear-and-tear your setup will see.
How do I avoid voltage drop across long cable runs?
Voltage drop sneaks in silently—it dims lights farthest from the transformer. To fight back:
- Use thicker wires like 10 AWG when distances stretch out.
- Keep fixture spacing smart to balance power draw evenly.
- Plan cable paths that cut down unnecessary length between the transformer and each light.
A little planning upfront saves you from flickering frustration later on.
Why are LED ground lights considered better than halogen bulbs now?
LEDs have quietly taken over—and with good reason. They sip electricity instead of guzzling it, last years longer without burning out, and stay cool under pressure (literally). Halogens might give off warmth in color temperature—but they also give off heat that wastes energy. LEDs play nicer with low-voltage systems too—they’re built for efficiency at every level.
Once you’ve seen their glow night after night without fail—you won’t go back.
Can directional spotlights work well for commercial projects?
Absolutely—and not just because they look sharp doing it:
- Spotlights can highlight architectural details or signage after dark.
- IP67-rated housings protect against dust storms or sudden downpours.
- Cast aluminum or stainless steel bodies keep things sturdy even in high-footfall areas like plazas or entryways.
They bring drama to buildings while keeping pathways safe—a rare combo of form meeting function perfectly.
Where should transformers be placed in large installations?
Think of transformers as quiet conductors behind the scenes—they need strategic placement so every note hits clearly:
Place them close to clusters of fixtures rather than hiding one big unit far away. If you’re lighting up an entire park or campus area, consider multiple smaller units spaced around zones instead of forcing long wire runs from a single point. This keeps brightness consistent no matter where someone walks through your space at night.
Power doesn’t travel forever—so help it along by breaking things into manageable sections.
Is weatherproof cabling really necessary outdoors—even under cover?
Yes—and here’s why: Moisture doesn’t care if there’s an awning overhead. UV rays sneak past tree branches too. Weatherproof cables shield against all this—not only water but soil acidity during direct burial installs. Look for cables rated IP67 with UV protection baked right into their jackets so they won’t dry out and crack over time.
Even partially protected setups deserve full protection underneath—it’s what keeps everything glowing year-round without surprises underground.