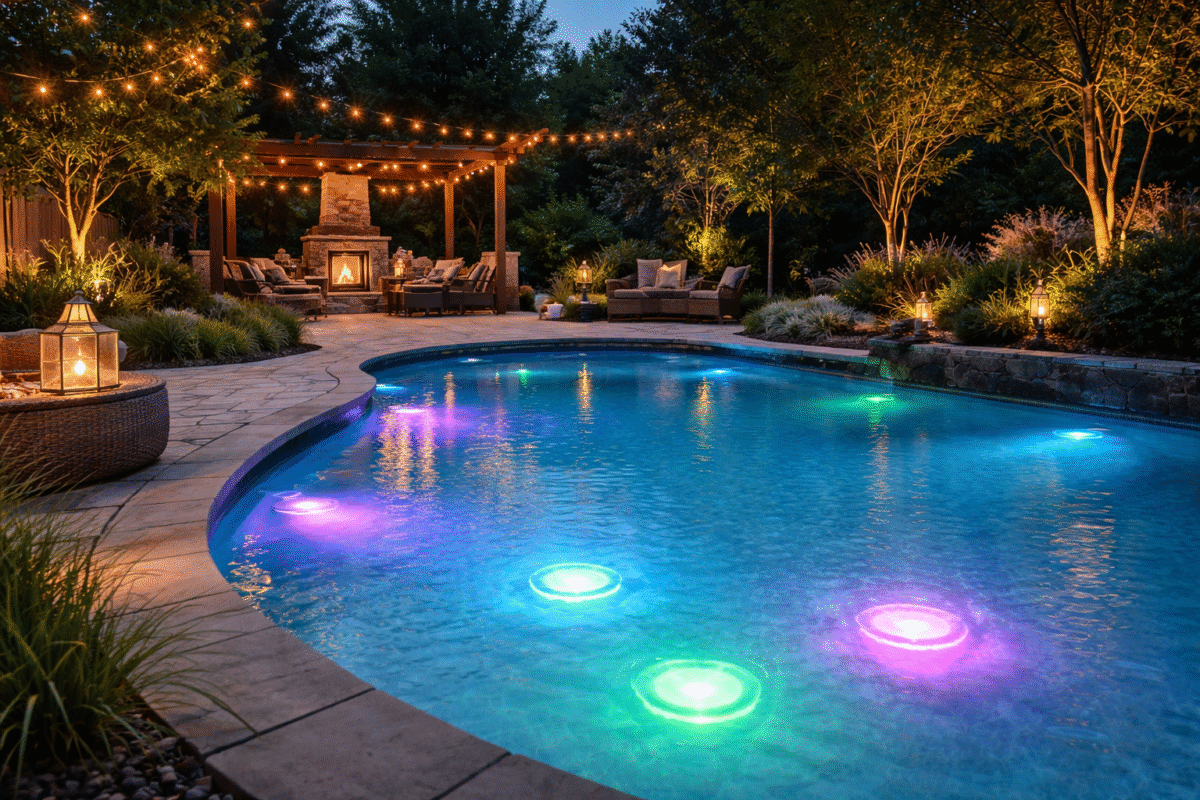
Installing pool lights for inground pool setups is a pretty straightforward DIY project if you follow the right steps. First things first, always shut off all power at the breaker before you touch anything—safety can’t be an afterthought. Working with electricity and water is risky; faulty wiring or a leak can easily cause a shock or even start a fire. Take a look at this table for some common safety pitfalls to avoid:
|
Safety Incident |
Description |
|---|---|
|
Electrical Safety Risks |
Incorrect installation of pool lights for inground pool can cause electric shock or fire. |
|
Water Leakage |
Water entering the pool lights for inground pool can damage them and create hazards. |
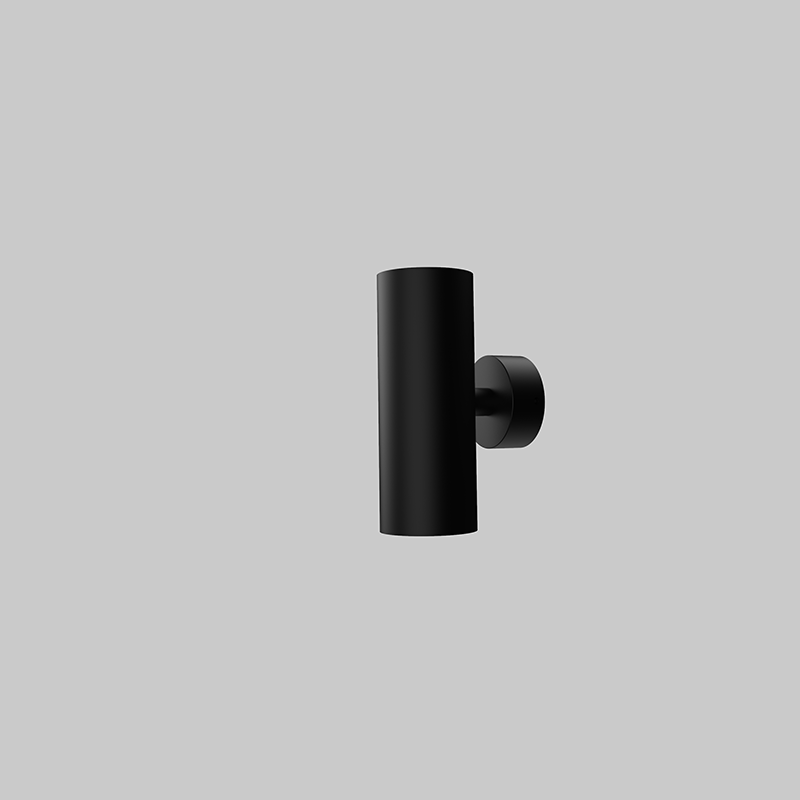
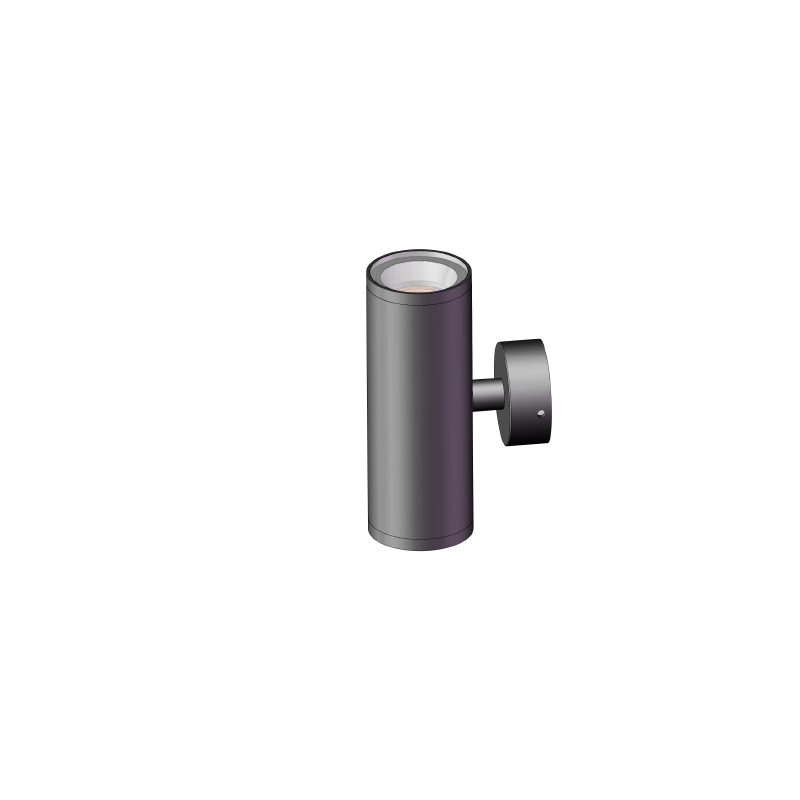
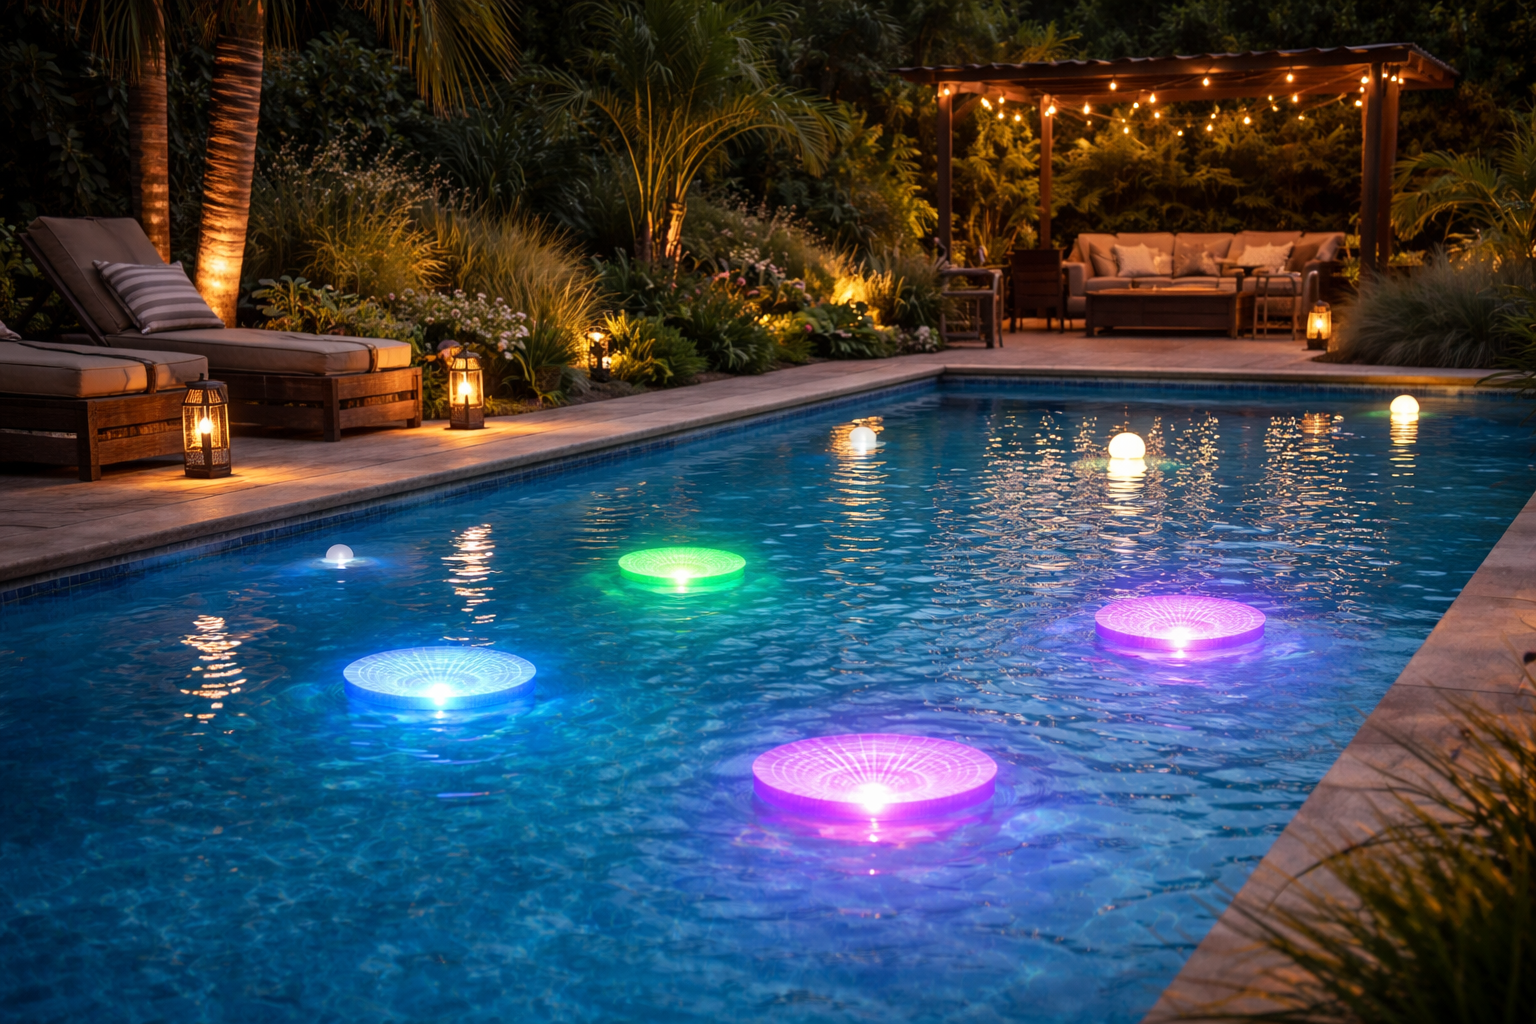
Next up, you’ll need to pick the right inground pool lights. For a new build, flush-mounted lights are usually the way to go. If you’re upgrading an existing pool and don’t want to drain it, surface-mounted LED lights are a fantastic choice for a retrofit. Once they’re in, keep an ear out for any odd buzzing or flickering from your pool lighting—those are telltale signs something’s wrong. Get it all done right, and you’ll have a beautifully lit, safe space for evening swims.
Key Takeaways
- Safety first! Always cut the power at the source before working on any pool lights for inground pool.
- Choose the best lights, like energy-efficient LEDs, for longer life and lower bills.
- Install lights 12 to 16 inches below the waterline for optimal safety and visibility.
- Always follow local electrical codes and use GFCI protection for a safe installation.
- Check and maintain your inground pool lights regularly to prevent issues and keep your pool bright.
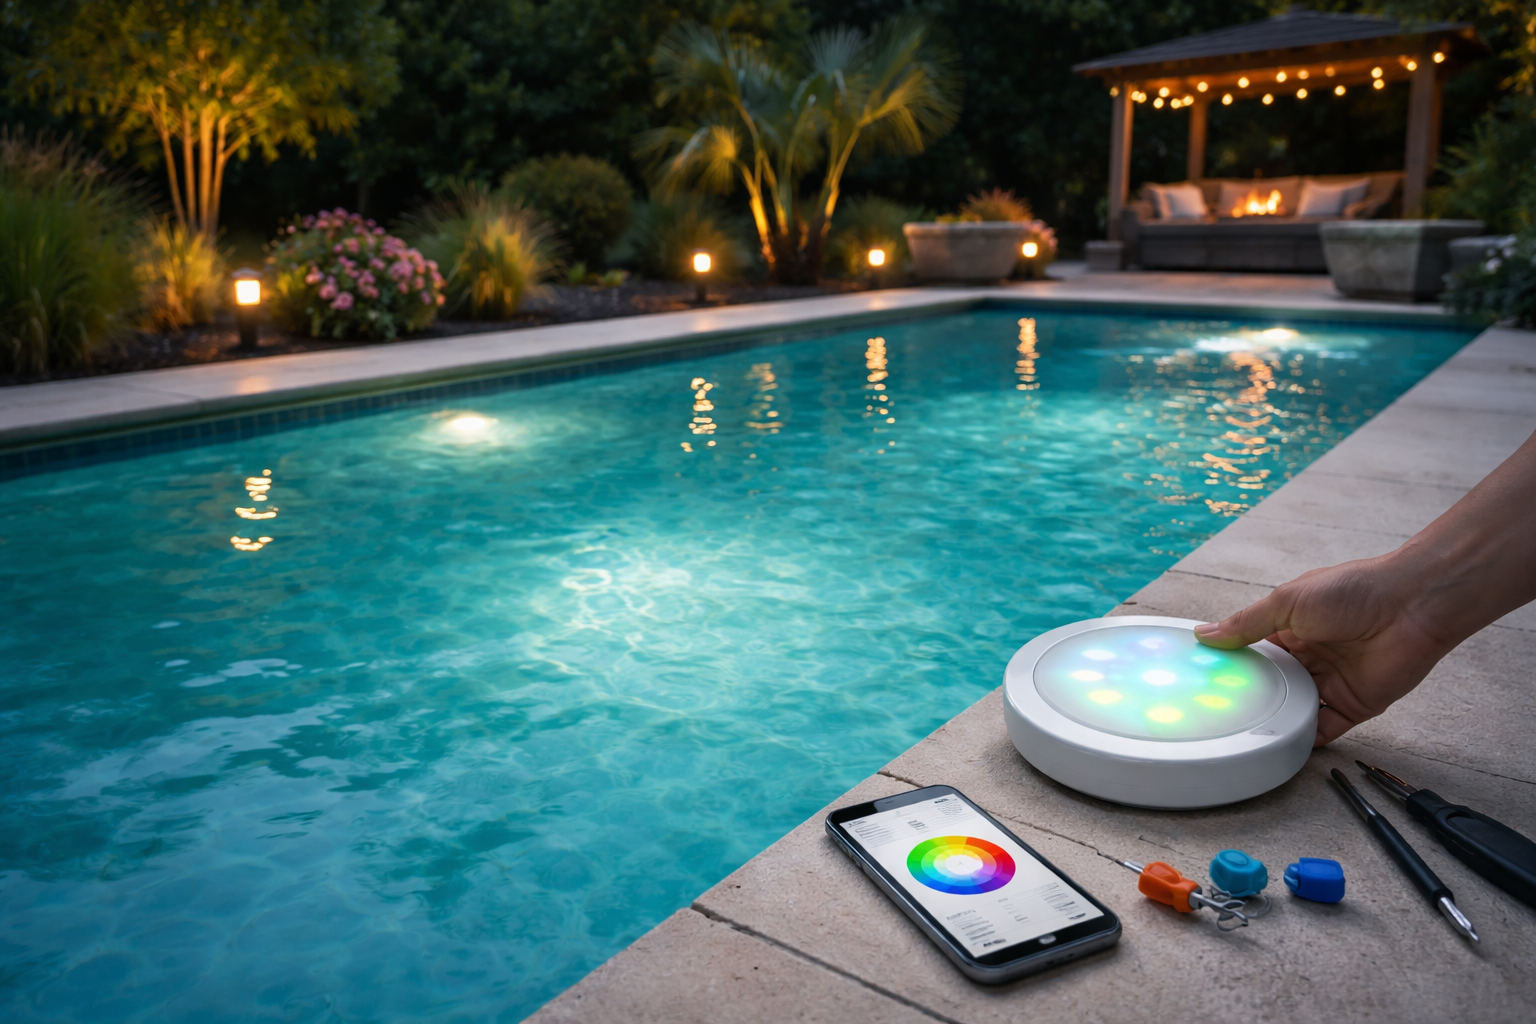
Choosing Pool Lights for Inground Pool
Choosing the Right Pool Lights for Your Inground Pool
When you’re looking for pool lights for inground pool setups, you’ll come across a few main types. Each has its own benefits. Here’s a quick comparison of the most popular options:
|
Type of Light |
Features |
Energy Efficiency |
Lifespan |
|---|---|---|---|
|
Halogen Lights |
Bright, good for large pools, lower cost |
Less efficient |
Shorter |
|
Fiber Optic Lights |
Cool to touch, easy to maintain, decorative |
Varies |
Varies |
|
Solar Lights |
Eco-friendly, no electric bill, accent use |
Very efficient |
Varies |
|
Incandescent Lights |
Warm glow, classic look |
Less efficient |
Shorter |
|
LED Lights |
Color options, long life, saves energy |
Highly efficient |
Up to 50,000 hours |
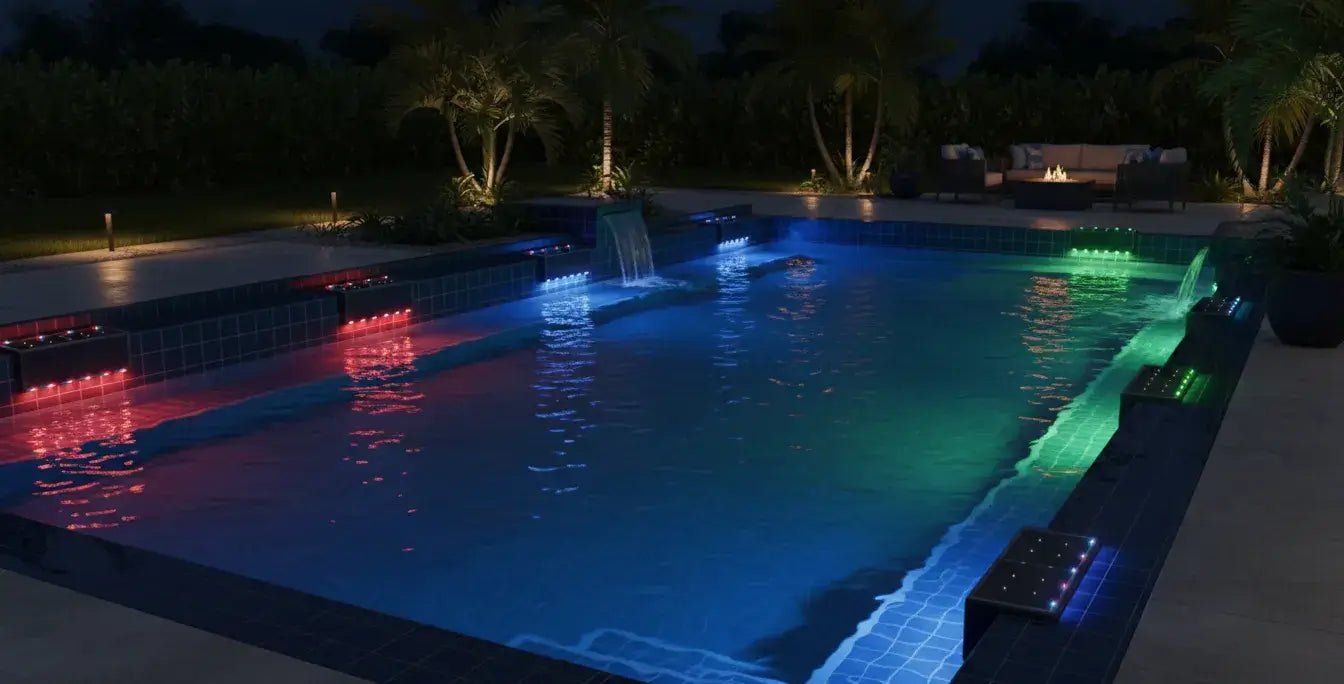
These days, LED pool lights are the go-to choice. They’re way more energy-efficient and last longer than old-school halogen or incandescent bulbs. If you want an upgrade without the hassle of draining your pool, surface-mounted LEDs make for a simple retrofit.
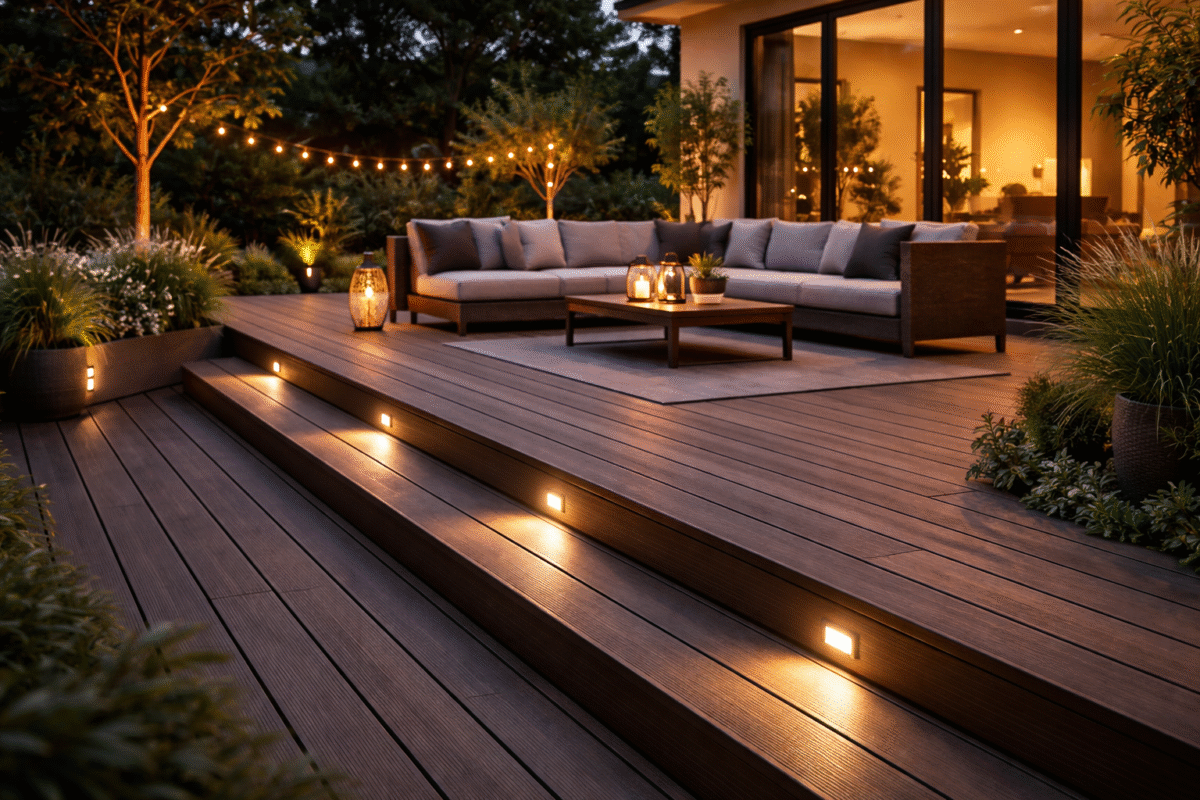
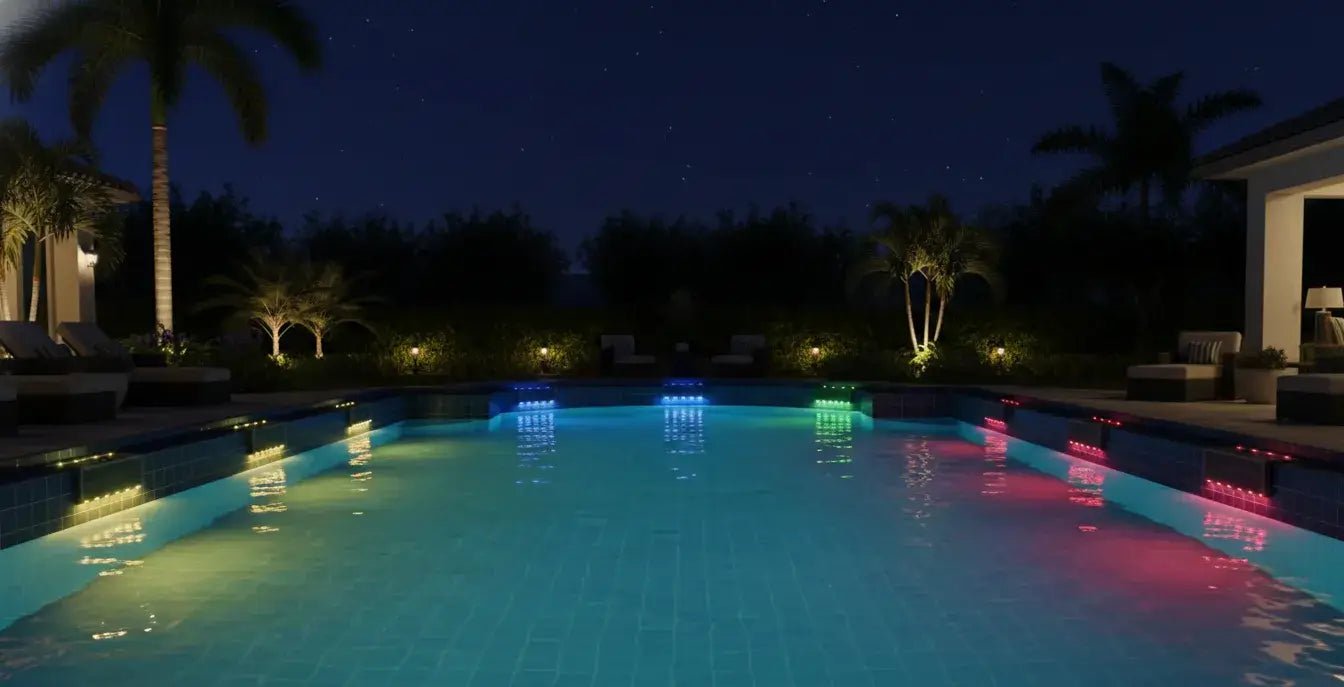
Figuring Out Placement and How Many Lights You Need
Getting the lighting right isn’t just about looks—it’s a major safety feature, too. Proper placement and the right number of lights make all the difference.
“It’s very important to be able to exit the home and get to the pool safely at night. Often there may be an elevation change, steps to navigate, and different hardscapes to walk on, so lighting around the pool becomes critical from a safety standpoint.”
Not sure how many lights you’ll need? This basic guide can help:
|
Pool Size |
Recommended Lights |
|---|---|
|
15’ x 30’ Pool |
1 or 2 |
|
20’ x 40’ Pool |
2 or 3 |
|
20’ x 42’+ |
3 or more |
A good rule of thumb is to install your lights about 12 to 16 inches below the waterline. This height does a great job illuminating the pool’s edges and steps. Don’t forget to leave some extra cable behind each light so you can pull it out later for maintenance.
- Strategic lighting brightens up pool edges, entry points, and walkways.
- Good lighting helps prevent accidents and sets a relaxing mood for evening swims.
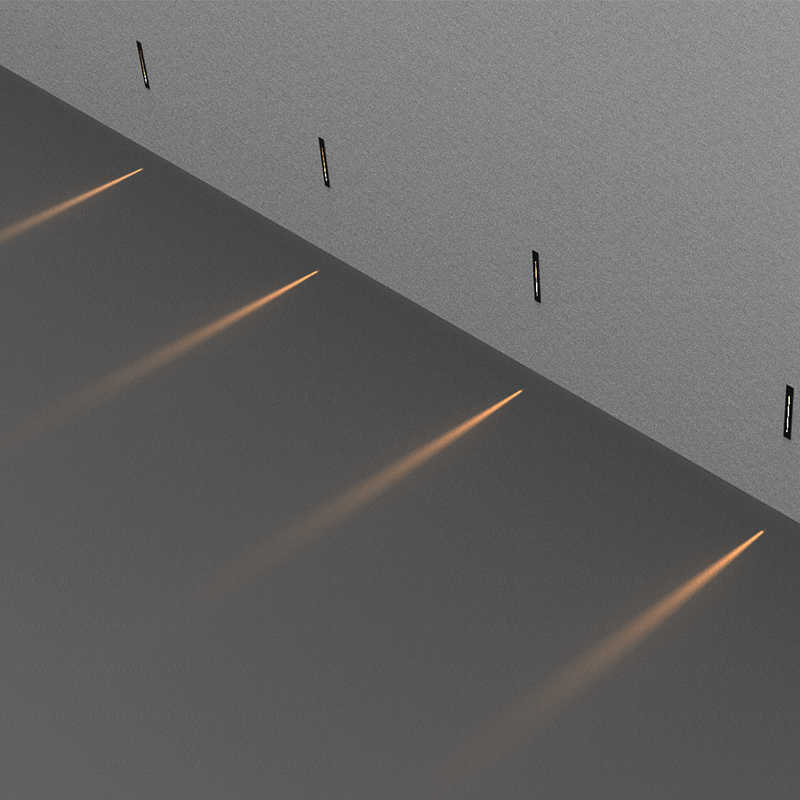
Surface-Mounted vs. Flush-Mounted Pool Lights
For inground pool lighting projects, you’ve generally got two installation styles to choose from:
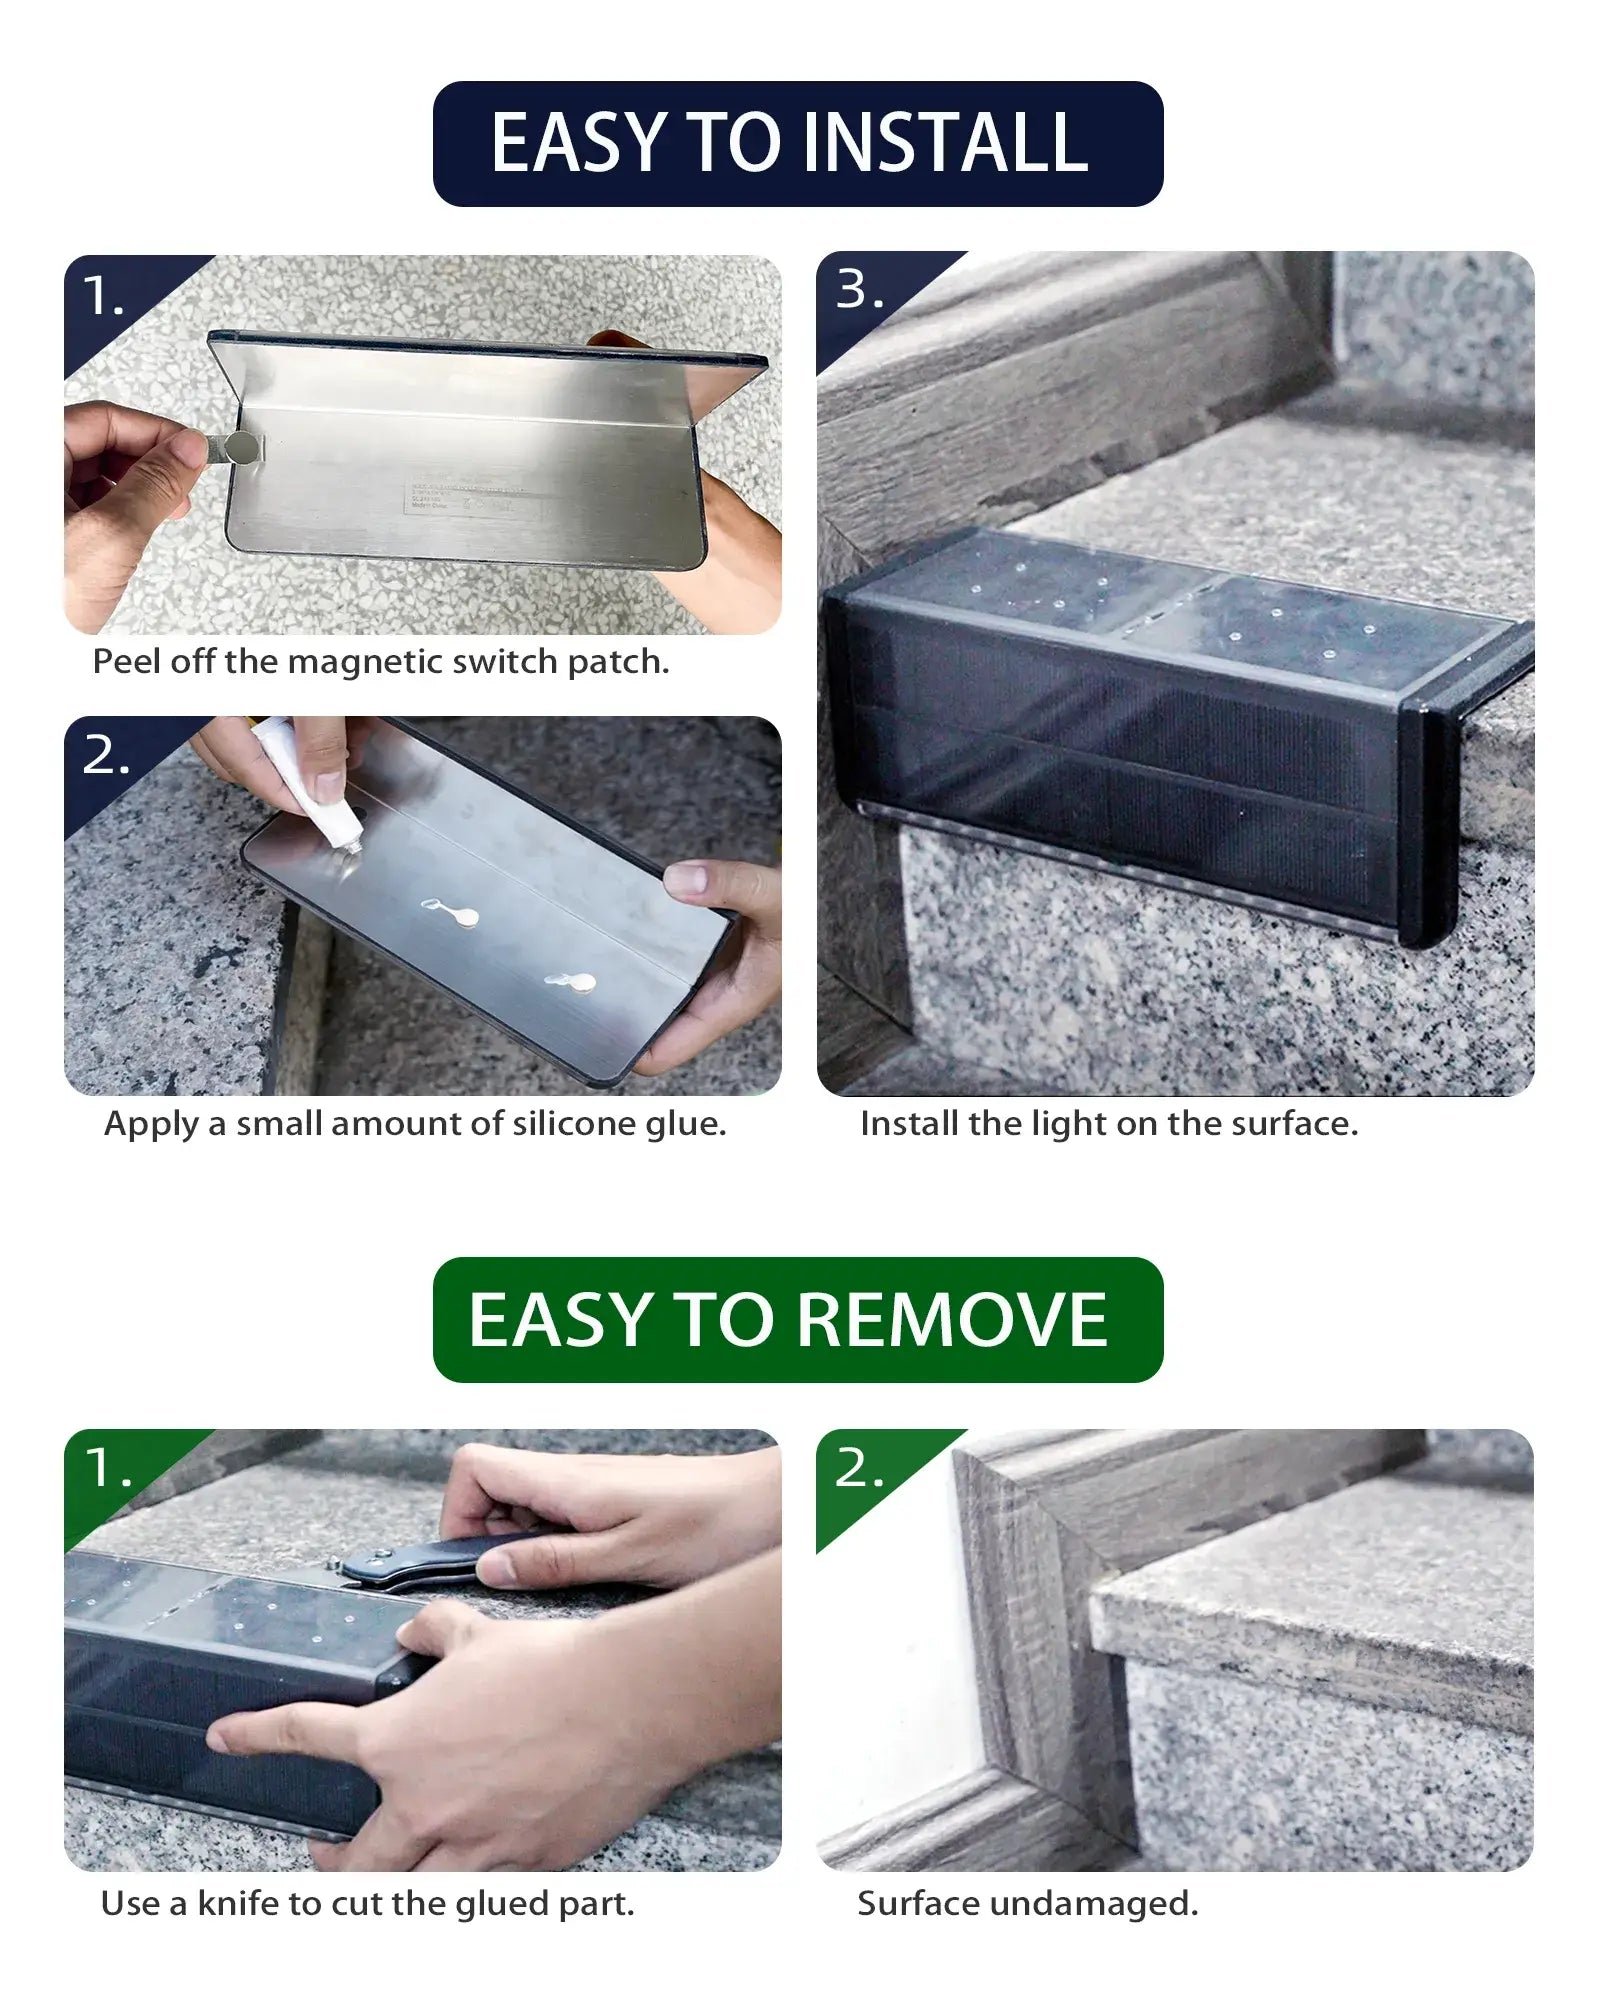
- Surface-mounted lights attach directly to the pool wall. They’re perfect for retrofits since you don’t need to drain the pool.
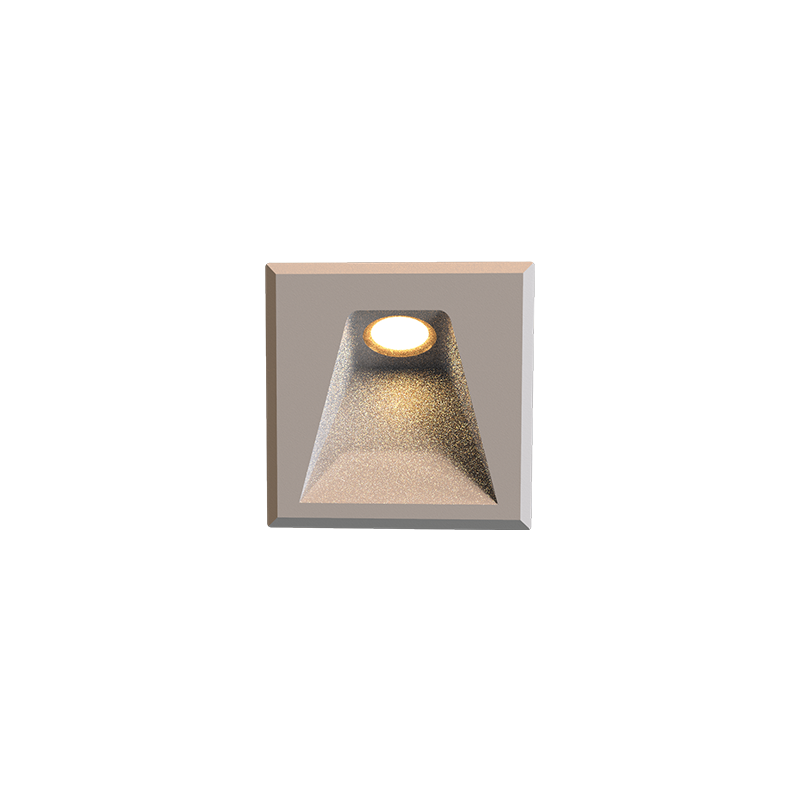
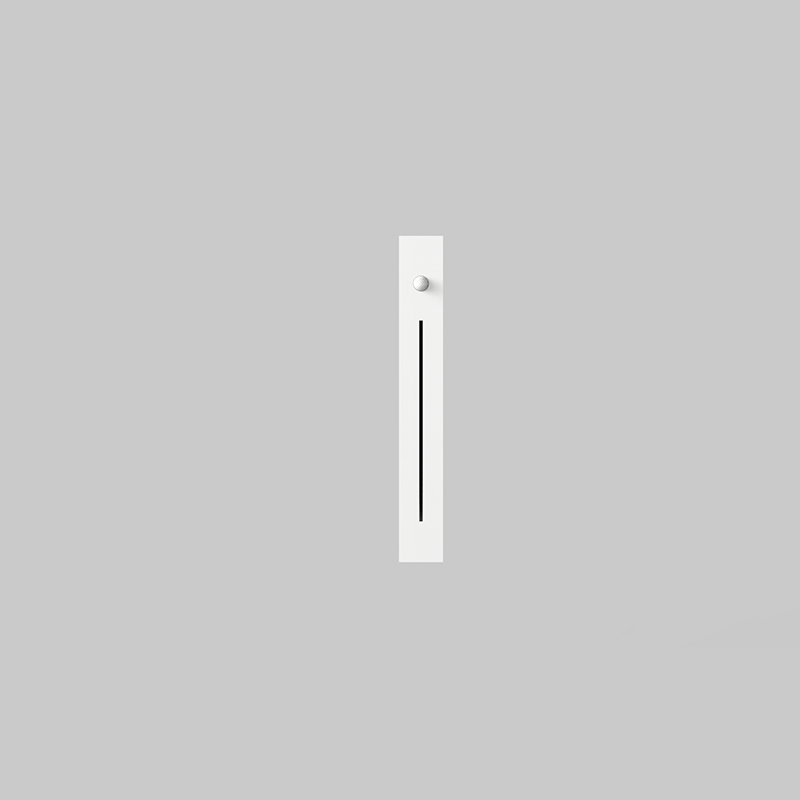
- Flush-mounted lights are built into the wall for a seamless, modern look. These are typically installed during new construction or a major renovation.
If you want a straightforward upgrade, surface-mounted LEDs are your best bet. For that sleek, built-in finish, plan for flush-mounted lights during the initial build.
Step-by-Step Installation Guide
Installing pool lights for inground pool projects might seem a bit daunting, but you can handle it by taking it one step at a time. Your first move is always to turn off all the power at the breaker box. Remember, safety first!
Tools and Materials You’ll Need
Before you get started, it’s a good idea to gather all your supplies. Having everything on hand makes the whole process a lot smoother.
- Pool lights (LED, incandescent, or 12V)
- Light niches or housings
- Electrical conduit (PVC or flexible)
- Fish tape (for pulling wires)
- Waterproof wire connectors
- Gaskets and seals
- Silicone sealant or pool putty
- Screwdrivers and pliers
- Voltage tester
- GFCI breaker
- Extra cable for each light
Pro Tip: Always double-check that you have all the parts for your pool lights for inground pool, including the bulb and housing, before you dive in.
Getting the Pool Area Ready
You’ll want a safe, clean workspace. Here’s how to prep:
- Turn off all power to the pool area at the main breaker—safety first.
- Empty the pool if you’re installing flush-mounted lights or running new wiring. For simpler retrofits, surface-mounted LED lights often let you keep the water in.
- Pick the right type of pool light for your project. Surface-mounted LEDs are a popular choice for easy upgrades.
- Make sure your lights have a waterproof rating of at least IPX8 and don’t exceed 12V A/C or 30V D/C.
- Check your local electrical codes. Your inground pool lights must be properly bonded and grounded. Always use a GFCI breaker for protection.
Important: Don’t start any work until you’re familiar with local codes and have the necessary permits.
Installing the Light Niche
The light niche holds your pool light securely and keeps water out. Here are the best practices to follow:
|
Best Practice |
Description |
|---|---|
|
Cord Length |
Use lights with cords at least 200 feet long for easy maintenance. |
|
Junction Box Height |
Line voltage boxes must be 4″ above the deck and 8″ above the water line. |
|
Location of Boxes |
Hide boxes under diving boards or in planters for a clean look. |
|
Enclosure Requirements |
Use corrosion-resistant boxes and ensure all metal conduit entries connect. |
|
GFCI Placement |
Place GFCI at least 4 feet from the pool and 8 inches above the pool deck. |
- Position the wall panel with the cut-out for the light niche in your chosen spot.
- Push the niche through the wall from inside the pool and tighten the lock ring from the outside.
- Don’t forget to add the gasket to prevent any leaks.
Running Conduit and Wiring for Your Pool Light
Next up, you’ll need to safely connect all the wiring. Here’s how to get it done:
- Start by positioning the wall panel that has the cut-out for the light niche.
- Go ahead and install the niche itself, making sure it’s tight and completely sealed.
- Don’t forget to add the gasket—it’s crucial for waterproofing.
- Now, run the electrical conduit from the pool light over to the junction box, and then on to the breaker panel. Remember to bury that conduit about 2-3 feet deep.
- Use some fish tape to pull the wire through the conduit. Pro tip: leave a little extra cable behind each light so you can pull it out later for maintenance.
- Connect a bare copper wire to the grounding connector inside the niche. You’ll also need to bond the pool walls, any ladder sockets, and the light itself.
- Finally, install a GFCI breaker. This is your best protection against electrical faults.
Tip: Never splice wires underwater. Always use listed swimming pool junction boxes at every spot where the conduit ends.
Mounting and Sealing the Light
Getting the mounting and sealing right is what keeps water out and your pool safe. Here’s what to do:
- Apply a bead of silicone rubber into the conduit and all around where the light cord goes in.
- Use pool putty or epoxy to seal around the cord and the connection port. Let it dry completely before you put the light back in.
- For a permanent fix, a light cord stopper is great for sealing the hole in the niche.
- Double-check that all your seals are tight. Good sealing stops leaks, which are a super common issue with pool lights.
Alert: Most leaks happen because the cord connection isn’t sealed well enough. Always give your seals a thorough check!
Testing and Final Checks
You’re in the home stretch! Now it’s time to make sure everything’s working perfectly.
- Do one last review of all your electrical connections and seals.
- Follow the manufacturer’s instructions to the letter when installing the light fixture.
- Turn the power on and give those pool lights for inground pool a quick test to confirm they’re working.
- Verify that the light has a waterproof rating of at least IPX8.
- Keep an eye out for any leaks or flickering. If you spot a problem, shut the power off and fix it before anyone uses the pool.
Note: If you’re feeling unsure about any part of the electrical work, just call a licensed electrician. Safety always comes first.
By sticking to these steps, you can install your pool lights for inground pool safely and get ready to enjoy a bright, beautiful pool after the sun goes down.
Electrical Safety
Code Compliance and Permits
Keeping your pool lights safe and legal is a top priority. Those local codes are there for a reason—to protect you and your family. Always check with your city or county before getting started. In most areas, you’ll need a permit for any electrical work near water, and you can expect an inspection once the job’s done.
Here’s a quick rundown of what those codes typically cover:
|
Aspect |
Details |
|---|---|
|
Bonding and Grounding |
Ties all metal parts together and connects them to earth ground. This prevents shocks. |
|
GFCI Protection |
Stops power if a fault happens. This keeps you safe from electric shock. |
|
Installation Requirements |
Licensed electricians must do the first install. Use the right parts and methods. |
|
Low-Voltage Systems |
12V LED lights are safer, but you must still follow bonding and GFCI rules. |
|
Code References |
Article 680 in the National Electrical Code covers pool lighting safety. |
Tip: Proper bonding and grounding aren’t just suggestions. They’re what keep you safe from the risk of electrocution.
GFCI Protection
GFCI (Ground Fault Circuit Interrupter) is a term you need to know. This little device cuts the power the instant it senses something’s wrong. Having GFCI protection for all your pool lights isn’t just smart—it’s the law.
“This technical committee feels that with the voltage limitation 150 volts, and with all the other requirements such as ground fault circuit interrupters, third-party testing and listing [of certain components], that these result in safe installations.”
GFCI breakers are your first line of defense, protecting you and your family by stopping most electrical accidents before they start. Make it a habit to test your GFCI outlets and breakers every single month.
When to Hire a Professional?
Sure, you can save some cash by tackling certain projects yourself. But when it comes to pool lighting, it’s serious business. Mistakes aren’t just inconvenient; they can be downright dangerous. Here’s when it’s time to call in a pro:
- You need a new circuit or breaker installed.
- You’re unsure about the bonding or grounding requirements.
- You don’t feel 100% confident handling the electrical wiring.
A professional installer knows the codes inside and out. They work faster and, more importantly, safer. While labor for one fixture might run you $350 to $600, what you’re really buying is peace of mind. Many pros also offer warranties on their work. If you’re ever in doubt, hire a licensed electrician. Your safety is what matters most.
Maintenance and Troubleshooting
Routine Care for Your Pool Lights
You want your pool lights to shine bright and stay safe, right? A little regular maintenance goes a long way in preventing headaches and keeping your pool looking fantastic. Here’s a straightforward routine to stick with:
- Give your lights a visual check often. Keep an eye out for any damage, corrosion, or anything that just doesn’t look right.
- Clean them up following the manufacturer’s guide. You’ll want to clear away leaves, dirt, or any gunk that’s blocking the light.
- Apply a silicone-based sealant around the fixture’s edges. It’s an easy step that really boosts water resistance and helps stop leaks before they start.
- Don’t skip scheduling professional check-ups now and then. A pro can catch issues you might overlook and keep everything running smoothly.
Quick Tip: Spot any moisture inside the light? Call a technician immediately. Remember, water and electricity are a dangerous mix!
Replacing Bulbs and Fixtures
Let’s be real, pool light bulbs aren’t meant to last forever. You will need to swap them out eventually. This table gives you a good idea of typical lifespans:
|
Type of Bulb |
Average Lifespan |
|---|---|
|
Incandescent Bulb |
12 to 18 months |
|
Usage Hours |
About 2,000 hours |
When a bulb finally goes out, always shut off the power before you touch the fixture. Take a look at the old bulb for any damage or signs of moisture. If you spot corrosion or cracks in the housing itself, it’s probably time to replace the entire fixture. And it’s smart to always use the bulbs and parts your manufacturer recommends.
Common Pool Light Problems and How to Fix Them
Even the best pool lights can run into issues. Here’s a look at some common problems and what you can do about them.
Typical Issues & Quick Fixes
- Dim or flickering lights: This usually points to a loose wire or a bulb that’s on its last leg.
- Water leaking around the fixture: That’s a real safety hazard. You’ll need to reseal the edges with silicone or call in a professional.
- A broken or cracked fixture: If water’s getting inside, you should replace the fixture right away.
- Corroded wiring: Spot any rust or greenish spots? That corrosion messes with performance. It’s time to have an electrician take a look.
What to Do If Your Lights Go Out
If your pool lights suddenly stop working, don’t panic. Just follow these steps:
- First, check the circuit breaker and the GFCI outlet. Go ahead and reset them if they’ve tripped.
- Carefully remove the light fixture and check the bulb and housing for any obvious damage.
- Take a close look at the rubber gasket and the lens seal. Even a small crack can let water in.
- If you’re still in the dark, the problem might be with the wiring or transformer. At that point, it’s best to call a pro.
Note: A little regular maintenance goes a long way. Catching small problems early keeps your pool lights safe and shining bright, and stops minor issues from becoming major headaches.
Safety First: A Quick Reminder
You’re now set with the know-how for installing lights in your inground pool safely. Just keep these key tips in mind:
- Always wear protective goggles and gloves.
- Only work when everything around the pool is completely dry.
- Never forget to turn off the power at the circuit breaker before you start.
Thinking about an upgrade? Here are a few great reasons to consider new pool lights:
|
Benefit |
Why It Matters |
|---|---|
|
Energy Efficiency |
You can save money on your power bill. |
|
Longer Lifespan |
You will not need to change them often. |
|
Better Safety |
Swimming at night will be safer. |
If you’re ever unsure about a step, there’s no shame in calling a professional. Now, go enjoy your beautifully lit and safe inground pool!
FAQ
How long do pool lights last?
Most LED pool lights can last up to 50,000 hours. Halogen and incandescent bulbs have a much shorter lifespan, so you’ll be changing those out a lot more often.
Can you change a pool light bulb without draining the pool?
Absolutely! Most pool lights are designed so you can pull the fixture right up to the water’s edge or above it to change the bulb. Draining the pool isn’t necessary.
Are pool lights safe to use in saltwater pools?
Yes, they are. The key is to choose lights specifically made with corrosion-resistant materials like stainless steel or high-quality plastic housings.
Why Does My Pool Light Keep Tripping the Breaker?
If your pool light keeps tripping the breaker, it’s almost always because water got inside the fixture or there’s a wiring issue. The first thing you should do is turn off the power at the source. For your safety, don’t try to fix this yourself—you’ll need to call a licensed electrician to check it out and make the repair.