You can brighten up your concrete steps with paver stair lights or other step lighting. These options aren’t just about looks—they seriously boost safety once the sun goes down. Good step lights make each step clearly visible, helping to prevent trips and falls. Before you get started, take a good look at your steps to figure out what’ll work best. Choosing the right lights and putting them in the right spot makes all the difference. You’ll need to pick durable lighting, install it correctly, and keep up with simple maintenance. Do it right, and your steps will be both stunning and safe.
Key Takeaways
- Step lights are a game-changer for safety, lighting up the path to prevent trips and falls after dark.
- Go for sturdy, weather-resistant fixtures. Energy-efficient options like LED or solar-powered lights last longer and save you money.
- Placement is key. Installing lights on the risers or treads ensures even light and the best visibility.
- Don’t forget a little upkeep. Regularly cleaning your lights and checking for burnt-out bulbs keeps them shining bright.
- Great outdoor lighting doesn’t just make your home safer; it boosts your curb appeal and can even increase your property’s value.
Why Should You Light Up Your Outdoor Steps?


Best Lights for Outdoor Steps
Picking the right outdoor step lighting can make your home safer and a lot more welcoming. You’ve got plenty of options, whether you’re dealing with stone steps or concrete ones. Let’s check out some of the most popular step lights and see how they might work for your space.
Safety and Visibility Come First
You want your outdoor steps to be safe and easy to navigate, especially after the sun goes down. That’s where step lights really shine. By adding them, you make each step clearly visible, which drastically cuts down the chance of someone tripping or missing their footing. Good outdoor step lighting gives you peace of mind and ensures your family and guests can walk around safely at night.
Here’s a quick breakdown of why so many homeowners choose to install step lights:
|
Reason |
Description |
|---|---|
|
Safety |
Good lighting on steps helps stop people from falling or tripping. |
|
Security |
Bright lights can scare away people who should not be there and make your home safer. |
|
Installation |
Pathway lights can be put in to keep your steps bright. |
These lights improve visibility by providing a steady, even glow. You won’t have to worry about harsh shadows hiding the edges of your steps. If you place them correctly, they’ll clearly show how deep each step is. Options with motion sensors are great—they light up as you approach, so you’re never walking in the dark. This kind of lighting is also a big help for older visitors, making them feel much more secure. In fact, studies show that adding LED strips to stair noses or handrails significantly boosts how safe people feel on stairs at night.
You can see a summary of the key benefits right here:
|
Findings |
Description |
|---|---|
|
Increased Perceived Safety |
Older people said they felt safer when LED strips were in the handrail or stair nose shining down. |
|
Increased Illumination |
More light on stairs helps people walk better and not fall by making it easier to see where to put their feet. |
All in all, installing step lights is a smart move for nighttime safety. You’re not just preventing accidents; you’re making your outdoor area more pleasant for everyone.
They Boost Your Home’s Curb Appeal, Too
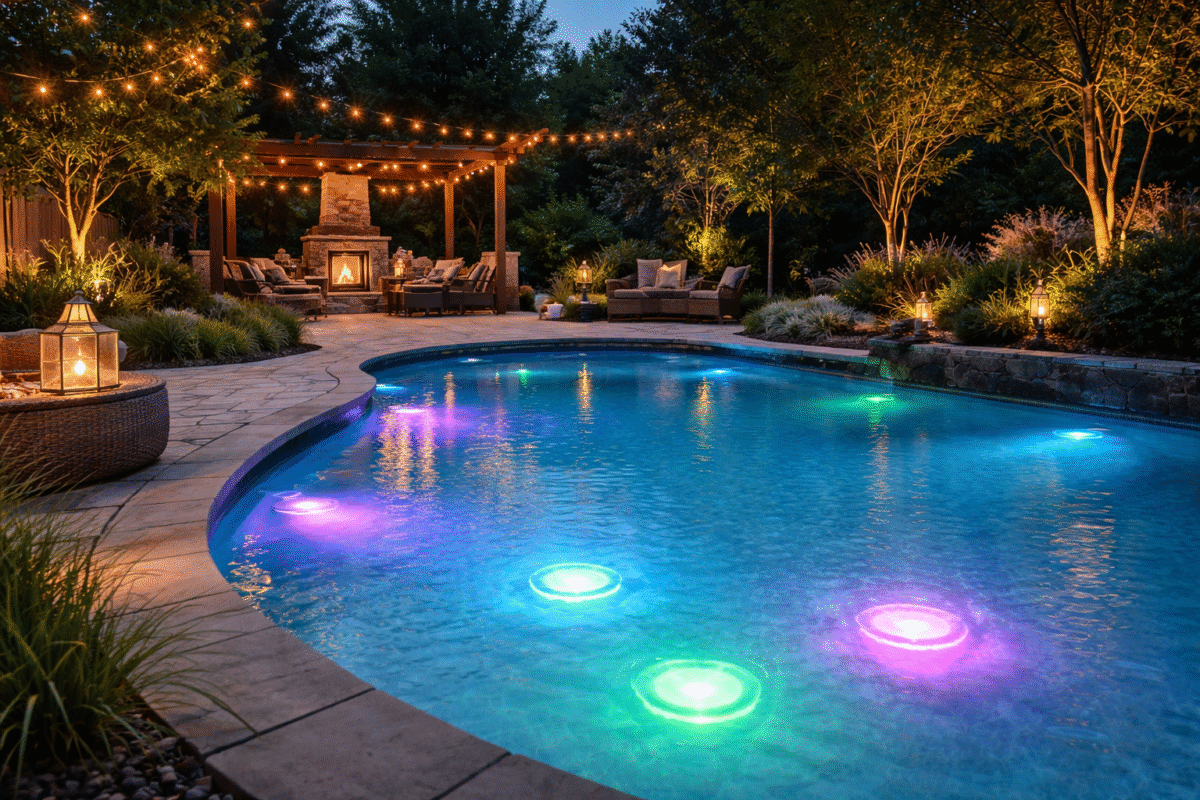
Step lights aren’t just about safety—they also do wonders for your home’s look. The right outdoor step lighting adds a layer of style and makes your entire entrance more inviting. It’s a chance to highlight the architecture and design of your steps, giving your home a special, friendly vibe.
- They cast a warm glow that makes your steps stand out beautifully.
- Well-designed outdoor step lighting can actually increase your property’s value.
- It lets you enjoy and use your outdoor spaces long after dark.
You can even use lighting to draw attention to your landscaping or garden features. It makes your home look updated and well-maintained. Guests will notice the extra care you’ve put in. With step lights, you get the perfect combination of beauty and safety.
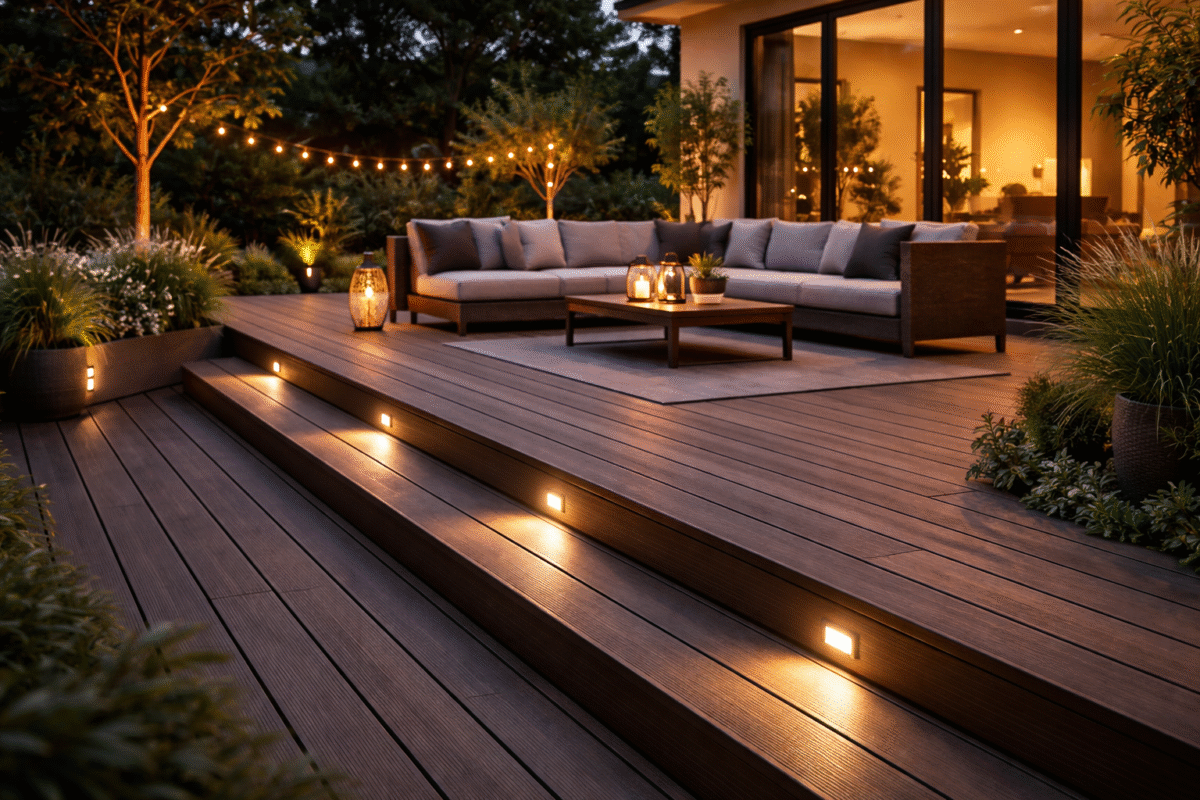
Paver Stair Lights: A Smart Choice for Outdoor Steps
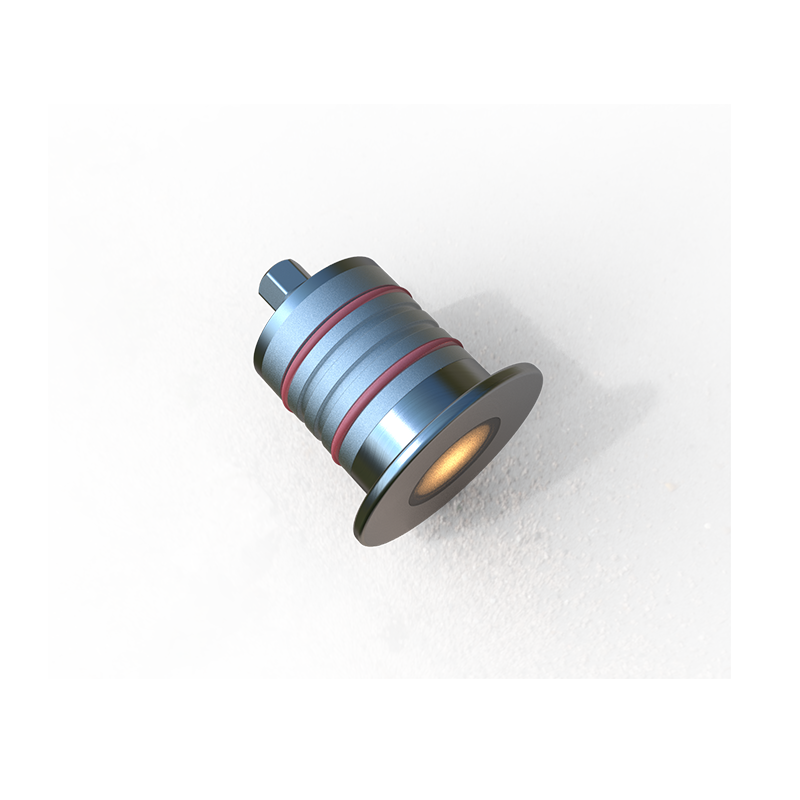
If you’re looking for a sleek way to light up your outdoor stairs, paver stair lights are a top pick. These fixtures install directly into the surface of your pavers or concrete, so they blend right in for a clean, unobtrusive look. They cast light across the face of each step, making it easy to see exactly where you’re walking. It’s a steady, reliable glow that really helps prevent trips and falls.
Durability is key for any outdoor lighting, and these lights are built to last. They stand up to all kinds of weather, constant foot traffic, and everyday use. They’re tough enough to handle rain, snow, and heat without a problem, and if a bulb ever does burn out, it’s simple to replace. Here’s a quick look at how paver stair lights stack up against other options:
|
Feature |
Paver Stair Lights |
Other Step Lighting Options |
|---|---|---|
|
Durability |
Extremely durable |
Varies |
|
Weather Resistance |
Yes |
Varies |
|
Foot Traffic Resistance |
Yes |
Varies |
|
Maintenance |
Easy access for relamping |
Varies |
Whether you’ve got concrete steps or stone steps, these lights are a fantastic choice. They offer a reliable lighting solution that’s both attractive and highly functional.
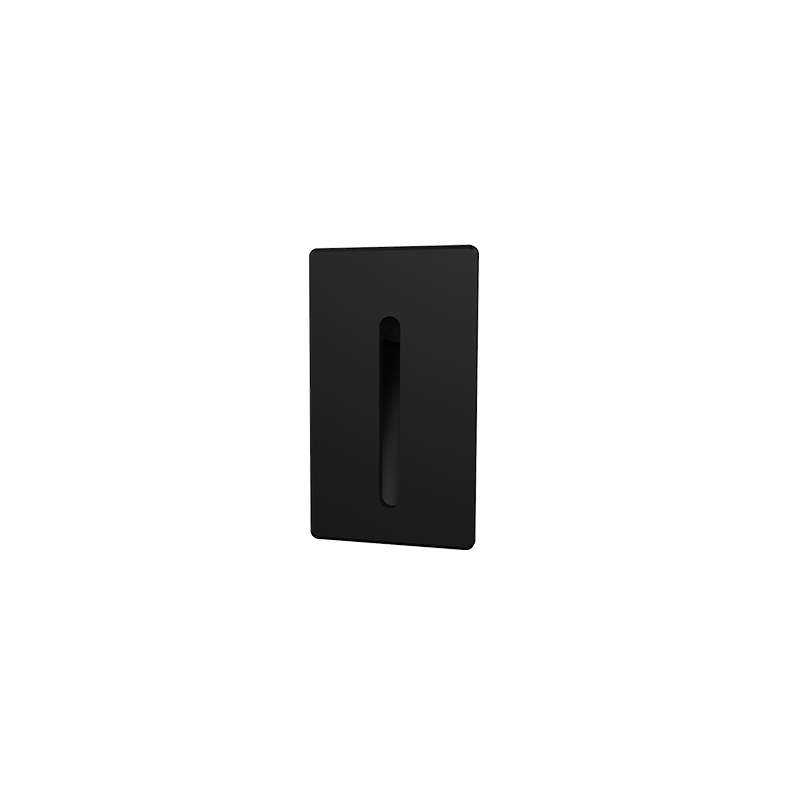
Concrete Step Lights & Tread Lights
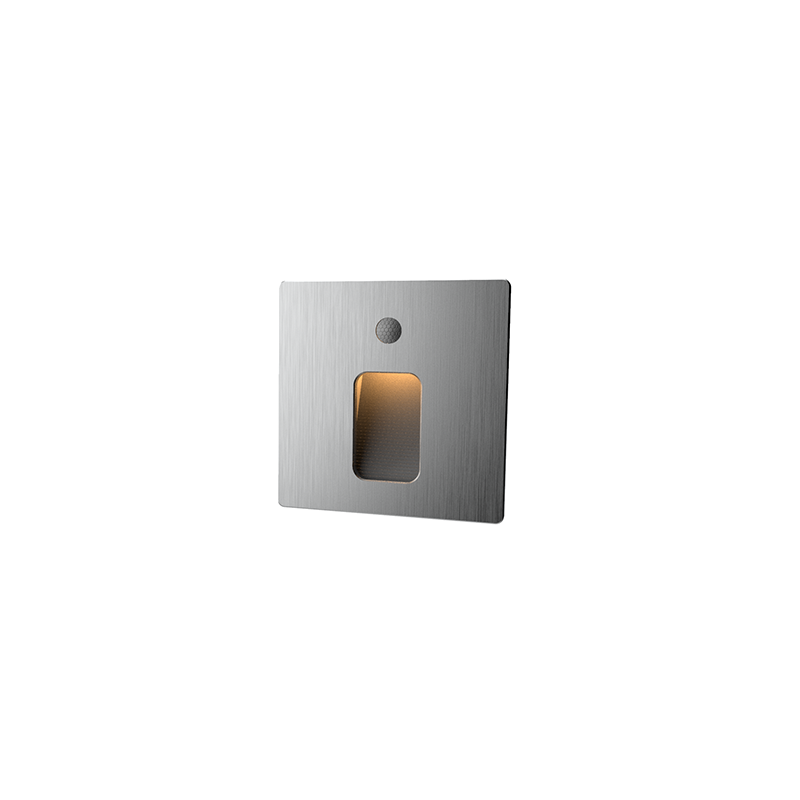
Concrete step lights and tread lights are specifically designed for outdoor stairs. You can mount riser lights on the vertical face of each step. They provide a soft, welcoming light that illuminates every step clearly, helping you avoid harsh shadows and significantly boosting safety.
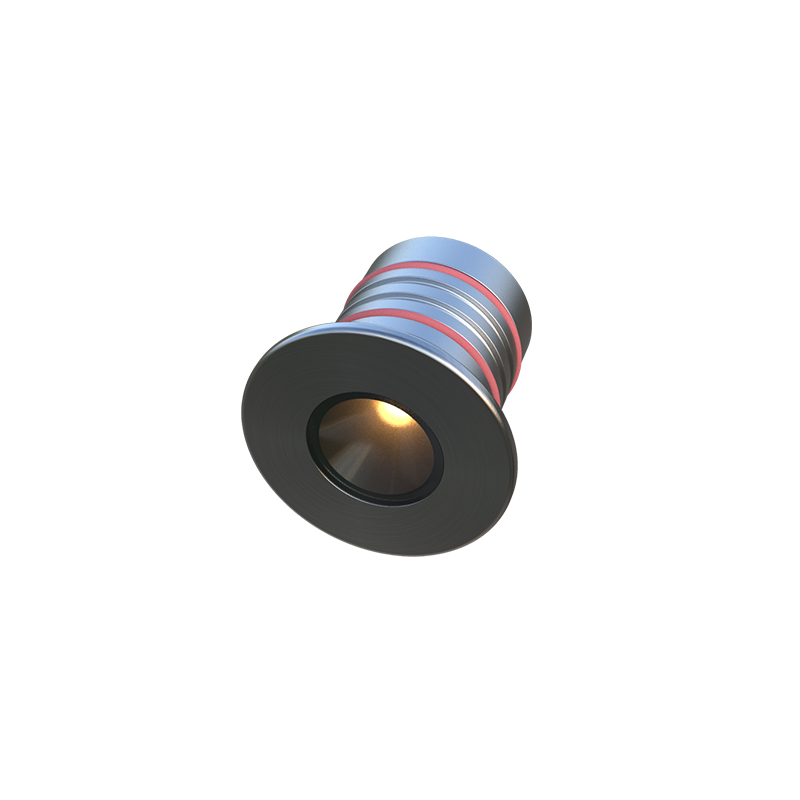
Alternatively, you might opt for tread lights installed along the front edge of each step. These fixtures highlight the tread itself, visually defining where to step next. For instance, Gardencoin step lights can last up to 50,000 hours, so you won’t be constantly worrying about replacements.
|
Product Type |
Average Lifespan (hours) |
|---|---|
|
Gardencoin Step Light |
50,000 |
Using concrete step lighting is a great way to make your staircase a standout feature. Lights on the risers or treads add a stylish touch while making everything safer. You’ll find plenty of options for stone steps, including energy-efficient solar-powered LED lights. Going solar means easier installation and savings on your energy bill over time.
Here’s a rundown of popular step lights for your outdoor stairs:
- Riser Lights: Mounted on the step risers for subtle, safety-focused illumination.
- Tread Lights: Placed on the step edge to highlight each tread’s boundary.
- Paver Stair Lights: Recessed into paver or concrete for a seamless, integrated appearance.
- Solar-Powered LED Lights: Harness the sun’s power for an eco-friendly and cost-effective setup.
The best part? You can mix and match these different types of lights to perfectly suit your steps and your personal style.
LED and Low Voltage Options
When it comes to lighting up your outdoor steps, LED step lights and low voltage fixtures are smart picks. They’re a great way to save some cash and cut down on energy use. An LED bulb only needs between 4 and 28 watts, which is way less than those old-fashioned bulbs. In fact, you could slash your energy consumption by up to 85% compared to incandescent lights. Think about it: running 25 LED step lights might cost you around $45 a year, while old bulbs could run you $270. That’s over $225 back in your pocket every single year.
- LED step lights typically use 80-85% less electricity than incandescent bulbs.
- Compared to CFLs, LEDs use 50-60% less energy to give you the same brightness.
- Solar-powered LED lights run on sunlight, so they cost even less to operate.
If you’re watching your budget, low voltage step lights are another solid option with lower upfront costs and reduced energy use. Here’s a quick breakdown of how different step lights compare in cost and lifespan:
|
Type of Light |
Cost per Fixture |
Lifespan |
Energy Efficiency |
|---|---|---|---|
|
Incandescent |
$0.75 to $6 |
~1,000 hours |
10% light, 90% waste heat |
|
Halogen |
$2 to $5 |
~3,600 hours |
28% more efficient |
|
LED |
$2 to $8 |
25,000-40,000 hours |
Up to 80% light efficiency |
|
Low Voltage |
Lower upfront cost |
N/A |
Lower energy consumption |
|
High Voltage |
Higher total cost |
N/A |
Higher energy use |
The good news is you can find step lights that fit both your budget and your style. Going with LED or solar-powered options is also a win for the planet. They use less power and help reduce greenhouse gas emissions. Plus, a lot of these fixtures are made from recycled materials, which is another way they help protect our environment.
Of course, you want lights that’ll last. Look for weather-resistant materials like die-cast aluminum or solid brass. Electric-powered lights give you steady, reliable brightness, while solar-powered ones are perfect for spots that get plenty of sun. Just make sure they’re installed correctly and give them a quick clean now and then. A proper setup and a little routine care will keep your step lights shining bright for years.
With the right outdoor step lights, you can make your home safer, brighter, and way more inviting after dark. They give you peace of mind and seriously boost your home’s nighttime curb appeal.
Placement and Design for Light Up Stone Steps

Where to Install Step Lights?
You want your outdoor steps to be both beautiful and safe, right? The key is putting your step lights in the right spots. First, take a good look at your concrete or stone steps. Low-profile hardscape lighting is a perfect fit for stone, boosting safety and style in one go. One great option is to install tread lighting directly into the vertical face of each step. This creates an even glow that makes every step crystal clear. For paver steps, you can run lights along the edges or set them into the risers. If you’re feeling stuck on the best lighting solutions, don’t sweat it—a professional landscape lighting designer can help pick the perfect fixtures and handle the installation.
Here are a few quick tips for nailing your step light placement:
- Mount lights on the risers for a soft, even wash of light.
- Add tread lighting to define the edge of each step.
- Stick with low-profile fixtures for a sleek, clean appearance.
- When in doubt, get a pro’s opinion—it’s worth it.
Spacing and Layout Tips
Getting the spacing right is crucial for lighting stone steps. If your lights are too far apart, you’ll end up with dangerous dark spots. Put them too close, and the glare can be blinding. The goal is steady, uniform light across your outdoor steps. According to the Illuminating Engineering Society, stairways should have at least 100 lux to stay safe and usable. A good rule of thumb is to space your step lights every 8-10 feet, or on every other step if you’ve got a run of 12-14 steps. This kind of layout makes it easy to see changes in elevation, which is a big help for seniors and kids.
|
Step Light Spacing |
Recommended Distance |
Result |
|---|---|---|
|
Wide spacing |
8-10 feet |
Balanced illumination |
|
Close spacing |
Every 2 steps |
No dark spots |
You can also play with different lighting techniques to make your steps really pop. Use focal glow (or task lighting) to shine a beam right where you need it. The real secret is layering—mixing ambient, task, and accent lights to soften harsh shadows and create a balanced, inviting atmosphere. Don’t be afraid to mix paver lights with concrete step lights for a unique look. With smart placement and a thoughtful design, your steps won’t just be safe—they’ll be a standout feature after dark.
Installing Paver Stair Lights

Getting your outdoor steps to shine really starts with a solid installation. You want your paver stair lights to last for years, look fantastic, and keep everyone safe. Let’s break down the process step-by-step so you can light up your concrete stairs with confidence.
Preparing Your Concrete Steps
Before you install any paver stair lights, you’ve gotta prep your steps. Start by giving them a good sweep with a broom or brush to clear off any dirt and debris. If you spot any cracks or chips, take care of those repairs first. Having a smooth, solid surface is key for keeping your step lights secure and working properly.
Next, take a look at your step layout. Figure out exactly where you want each light to sit. Mark those spots with some chalk or tape. Make sure you’ve got enough room for every fixture. For a nice, even glow, try to keep the spacing between each light consistent. It’ll make your whole setup look balanced and bright.
Tip: Do a dry-fit of your lights before you drill anything. Just place them on the steps to see how they look—you can always tweak the layout if something’s off.
If your setup requires wiring, now’s the time to plan that path. Look for the shortest and safest route to run them, and avoid any sharp bends or spots where wires could get pinched. A little planning here makes the whole installation go a lot smoother.
How to Install Step Lights on Concrete
When you’re looking to install step lights on your concrete stairs, you’ve got a few solid options. The best method for you really depends on the type of paver stair lights you choose and the final look you’re going for.
Here are the most common mounting styles for your step lights:
- Flush Mount: These step lights sit almost level with the step’s surface. Swivel paver lights are a great example—they can be mounted nearly flush and still let you tweak the beam direction. It’s a super clean look that keeps the fixtures out of the way.
- Surface Mount: This is a straightforward approach where you attach the lights directly to the face of each step using screws or specific mounting hardware. It’s a secure and reliable option.
- Recessed Mount: For a really sleek, built-in appearance, some lights are designed to fit into a small hole or housing drilled right into the concrete. This hides most of the fixture and offers some extra protection from bumps and weather.
- Adhesive Mount: If you’re using lightweight, solar-powered or low-voltage paver stair lights, a strong outdoor adhesive can often do the trick. It’s a simpler install since you don’t have to deal with heavy wiring or drilling.
Remember, step lights are specifically made for stairways. Their job is to cast light up the riser, giving you even, safe illumination on each tread. If you think you might need to fine-tune the lighting angle, swivel paver lights are a fantastic choice for getting that perfect setup on your outdoor steps.
Pro Tip: Don’t skip the manufacturer’s instructions! Every light model can be a bit different, so their guide is your best bet for a correct and safe installation.
Once all your lights are mounted, take a moment to check each one. Make sure every fixture sits firmly and securely on the concrete—you don’t want anything coming loose. Give any screws a final tighten if needed. If you used adhesive, press the light firmly in place and let it cure completely before you call it a day.
Wiring and Power Sources
Getting the wiring right is a crucial step when you’re installing outdoor step lights. You want your setup to be safe and to last for years. Luckily, there are a few solid wiring techniques you can use for these lights.
Let’s check out some of the best wiring methods:
|
Technique |
Description |
Purpose |
|---|---|---|
|
T-Method |
Run the main cable to a central point and branch off |
Prevents voltage drop and keeps brightness even |
|
Waterproof Connectors |
Use connectors that block out moisture |
Keeps connections safe and reliable outdoors |
The T-method is a great choice for longer runs of step lights. You run a main cable and then branch off to each individual light. This helps keep the brightness even so you don’t end up with some lights looking dim. Don’t forget to use waterproof connectors—they’ll protect your wiring from rain and snow, so your lights keep working no matter the weather.
You’ve also got a few options for powering your outdoor lighting:
- Low Voltage: This is the most common setup. The lights connect to a transformer that plugs into a standard outlet. It’s a safe and energy-efficient way to go.
- Solar Powered: These lights come with their own small solar panels. The big plus? You don’t have to run any wires. Just make sure you place them where they’ll get plenty of sunlight during the day.
- Hardwired: For a more permanent or extensive installation, you might wire the lights directly into your home’s electrical system. It provides steady power, but it’s usually a job for a professional electrician.
Once all the wiring is done, take the time to test each light. Flip the power on and make sure every single one is working. Then, take a walk up and down your steps to see if the lighting looks even. You can always adjust any lights that seem too bright or too dim.
Safety Reminder: Always shut off the power before you handle any wires. If you’re not completely confident about the wiring process, it’s smart to call in a licensed electrician.
With the right wiring and a reliable power source, your step lights will keep your outdoor stairs bright and safe for a long time. A good outdoor lighting solution not only makes your home look better but also helps everyone see each step clearly.
Maintenance and Troubleshooting

Cleaning and Upkeep
If you want your outdoor step lights to last and keep your concrete steps well-lit, regular cleaning and upkeep are key. Over time, dust, dirt, and leaves can build up, blocking the light and making everything look dim. A simple wipe-down of the fixture lenses once or twice a year makes a huge difference, keeping your lighting bright and clear.
Here’s a quick cleaning guide to follow:
|
Location |
Cleaning Frequency |
|---|---|
|
Outdoor Steps |
Every 2-3 months |
Don’t forget to check for and replace any burnt-out bulbs as soon as you spot them. It’s also smart to inspect the wiring and connections at least a couple of times a year. This way, you can catch corrosion or loose wires before they turn into bigger issues. Seal up any exposed connections with waterproof tape to protect them from rain and snow. Take a moment to make sure your lights are aimed correctly and that nothing’s blocking them. If you’ve got smart lights, you can usually set them up to send you an alert if one starts to dim or fails.
Pro tip: Trim back any plants or shrubs that start to grow over your lights. It’s an easy way to make sure your lighting solutions work their best and your steps stay safe.
Common Issues
Sometimes, your step lights just don’t work right. The good news is, you can often fix them yourself with a few simple checks. First, peek inside the socket for any moisture or dirt and give it a clean if needed. If a light goes out, trace the wire from the last working light to the first one that’s off, and look for any cuts or damage.
Here’s a straightforward guide for troubleshooting:
- Check all the connections at the hub and make sure they’re tight.
- Use a multimeter to test the transformer and see if it’s putting out the correct voltage.
- Inspect the main wire near the transformer for any cuts.
- Don’t let the total wattage of your bulbs exceed 80% of the transformer’s capacity.
- For long wire runs, use a thicker wire or split the run to avoid voltage drop.
- Tuck any exposed wires back under the soil.
- A surge protector can help guard against electrical spikes.
- Always use fixtures that are rated for outdoor use.
Don’t forget, weather can really affect your outdoor lighting. Rain can seep in and cause corrosion, while snow can pile up, block the light, or even break the fixture. Extreme heat can shorten the lifespan of internal parts, and high humidity might lead to condensation and electrical problems. If they’re not mounted well, strong winds can also knock things out of place.
With regular maintenance, you’ll keep your concrete steps bright and safe. Good step lighting helps everyone see each step clearly and makes your outdoor space more enjoyable.
Installing step lights is a great way to make your outdoor steps safer and more attractive. Just count your steps, plan your layout, clean the area, and mount the lights. Once everything’s connected, you can sit back and enjoy the glow. These lights help prevent trips and add a nice style to your home. Plus, homes with good outdoor lighting often have a higher resale value. Keep your lights clean and check on them periodically. For the best results, consider scheduling professional maintenance or getting help with the installation.
Tip: Regular cleaning and swapping out bulbs promptly will keep your step lighting strong and your steps safe.
|
Service Type |
Description |
|---|---|
|
Installation Process |
Experts can set up your lighting and show you how to use smart controls. |
|
Seasonal Maintenance |
Professionals remove debris and check brightness for your outdoor steps. |
|
Tune-Ups |
Annual checkups keep your step lights working and your steps shining. |
FAQ
How to Pick the Perfect Step Lights for Concrete Steps
It really comes down to your step size, the look you’re going for, and how bright you need things to be. Always go for weather-resistant fixtures—LED and low-voltage options are usually your best bet. If you’re not sure, don’t hesitate to chat with a lighting specialist.
Is DIY Installation an Option for Step Lights?
Absolutely. Most step lights are designed for a DIY install. Just stick to the manufacturer’s guide. But if the job involves running new wires or tying into your home’s power, it’s smart to get an electrician to help out.
How Often Should You Clean Outdoor Step Lights?
You’ll want to give them a good wipe-down every couple of months to clear off dirt and debris. While you’re at it, check for any bulbs that have burned out and swap them promptly. Keeping your lights clean isn’t just about looks—it helps keep your concrete steps well-lit and safe.
What to Do When a Step Light Stops Working
Start with the simple stuff: check the bulb. Then, look for any loose connections or signs of moisture inside the fixture. If you’ve got a low-voltage system, test the transformer. Usually, replacing the faulty part does the trick. If the problem persists, it’s time to call in a pro.