Pulling up to a house at night that’s lit just right? That’s not luck—it’s low voltage landscape lighting working its quiet magic. Think of it as the unsung hero of curb appeal: subtle, energy-smart, and tough as nails under rain, wind, or the occasional rogue lawnmower. For contractors juggling timelines and developers keeping an eye on ROI, this isn’t just about looks—it’s long-term savings with short-term wow.
Outdoor lighting used to mean clunky installs and power bills that hit harder than Monday morning traffic. Now? You’ve got 12-volt systems with dimmable drivers and weatherproof guts—basically the James Bond of exterior fixtures. It works smarter so you don’t have to work harder.
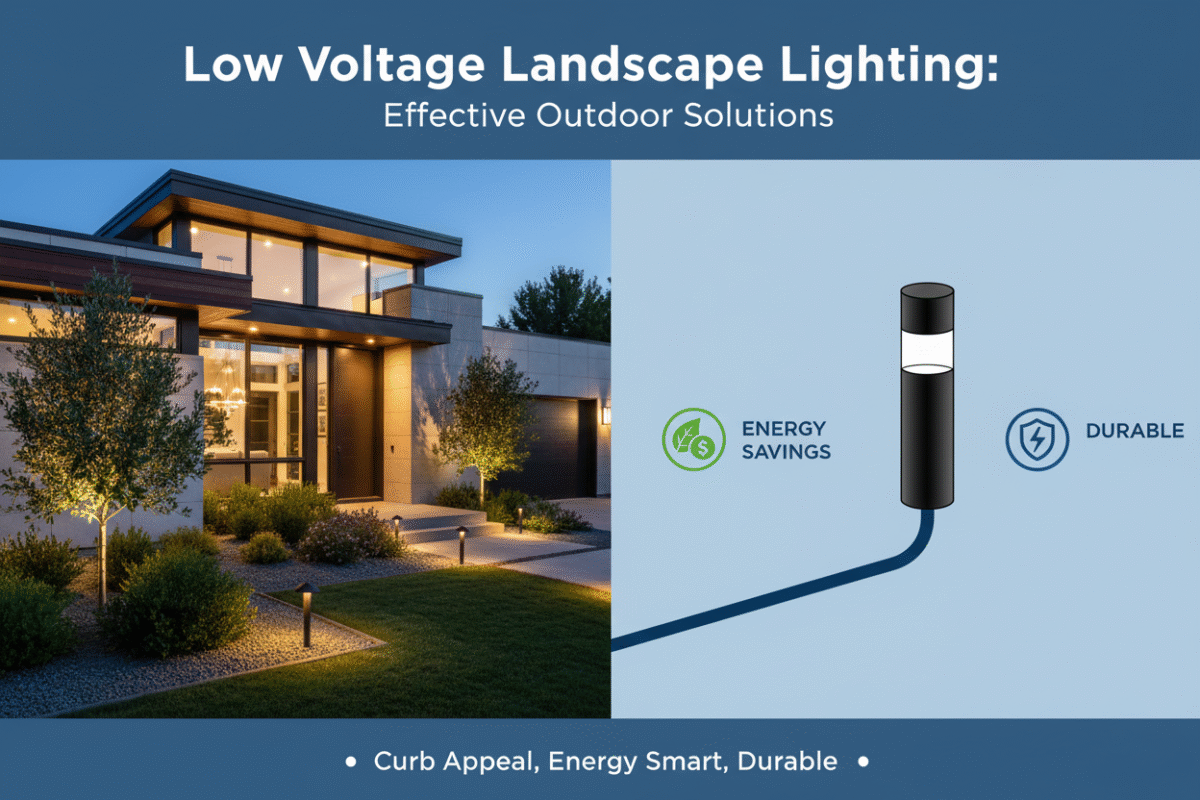
Key Points in the Glow: A Quick Guide to Low Voltage Landscape Lighting
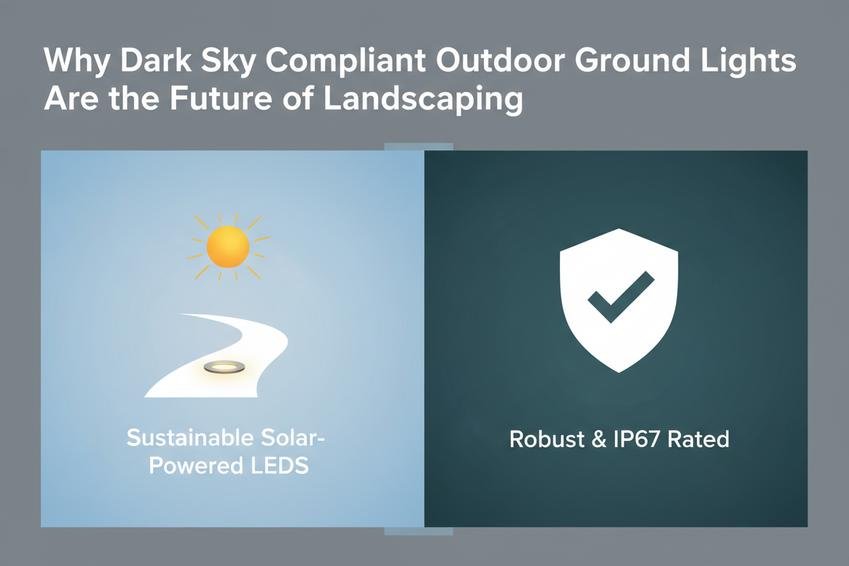
➔ Energy Efficiency Wins: 12-volt systems paired with Energy Star certified drivers offer powerful illumination with minimal energy waste—ideal for long-term savings and sustainability.
➔ Durability by Design: Outdoor lighting built with corrosion-resistant materials like stainless steel and composite ensures years of resilience against weather, wear, and tear.
➔ Aesthetic Impact: Warm white LED ground lights bring inviting ambiance to landscapes, enhancing curb appeal without overpowering the natural setting.
➔ Smart Light Control: Integrated photocell sensors and dimmable drivers adapt light levels automatically based on ambient conditions, cutting down manual adjustments while boosting efficiency.
➔ System Components Matter: From waterproof connectors to low voltage transformers, every part—from wiring to housing—plays a role in reliable performance over time.
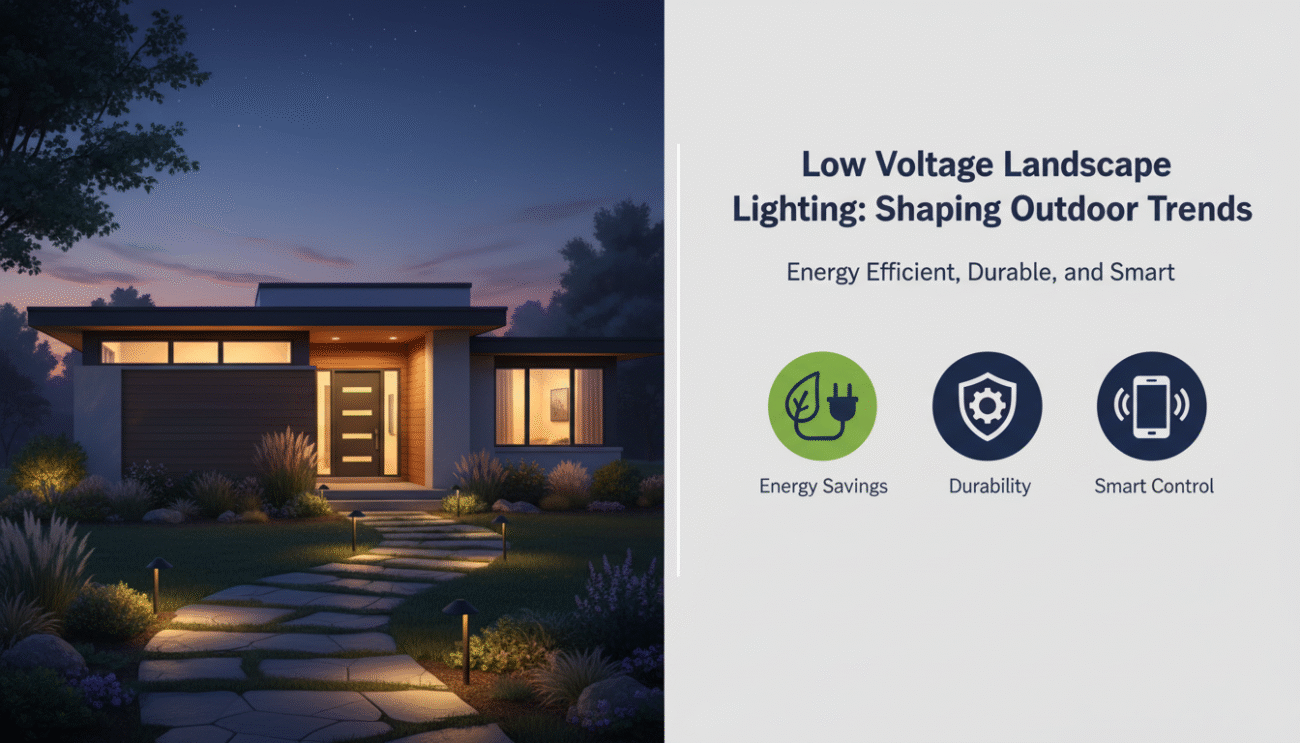
Why Low Voltage Landscape Lighting Shapes Outdoor Trends
Low voltage landscape lighting brings together energy savings, durability, and smart control, all while making outdoor spaces look downright magical.
Energy Efficiency of 12-Volt Systems with Energy Star Certified Drivers
• 12-volt systems are low on power draw but high on output—ideal for long-term outdoor use without jacking up the electric bill.
• Pairing them with Energy Star certified drivers means they meet strict efficiency standards without sacrificing brightness or reliability.
- These systems reduce overall power consumption, especially when scaled across large yards or commercial zones.
- Lower voltage = less heat = longer light lifespan—simple math that pays off over time.
They’re also safer to install around wet areas or gardens because of their low voltage nature, which makes them perfect for family-friendly setups.
And yes, you can still get those rich warm tones and bright path lights—no compromise on style just because you’re saving watts.
Durability Trends of Corrosion-Resistant Materials in Outdoor Fixtures
Grouped by material type and resistance level:
Metals That Last:
– Stainless steel offers sleek looks and top-tier rust resistance, even near salty coastal air.
– Bronze ages beautifully and resists corrosion like a champ in damp climates.
Composites That Work Hard:
– Fiber-reinforced polymers shrug off UV damage and don’t crack under extreme temps.
– Resin-based housings provide budget-friendly durability in high-humidity regions.
These rugged materials aren’t just about lasting longer—they help maintain the integrity of your entire outdoor fixture, reducing maintenance headaches year after year.
Warm White LED Ground Lights Elevating Landscape Aesthetics
Short bursts of design wins:
• That soft glow from a warm white LED instantly cozies up patios, walkways, and garden edges.
• It’s not just about brightness—it’s about vibe; the right color temperature can make stone textures pop or plants seem lusher at night.
• Ground-level placement keeps things subtle while adding serious visual punch to flower beds or driveways.
These lights do more than illuminate—they elevate your whole yard’s personality with charm you didn’t know it had.
Smart Controls through Integrated Photocell Sensors and Dimmable Drivers
Here’s how it all syncs up:
Step 1: Built-in photocell sensors detect ambient light levels automatically—no more fiddling with timers every season change.
Step 2: As daylight fades, your system powers up gradually using dimmable drivers, giving you smooth transitions instead of harsh flickers.
Step 3: Add app-based scheduling or remote tweaks for next-level convenience without stepping outside.
Smart controls bring automation into the mix so your lighting adapts to nature—not the other way around—and saves energy while doing it.
| Feature | Functionality Level | Impact on Energy Use | Ideal Application Area |
|---|---|---|---|
| Photocell Sensor | High | Reduces waste | Entryways & Path Lighting |
| Dimmable Driver | Adjustable | Customized savings | Accent & Mood Lighting |
| Manual Override Option | Optional | Neutral | Security Zones |
| App-Based Remote Control | Advanced | Optimized scheduling | Entire Outdoor System |
With these tools working together, your whole setup becomes smarter than ever—and yeah, easier on your wallet too while keeping that curb appeal sharp as ever.
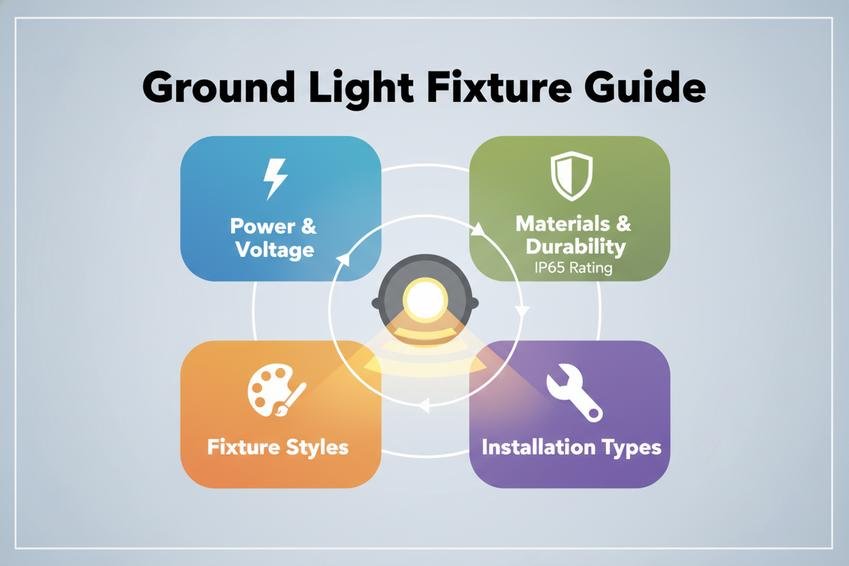
Low Voltage Landscape Lighting System Components
A smart setup of low voltage landscape lighting relies on a few critical parts working together. Let’s break down what makes it all tick.

Step-Down Converter and Low Voltage Transformer Essentials
- A Step-Down Converter drops standard 120V power down to safe 12V or 24V, perfect for outdoor setups.
- The Low Voltage Transformer ensures consistent current, even when multiple fixtures are running at once.
- Look for built-in Voltage Regulation, especially if your lighting system stretches across longer distances.
You’ll want solid Wiring Connections that resist loosening over time. And don’t skip the safety features—thermal cutoffs and overload protection can save your whole system from frying during a surge.
Light Fixtures: LED Ground Lights, Recessed Well Lights, In-Ground Spotlights
• LED Ground Lights are ideal for paths and driveways—they’re low-profile but punchy with light.
• Recessed Well Lights tuck into soil or hardscape, giving you subtle uplighting without visual clutter.
• For drama? Use In-Ground Spotlights to highlight trees, sculptures, or textured walls.
Each fixture varies in brightness (Lumens) and spread (Beam Angle)—so mix and match depending on what you’re trying to show off. Make sure they’re rated high on Weather Resistance, especially if your yard sees rough seasons.
Wiring Essentials with Waterproof Connectors and Corrosion-Resistant Cables
- Choose the right wire gauge—thicker cables reduce voltage drop across long runs.
- Use only UL-listed components to meet code and avoid future headaches.
- Go with direct burial-rated wiring; it handles underground moisture like a champ.
☑️ Always connect using high-quality Waterproof Connectors, not twist caps from your garage drawer.
☑️ Opt for cables with tough sheathing and copper cores—they’re more durable and offer better conductivity.
And yeah, corrosion is no joke outdoors. Stick to wires labeled as “Corrosion-Resistant Cables” so you’re not digging stuff up every year just because something shorted out in the rain.
Control Devices Including Integrated Photocell Sensors and Dimmable LED Drivers
Sometimes you want lights only when needed—or maybe dimmed just enough to set a mood:
• Built-in Photocell Sensors switch lights on automatically at dusk—no timers needed.
• Pair them with Dimmable LED Drivers, which let you tweak brightness levels based on vibe or power savings.
Want more control? Add smart-compatible timers or wireless remotes into the mix for full customization—even motion detectors if you hate dark corners sneaking up on you.
With today’s tech, it’s easier than ever to automate your entire low voltage lighting system without breaking a sweat—or the bank.
Housing Choices in Cast Aluminum, Stainless Steel, and Composite Materials
Group A – Metal Options:
- Cast Aluminum is lightweight yet sturdy; great heat dissipation too.
- Sleek-looking but rugged? That’s where Stainless Steel shines—it resists rust even near coastal air.
Group B – Non-Metal Options:
- Need budget-friendly durability? Go with modern-day engineered plastics like UV-stabilized polymers found in many top-tier brands’ composite housings.
💡 Each housing type affects both looks and lifespan. If you live somewhere wet or salty-air heavy (hello Florida), prioritize high-grade materials with strong ratings in both durability and weather resistance categories like IP65+ standards.
No matter your choice, make sure heat management isn’t an afterthought—better cooling means longer-lasting LEDs inside those tough exteriors of your low voltage landscape lighting gear.
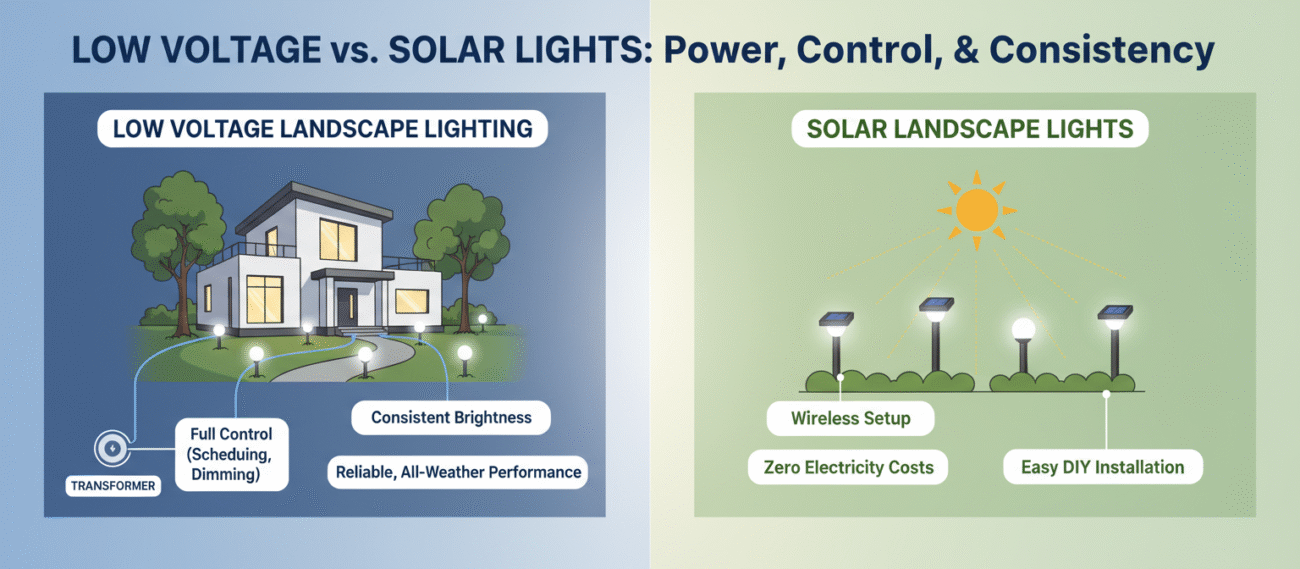
Low Voltage Landscape Lighting Vs. Solar Lights
Choosing between wired and solar outdoor lighting? It’s not just about brightness—think control, consistency, and how much hassle you’re up for.
Low Voltage Landscape Lighting
- Consistent brightness even on cloudy days.
- Flexible placement thanks to connected wiring and a central transformer.
- Works well with timers, dimmers, and smart home systems.
1) A properly installed low voltage system gives you full command over your outdoor vibe—no guesswork after sunset.
2) It doesn’t rely on the sun, so your yard stays lit through storms or winter nights.
• Want reliability? This is it. No batteries to die out or panels to clean.
If you’ve got a long driveway or want to illuminate trees, paths, or architectural features with precision, landscape lighting powered by a transformer is your go-to move. It’s also safer than high-voltage setups and easier to maintain once installed.
You can mix different fixture types—spotlights for trees, path lights for walkways—and connect them all into one seamless grid using durable low-gauge cables.
Step-by-step installation might take some elbow grease up front, but the payoff is huge: consistent performance year-round without needing daily sunshine.
MG Lighting offers tailored packages that include premium-grade fixtures and efficient transformers—perfect if you’re looking to upgrade without getting tangled in confusing specs.
Solar Lights
- Totally wireless setup means no trenching or digging required.
- Powered by the sun = zero electricity costs over time.
- Eco-conscious choice that reduces energy consumption.
1) Pop them into the ground wherever sunlight hits—done in minutes.
2) Built-in sensors turn them on at dusk automatically—super hands-off.
• But here’s the rub: cloudy weeks zap their power fast.
Solar-powered outdoor lighting works best where there’s direct sun most of the day—think open yards or patios without shade from trees or buildings.
Each unit runs independently using its own small panel and rechargeable battery combo; no need for centralized wiring or external transformers like with traditional systems.
That said, performance varies wildly depending on location and season—winter months can leave areas dimmer than you’d like if panels don’t get enough juice during daylight hours.
If you’re seeking an easy-to-install solution with minimal commitment—and don’t mind slightly uneven brightness levels across fixtures—it’s a solid choice for casual use around decks or garden edges.
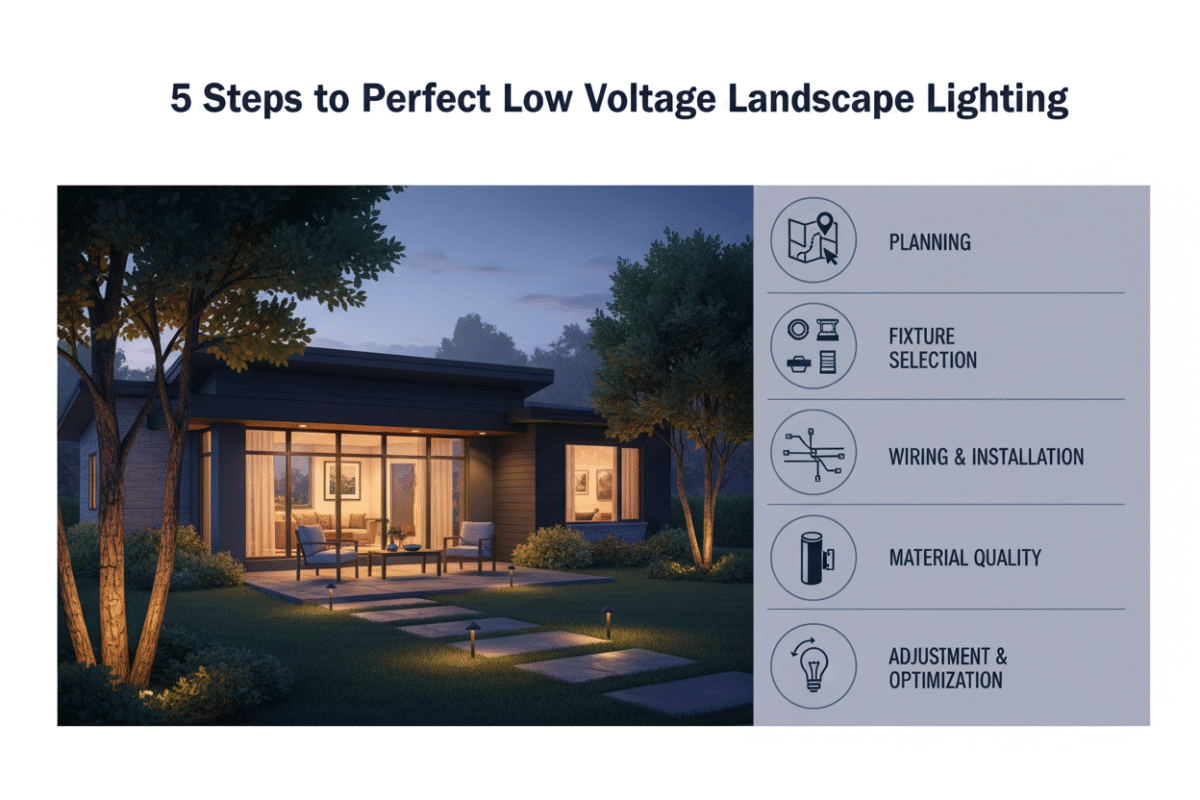
Five Steps For Low Voltage Landscape Lighting Layout
Getting your lighting game right starts with careful planning. These five steps make installing low voltage landscape lighting way smoother and more effective.
Step 1 – Assess Site Features and Layout Requirements
• Walk around the property at dusk—note dark corners, tripping hazards, or standout trees.
• Sketch a rough map showing site features, including pathways, patios, and focal points like trees or water features.
• Consider how people use each area—do they walk through it? Sit there? View it from indoors?
→ Think about what you want to highlight versus what should stay lowkey. For example, a cozy seating nook might need soft light while a long walkway needs consistent coverage along its entire length.
Step 2 – Choose Fixtures: Pathway Ground Lights and Directional Floodlights
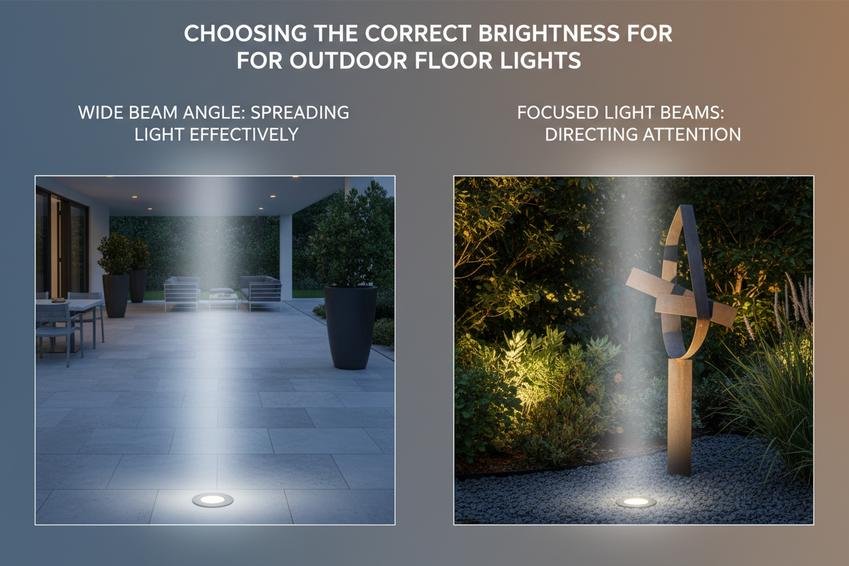
– Match fixture types with function: use pathway lights for navigation and safety, while directional floodlights work best for dramatic uplighting on tall objects like trees or walls.
– Pay attention to beam spread and brightness levels—wider beams cover more ground but may appear dimmer if not properly spaced.
– Blend aesthetics with utility by selecting designs that complement surrounding elements like stonework or garden beds.
Short tip bursts:
✓ Use warm white tones (2700K–3000K) for cozy vibes.
✓ Avoid over-lighting; subtlety often looks more high-end than intensity.
✓ Place fixtures where they won’t get kicked, run over, or buried by mulch.
Step 3 – Plan Wiring with 12-Volt Cable Runs and Waterproof Connections
• Start from the transformer location—ideally near an outdoor outlet—and plan your main trunk line using thick enough wire to prevent serious voltage drop over long runs.
• Branch out secondary lines toward fixture zones using waterproof connectors at every junction point to keep things sealed tight during rainstorms or irrigation cycles.
Grouped Considerations:
▶️ Transformer Placement — Close to power source but hidden from view if possible.
▶️ Wire Gauge — Use thicker gauges (like 12AWG) for longer distances; thinner ones can cause dimming issues at endpoints.
▶️ Connection Safety — Use gel-filled wire nuts or shrink-wrap connectors rated for underground use.
Step 4 – Position Fixtures in Durable, Weatherproof Materials
Heavy-duty matters here—go for brass, copper, or stainless steel when choosing fixtures exposed to harsh weather conditions year-round. These materials resist corrosion better than plastic alternatives.
Keep these key points in mind:
- Secure each light firmly using quality mounting hardware, especially in areas prone to foot traffic.
- Use proper ground stakes that won’t shift after heavy rain.
- Ensure all components are made from truly weatherproof materials, not just labeled as such—double-check IP ratings if needed.
- Don’t forget fixture orientation; even the sturdiest light can look bad if tilted awkwardly toward someone’s eyes instead of a tree trunk!
Step 5 – Test and Adjust Photocell Sensors and Light Angles
After everything’s installed, do a full test run after sunset—it’s the only way to see how your setup actually performs live.
✔ Check every angle of illumination—is it casting weird shadows? Is one tree blindingly bright while another disappears into darkness? Tweak until it feels balanced across your space.
✔ Adjust timers or fine-tune your photocell sensors’ sensitivity, so lights don’t flicker on during cloudy afternoons or stay off too long after dark hits.
✔ Look at overall coverage—not just brightness but directionality too—and make sure no beam is shooting straight into someone’s bedroom window!
By dialing in those final touches, you’ll turn basic lighting into something that feels intentional—and seriously cool-looking—all while maximizing energy efficiency through smart use of low voltage wiring systems like those provided by MG Lighting (just once!).
Pathway Illumination: Low Voltage Landscape Lighting Guide
Lighting your paths isn’t just about visibility—it’s about setting the mood and getting smart with power. Let’s break it all down.
Benefits of Warm White Lighting for Garden Pathways
Soft, warm white lighting doesn’t just look pretty—it works smarter at night.
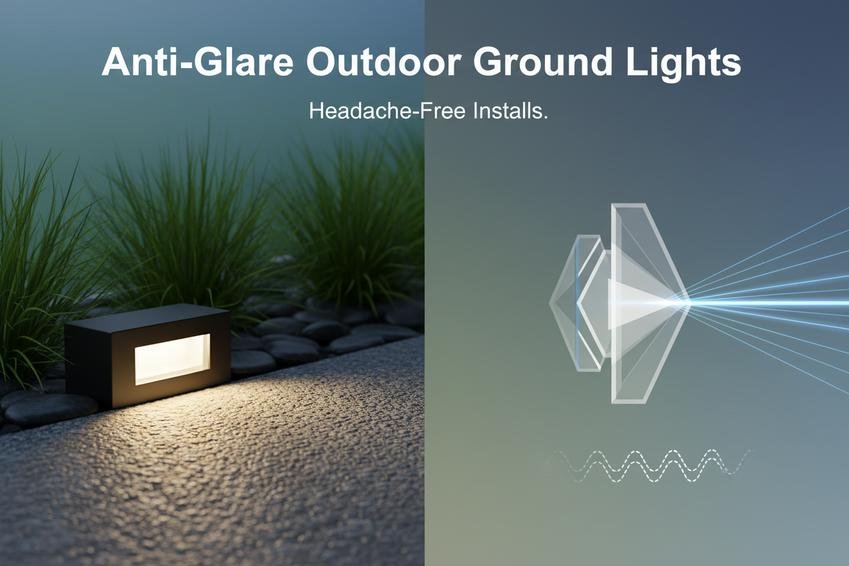
• It boosts visibility without harsh glare, making late walks safer.
• The cozy tone enhances your garden’s ambiance, blending beautifully with greenery.
• Lower color temperature reduces eye strain and keeps bugs away more than cooler tones.
According to a 2024 report by Outdoor Illumination Trends, over 68% of homeowners now prefer warm lighting due to its calming effect and energy-friendly profile. That’s no surprise—this type of garden pathway light is easy on the eyes and the electric bill.
Selecting Pathway Ground Lights with Impact-Resistant Lenses
Not all pathway ground lights are created equal—especially when it comes to dealing with kicks, lawnmowers, or bad weather.
- Look for fixtures made with thick polycarbonate lenses, which resist cracking better than regular glass.
- Choose models labeled as shatterproof or high-impact rated.
- Make sure your lights offer strong weather resistance, especially in areas that get snow or intense sun.
- Consider recessed designs that sit flush with the ground—they’re less likely to get stepped on or damaged.
- Double-check IP ratings; higher numbers mean better protection against dust and water intrusion.
Sturdy gear means fewer replacements—and fewer headaches later on.
Durable Housing Options: Stainless Steel vs. Composite Materials
Choosing between stainless steel and composite materials? Here’s how they stack up:
| Feature | Stainless Steel | Composite Materials |
|---|---|---|
| Corrosion Resistance | Excellent (if marine-grade) | Moderate (depends on resin) |
| Longevity | 10–20 years | 5–10 years |
| Maintenance Needs | Occasional polishing | Virtually maintenance-free |
| Cost Range ($) | $50–$120 per unit | $30–$80 per unit |
If you want a sleek finish that lasts forever, go stainless—but expect some upkeep. For low-fuss installs in humid climates, composites might win out thanks to their solid durability without rust concerns.
Optimizing 12-Volt Power with Waterproof Connectors
Getting the most out of your system starts behind the scenes—with wiring done right.
✔ Use heavy-duty low-gauge cable to reduce voltage drop across long runs of wire
✔ Select high-quality, gel-filled or heat-shrink sealed waterproof connectors—they prevent shorts caused by moisture infiltration
✔ Plan cable routes carefully so you don’t overload any one branch; this keeps your entire system humming smoothly
✔ Always test each connection before burying wires—it’ll save hours later
A well-wired setup ensures consistent brightness across every fixture, even at the farthest point from your transformer. That’s what makes a good low-voltage setup feel like a premium install—and MG Lighting nails this part every time.
By combining smart choices in materials and power management with beautiful light quality, your outdoor space can shine bright without burning through energy—or patience.
FAQs about Low Voltage Landscape Lighting
What makes low voltage lighting a smart choice for large outdoor spaces?
It’s all about safety and control. With just 12 volts running through the system, there’s less risk during installation or maintenance—especially in damp environments. And when paired with energy-efficient drivers and smart sensors, you get reliable light that adjusts to your surroundings without wasting power.
How do waterproof connectors make a difference in long-term performance?
- They keep moisture out—even after heavy rain or sprinkler cycles
- Power stays steady across every fixture, no flickering surprises
- You won’t be replacing corroded wires anytime soon
That small seal inside each connector? It quietly does the work of protecting your entire setup from failure.
Which materials hold up best under constant exposure outdoors?
Stainless steel is tough—it shrugs off rust like it was made for storms. Composite housings are another strong contender: they don’t rust at all and handle temperature swings with ease. For big installations where replacements aren’t easy, these materials save time—and headaches.
Can warm white LEDs really change how a space feels at night?
Absolutely. That soft amber glow isn’t just pretty—it helps guide footsteps along paths while making gardens feel cozy instead of cold. A driveway lined with warm white lights doesn’t just say “safe”—it says “welcome.”
Why is a step-down converter so important in these systems?Standard electrical current is too powerful for low voltage fixtures on its own—that’s where the converter steps in. It reduces incoming electricity down to 12V levels that LED components can safely use, keeping everything cool and efficient over years of use.
Are solar-powered options better than wired ones for bigger projects?Not always. Solar lights may seem easier upfront—no cables—but they often struggle on cloudy days or shaded spots near trees or buildings. Wired 12V setups stay bright no matter what the weather throws at them, which matters when consistency counts most across wide areas like campuses or commercial properties.