The Ultimate Guide to LED Landscape Lighting: Design, Installation, and Costs
Every backyard BBQ, late-night dog walk, or hotel courtyard stroll owes a tip of the hat to one unsung hero: LED landscape lighting. It’s not just about making things “look nice”—we’re talking safety, mood-setting magic, and energy bills that don’t make your accountant cry. For folks buying in bulk—developers, groundskeepers, HOA managers—it’s easy to get burned (pun intended) by cheap fixtures or confusing voltage setups that flicker out faster than a firefly at dawn.
Now toss in weatherproofing worries, tangled wiring plans, and the age-old “Why is this light brighter than that one?” mystery—and you’ve got yourself a real pickle. This guide cuts through all that noise like a beam through fog: from smart power choices to durable materials built for the long haul. Pull up a chair—we’re gonna shine some light on it all.
Reading Notes on LED Landscape Lighting: From Design Dreams to Durable Installs
→ Low Voltage Logic: Safer, more energy-efficient, and easier to install—low voltage lighting is a go-to for residential projects.
→ Material Matters: Cast aluminum and stainless steel resist corrosion and wear, making them smart choices for weatherproof durability.
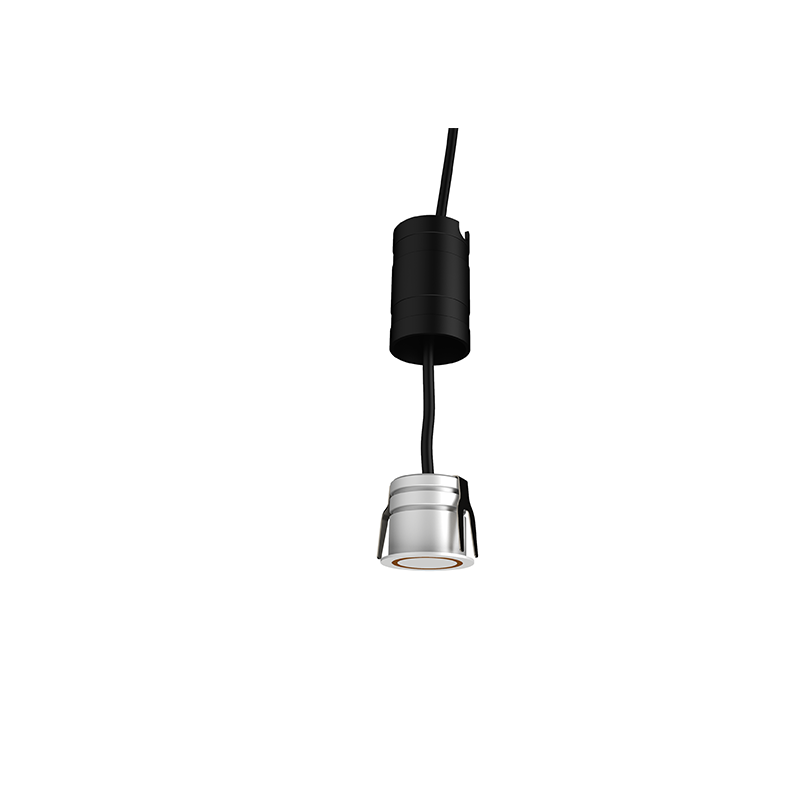
→ Fixture Functionality: Match the right type—spotlights for features, flood lights for coverage, bollards for paths—to your landscape’s needs.
→ Lighting Layout Smarts: Evaluate focal points like pathways or trees; balance warm vs. cool color temps to set the mood just right.
→ Power Plays: Choose between transformers, direct burial cables, or solar panels based on site access and long-term efficiency goals.
→ Secure by Design: Strategic perimeter lighting with photocell sensors adds both deterrence and intelligent control to security setups.
Why Choose LED Landscape Lighting?

Short answer? It’s smarter, sleeker, and saves you money in the long run. Let’s break down exactly why this lighting trend isn’t going anywhere.
The Advantages of Low Voltage Lighting Solutions
Low voltage outdoor setups are an absolute win for homeowners who want both safety and control.
- ⚡ Lower risk of electrical shock makes it safer for pets and kids.
- 💡 Compatible with smart systems, offering enhanced design flexibility.
- 🌱 Cuts energy draw significantly, boosting your energy efficiency game.
- Most low voltage systems use just 12 volts—perfectly adequate for illuminating walkways or garden beds without frying your electric bill.
- They’re easier to install and modify later, which means no stress if you want to change things up seasonally.
And here’s the kicker: according to a recent report by the U.S. Department of Energy (2024), residential users switching to low voltage LED landscape lighting saw average annual savings of $120 in electricity costs alone.
Eco-Friendly Benefits: Energy Star and RoHS Compliance
When you see those little logos—Energy Star and RoHS—you’re not just looking at stickers; you’re looking at proof that your gear is pulling its weight in sustainability.
• Energy efficiency isn’t just about saving cash—it reduces grid demand during peak hours.
• RoHS-compliant fixtures are free from mercury, lead, and other nasties that pollute soil and water supplies.
• These certifications ensure products meet strict environmental standards while still delivering top-tier performance.
Think about it like this: every certified LED landscape lighting fixture helps cut down greenhouse gas emissions by using up to 80% less power than traditional bulbs. That adds up fast across neighborhoods—and even faster across cities.
Durable Materials: Why Choose Cast Aluminum and Stainless Steel?
Tough weather calls for tougher materials—and cast aluminum or stainless steel don’t mess around when it comes to durability outdoors.
| Material | Corrosion Resistance | Lifespan (Years) | Maintenance Level |
|---|---|---|---|
| Cast Aluminum | Moderate | 8–10 | Low |
| Stainless Steel | High | 12–15 | Very Low |
| Powder-Coated Steel | Medium | 6–8 | Medium |
| Plastic Composite | Low | <5 | High |
Stainless steel offers unmatched resistance against rust—even near coastal areas—while cast aluminum balances durability with lightweight construction. Both help extend the lifespan of your setup dramatically compared to plastic or untreated metals.
Bottom line? You won’t be replacing these fixtures anytime soon—which means fewer headaches (and fewer trips to the hardware store).
Design Versatility: From Garden Lighting to Security Perimeters
From subtle glow-ups in your flower beds to serious perimeter security vibes—this stuff does it all without breaking a sweat.
- Garden paths? Use warm-tone LEDs with adjustable beams for cozy ambiance.
- Driveway borders? Opt for recessed fixtures with narrow optics for clean lines.
- Backyard corners? Motion-sensing floodlights add both style and safety.
- Patio zones? Go color-tunable if you want mood lighting that changes on command via app control (yes, really).
Each application benefits from customizable brightness levels, beam angles, and even tunable color temperature, giving you total creative freedom backed by real functionality.
One study by Allied Market Research (2024) noted that multi-zone programmable lights increased perceived property value by as much as 7%, especially when integrated into smart home systems—proof that functional design can also be beautiful design with modern led landscape lighting setups.
How To Plan Your LED Landscape Lighting Layout

Planning the perfect outdoor glow? Here’s how to make your yard shine with smart, stylish lighting moves.
Evaluating Key Areas: Spotlighting Paths and Features
You can’t light what you don’t notice. The trick is knowing what deserves attention—and what doesn’t.
- ✦ Walkways and driveways should never be left in the dark. Use focused beams to guide the way.
- ✦ Highlight trees, statues, or water features to add drama after sundown.
- ✦ Architectural elements like columns or textured walls? They’re begging for a wash of angled illumination.
When placing your lighting fixtures, aim for subtlety—too much brightness ruins the vibe. Layer your lights so they complement rather than compete.
Color Temperature Considerations: Warm vs. Cool Lighting
Choosing between warm and cool tones isn’t just about taste—it’s about setting the right mood.
Warm white light (~2700K–3000K) gives off that cozy, candlelit feel—perfect near patios or garden benches. In contrast, cooler tones (~4000K–5000K) bring out clean lines and sharper contrast, ideal for modern facades or stone pathways.
According to a recent report by Architectural SSL Magazine in early 2024, “outdoor spaces designed with mixed temperature zones increased perceived property value by up to 12%.” That’s serious curb appeal just from adjusting your bulbs’ tone.
Don’t forget to match color temperature across fixtures—mismatched hues can look chaotic instead of curated. And yes, always check if your transformer supports dimming; it helps fine-tune those vibes after dark.
Sizing Fixtures: Choosing the Right Fit for Your Project
Getting fixture size right is more art than science—but there are some solid rules worth keeping in mind:
Grouped by Area:
-
Small Spaces
Use compact spotlights and low-voltage path lights with narrow beam angles to avoid overkill. -
Medium Yards
Mix medium-sized uplights with wall washers and accent spots; balance is key here. -
Large Properties
Go big with wide-beam floodlights and tall bollards where necessary—but use them sparingly to prevent light pollution.
Always consider your project’s voltage needs when selecting fixtures—low-voltage systems are safer and easier to manage but may require larger transformers if you’re powering multiple zones. And don’t skimp on quality materials; outdoor gear needs resilience against weather while still delivering that crisp spread of light MG Lighting is known for.
Step-By-Step Installation Guide For LED Landscape Lighting

Get ready to light up your outdoors like a pro. This guide walks you through the key moves for installing led landscape lighting without breaking a sweat.
Preparing Your Area: Marking Out Locations for Fixtures
Before anything else, nail down your game plan by planning the layout:
• Identify focal points—trees, walls, walkways—and sketch them out on paper.
• Use stakes or chalk to mark where each fixture should go based on your drawing.
• Think about spacing to avoid light pooling or dark gaps between fixtures.
Then, double-check access to power sources and measure wire distances carefully. If you’re working with slopes or uneven ground, adjust marks so your lights stay level once installed.
Powering Up: Low Voltage Transformers and Hardwired Connections
Choosing how you’ll get juice to your system is critical. Here’s what you need to know:
Low Voltage Transformers:
– Ideal for residential setups using 12V systems.
– Plug into standard outlets; safer and more energy-efficient than line voltage.
Hardwired Connections:
– Best suited for permanent installs with higher wattage needs.
– Requires an electrician and may involve permits depending on local code.
Regardless of method, always match transformer wattage capacity with total fixture load plus a 20% buffer.
MG Lighting recommends sticking with low voltage if you’re new to wiring—it’s easier and safer while still giving pro-level results.
Wiring Basics: Using Direct Burial Cables Safely
Direct burial cables are the backbone of any clean install:
Short runs? Use 12-gauge wire for minimal voltage drop. Longer distances? Bump up to 10-gauge.
Avoid sharp bends—they weaken insulation over time.
Keep wires at least 6 inches deep underground unless local code says otherwise.
Don’t forget conduit sleeves under driveways or sidewalks—you’ll thank yourself later when repairs come knocking.
And yes, label both ends before burying anything!
Installing Waterproof Connectors for Longevity
Moisture is public enemy number one when it comes to outdoor wiring longevity—especially in trenching and wiring jobs where water can sneak into exposed splices over time.
Waterproof connectors form a sealed barrier that protects against corrosion, short circuits, and signal loss. Look for gel-filled twist caps or heat-shrink butt connectors rated specifically for exterior use. After making connections, tug-test every splice gently—if anything slips out easily now, it’ll fail faster in wet weather later on.
Once everything’s secure? Wrap with electrical tape as added armor before backfilling trenches or covering junctions with mulch or gravel.
Positioning Tips for Optimal Light Distribution
Smart placement makes all the difference between “meh” lighting and wow-factor curb appeal:
• Angle uplights toward tree trunks instead of branches—they create dramatic shadows above while anchoring focus below.
• Path lights should overlap slightly but not flood each other; stagger them across walkways rather than lining both sides evenly.
• Keep spotlights off reflective surfaces like windows unless intentional glare is part of the design vibe.
According to a recent report by Outdoor Illumination Insights Q1/2024, systems that use varied beam angles across zones experience up to 30% better uniformity in coverage compared to single-angle setups—a small tweak that brings big results during final adjustments after testing the system thoroughly post-installation.
Always step back at night once everything’s running—you’ll instantly see what needs tweaking before calling it done!
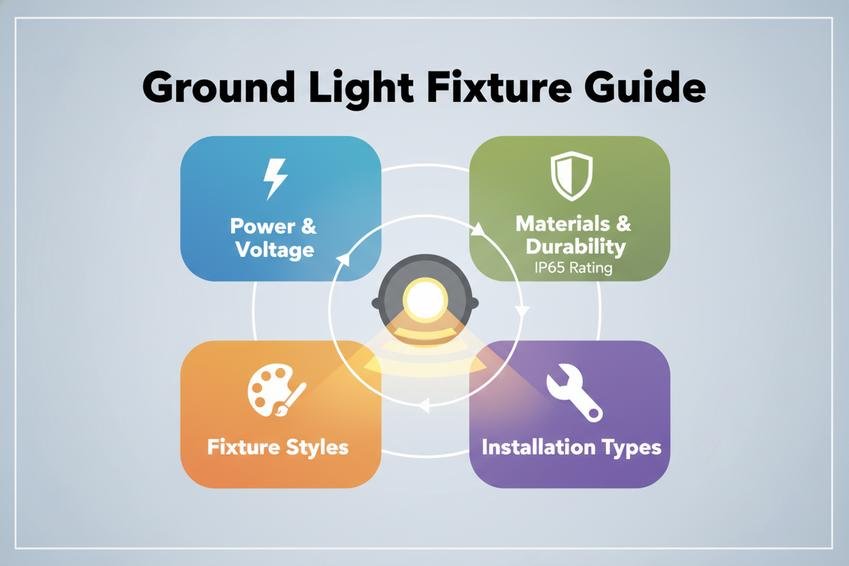
3 Key Factors Influencing LED Landscape Lighting Costs

Understanding the price of LED landscape lighting means breaking it down by fixture type, materials used, and how it’s powered.
Fixture Types: Comparing Costs among Well, Flood, and Spot Lights
When eyeing led landscape lighting, fixture choice plays a huge role in your budget. Here’s how they stack up:
-
Well Lights
• Hidden below ground—great for clean visuals but often pricier to install due to installation complexity.
• Best for uplighting trees or architectural columns. -
Flood Lights
• Provide wide coverage; useful for illuminating large areas like driveways or patios.
• Typically more affordable than well lights but can consume more power depending on their light output. -
Spotlights
• Focused beams make them ideal for highlighting specific features—think statues or shrubs.
• Mid-range in cost with flexible placement options; some models offer adjustable heads that boost value.
Each type varies not just in upfront cost but also in how it affects ongoing energy use and maintenance over time.
Material and Power Source: Evaluating Upfront and Long-term Expenses
The build quality and power setup of your outdoor lighting system can either save you money or drain your wallet slowly over time.
• Choosing aluminum over brass might lower initial costs—but brass resists corrosion better, reducing long-term maintenance headaches. Stainless steel sits between the two in both price and durability.
• Solar-powered fixtures cut electric bills entirely but may deliver inconsistent performance depending on sun exposure—especially where high-intensity illumination is needed.
• Low-voltage wired systems are more stable but come with higher installation fees due to added hardware like transformers and cables—plus the labor involved in trenching wires.
• Smart-enabled systems offer remote control features but usually require a hub or app subscription. While they’re convenient, expect to pay extra upfront for this level of tech integration into your system’s design.
Balancing these elements means weighing short-term savings against long-haul efficiency—and deciding what really matters most for your outdoor vibe.
Best Practices For Light Placement In Landscapes

A well-lit yard isn’t just about brightness—it’s about balance, safety, and a splash of style.
Pathway Illumination: Effective & Safe Lighting Strategies
• Even spacing avoids dark gaps—aim for lights every 6–8 feet.
• Choose low-glare fixtures for eye comfort while walking.
• Solar-powered path lighting can be eco-friendly and cost-effective.
Smart placement of spread lighting creates rhythm along garden paths. Avoid placing lights directly across from each other; stagger them slightly for a more natural look. Also, consider using downlighting from nearby trees or posts to softly illuminate the path without harsh shadows.
Flood Lights vs. Spot Lights: Spotlighting Key Landscape Features
“Floods give you the canvas; spots paint the details,” as noted by IESNA’s Outdoor Illumination Trends Report, Q1–2024.
Group A – Flood Lights:
- Broad beam spread covers wide zones like driveways or patios.
- Ideal for general safety and ambient light washing.
Group B – Spotlights:
- Narrow beam focuses on statues, trees, or architectural elements.
- Great for dramatic uplighting, especially on textured surfaces.
Mixing both adds depth—floods provide coverage while spotlights add punchy highlights that pull focus where it counts.
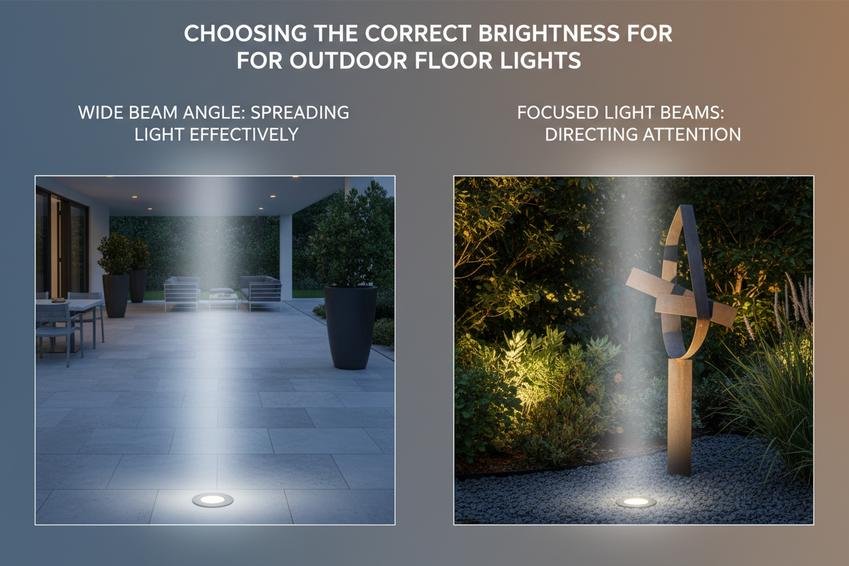
Adjustable Beam Angles: Customizing Your Lighting Experience
You don’t need a full redesign to change your vibe—just tweak the angle!
• Start narrow (~15°) for focal points like water features with intense accent lighting.
• Go medium (~30°–45°) when highlighting bushes or stonework with subtle shadow play using grazing techniques.
Wider angles (>60°) are better suited for wall washing, giving even illumination across flat surfaces without harsh contrasts. Adjustable fixtures let you experiment until the mood feels just right—and hey, moods change with seasons!
Bollard Lights: Integrating Functionality & Aesthetics in Design
Tall enough to stand out but subtle enough not to scream “look at me,” bollards are where form meets function.
Grouped Benefits:
- Safety Boost → Keeps walkways visible without glare.
- Style Points → Designs range from sleek modern cylinders to rustic lantern-like forms.
- Durability → Many models are built tough against weather and foot traffic.
- Versatility → Use them along paths, driveways, or even around patios where traditional pole lights feel too tall.
Many designers use bollards as anchors within a larger led landscape lighting scheme, pairing them with soft moonlighting overhead or low-level silhouetting behind shrubs for layered visual interest that feels both inviting and intentional.
Enhancing Security With LED Landscape Lighting

A few smart moves with your LED landscape lighting can seriously step up your home’s security game—without blowing up your energy bill.
Strategic Placement: Perimeter Lighting for Maximum Security
Keeping the edges of your property well-lit is more than just a style choice—it’s a safety essential. Here’s where to put those lights:
- Around fences and hedges to expose hiding spots.
- Along pathways, making it tricky for intruders to sneak by unnoticed.
- Near entryways and garage doors, where visibility matters most.
- Across wide-open areas like backyards or parking zones.
- At corners or blind spots that CCTV might miss.
Using focused perimeter lighting not only discourages trespassers but also gives you better control over what’s happening outside after dark. Bonus? It helps guests navigate safely, too.
Using Integrated Photocell Sensors for Enhanced Efficiency
Why waste electricity when you don’t have to? That’s where photocell sensors come in handy—they’re like auto-pilot for your outdoor lighting setup.
• These sensors detect ambient light, switching on only when it gets dark.
• You won’t need timers or manual switches anymore—just set and forget.
• Combine them with smart tech like timers, motion sensors, or full-on smart lighting systems to fine-tune brightness levels throughout the night.
According to a 2024 report by the U.S. Department of Energy, homes using automated photocell controls reduced outdoor lighting costs by up to 35%. That’s a win-win—security plus savings.
Impact Resistant Lenses: Ensuring Reliability in Vandal-Prone Areas
When you’re installing lights in high-risk zones—like alleyways, public-facing gardens, or side yards near sidewalks—you’ve got to think durability. That’s where impact-resistant lenses earn their keep.
These tough-as-nails covers protect your fixtures from kicks, rocks, and even baseball bats. If someone tries messing with your gear, these lenses keep things running without skipping a beat. They’re especially useful on bollard lights along driveways or wall-mounted units near gates. Pair that strength with reliable illumination from high-quality LEDs and you’ll get consistent performance—even if someone tries playing rough with your system.
And yes, MG Lighting offers models built exactly for these conditions—but any rugged design will do the trick if it’s rated right.
FAQs about LED Landscape Lighting
What makes low voltage systems a smart choice for larger outdoor lighting setups?
Low voltage systems are popular not just because they’re safer, but because they make sense when you’re dealing with dozens of lights across wide spaces. Here’s why people trust them:
- Reduced shock risk—especially important in wet or public areas
- Energy savings that add up fast over time
- Easy to install and expand without needing an electrician every step of the way
Should I go with warm white or cool white LEDs outside?
It depends on what you want your space to feel like. Warm white (around 2700K) gives off a soft glow—it invites people in. Perfect near patios or garden benches where comfort matters. Cool white (4000K+), though? It sharpens edges and boosts visibility—great for driveways or security zones where clarity wins over coziness.
Which materials hold up best outdoors year after year?
When nature throws everything at your lights—from rainstorms to foot traffic—you need fixtures built tough:
- Cast aluminum resists rust while staying lightweight
- Stainless steel shrugs off dents and corrosion alike
- Powder-coated finishes keep things looking good even under harsh sun
These aren’t just technical specs—they’re peace of mind when you don’t want to replace gear every season.
Why does Energy Star certification matter when buying lots of ground lights?
Because efficiency isn’t just about saving money—it’s about consistency. Certified LEDs use less power without sacrificing brightness, which is critical if you’re running 50+ units across a parkway or hotel grounds. Over time, those small savings turn into major budget relief—and fewer headaches from burnt-out bulbs too soon.
Can photocell sensors really cut down energy waste across big properties?Absolutely—and here’s how: as daylight fades naturally each evening, photocells quietly switch the system on without anyone lifting a finger. No timers to reset after daylight saving changes; no wasted electricity during bright mornings either. It’s one tiny sensor doing a huge job behind the scenes.
How do I pick the right size fixture for different parts of my yard or property?Start by thinking scale:
- Open lawns call for bigger floodlights that wash wide areas evenly
- Near sculptures or trees, smaller spotlights create drama without overwhelming detailBalance is key—you want enough light to guide footsteps safely but not so much it feels like an airport runway at midnight!
- Aluminum vs. Brass: Which Material Lasts Longer for Landscape Lighting?
- Wall Grazing vs. Wall Washing: How to Position In-Ground Lights for Best
- Will a Lawn Mower Break My In-Ground Lights? (Design & Placement Tips)
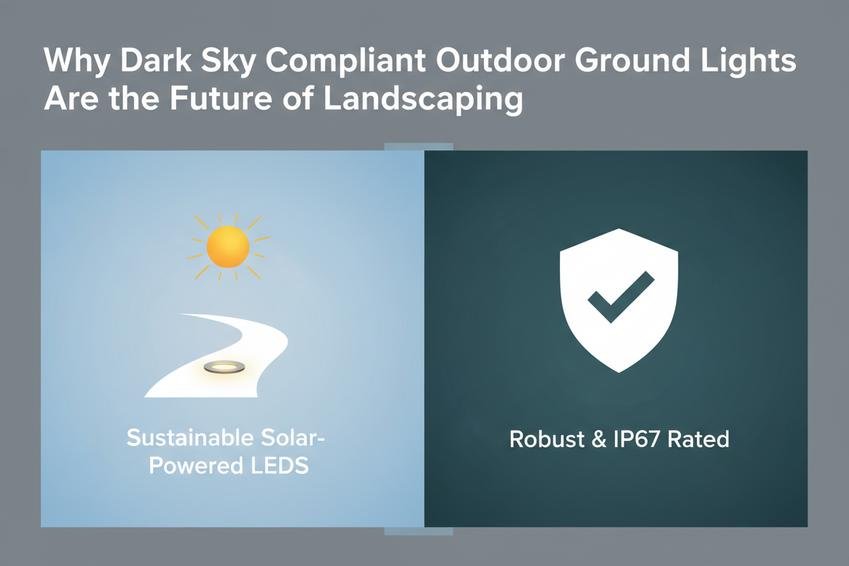
- Dark Sky Compliant Ground Lights: Illuminating Your Yard Without Light Pollution
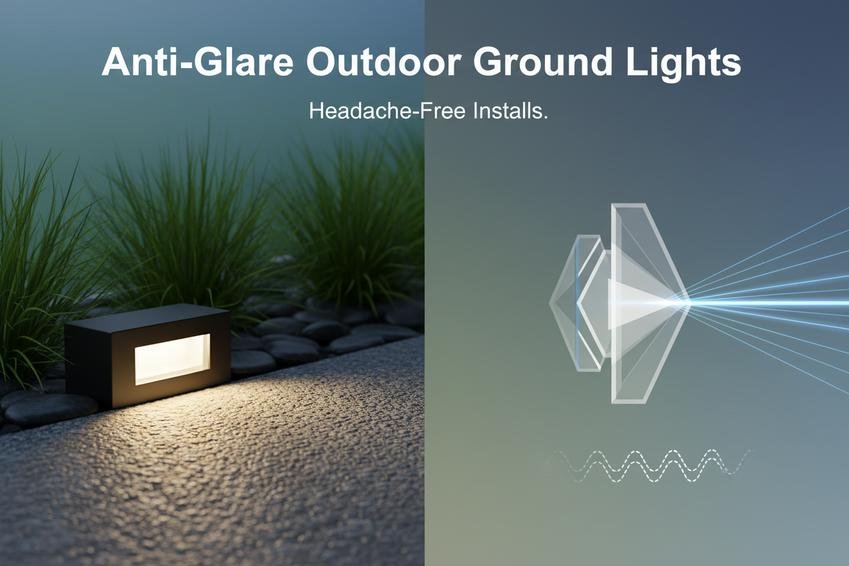
- How to Avoid Glare: A Guide to Choosing Anti-Glare Outdoor Ground Lights