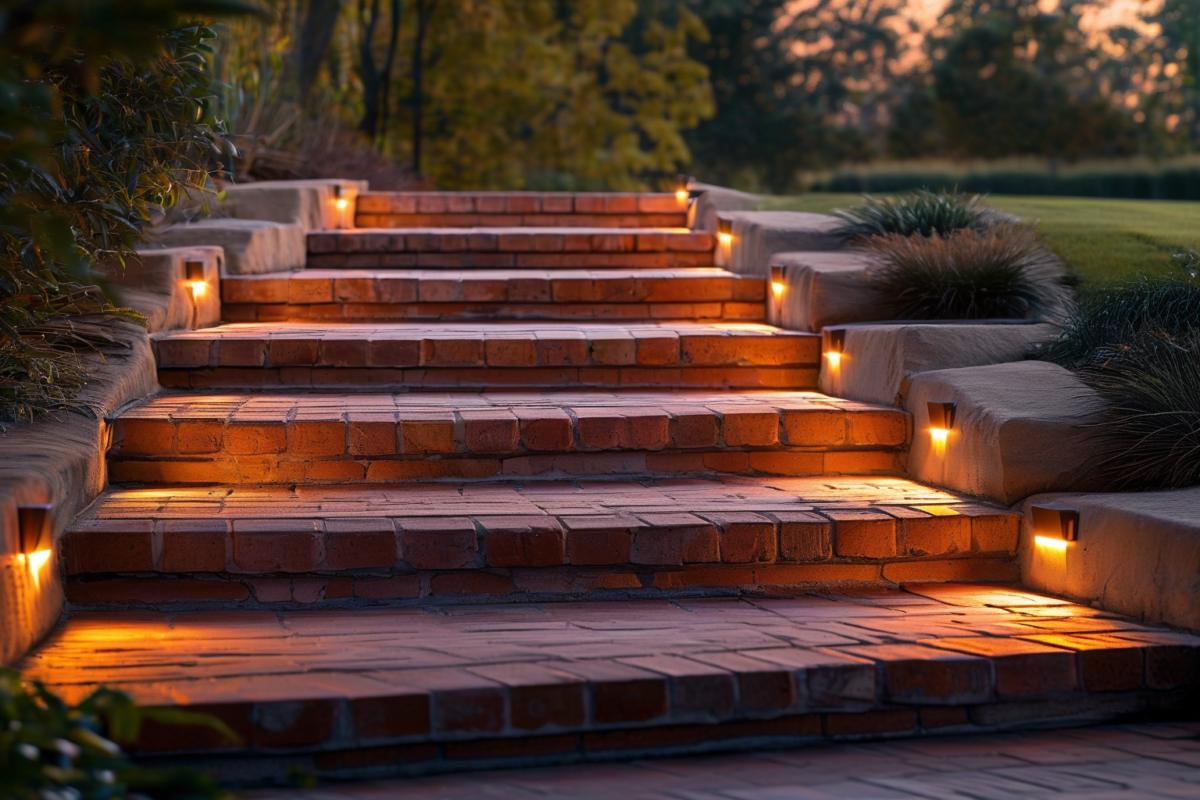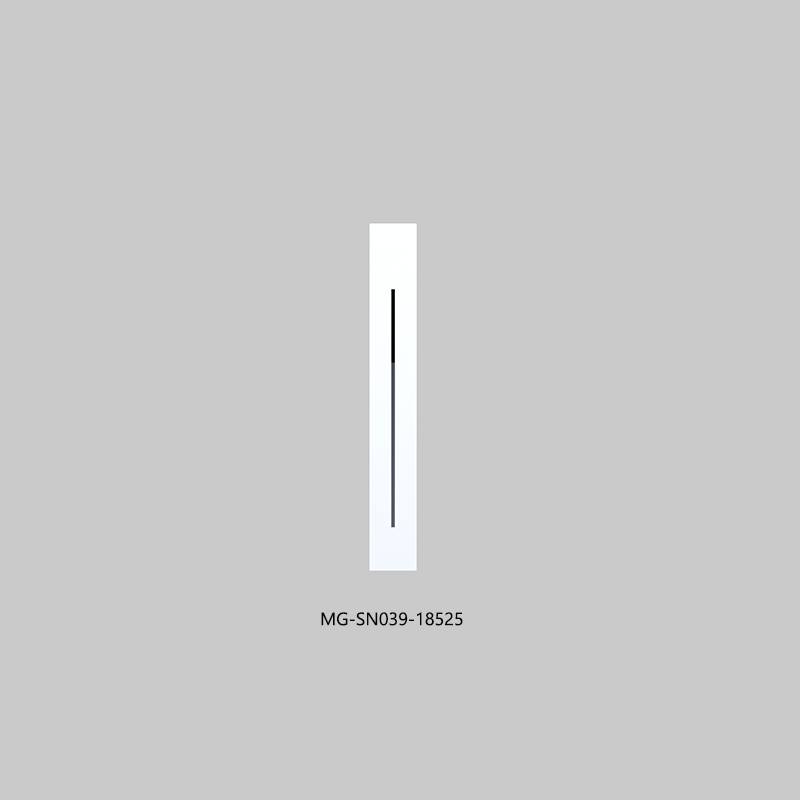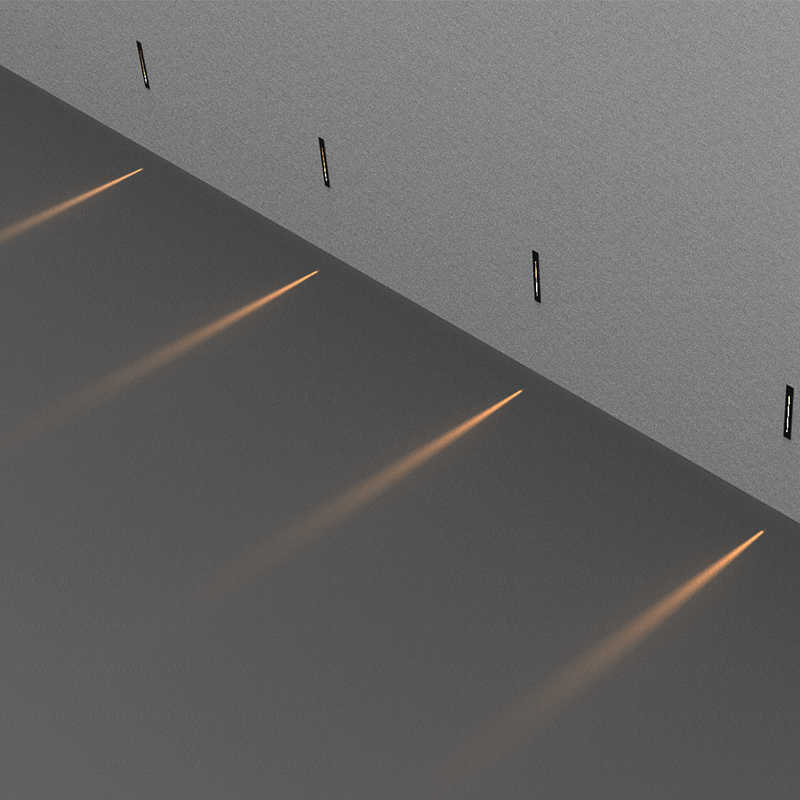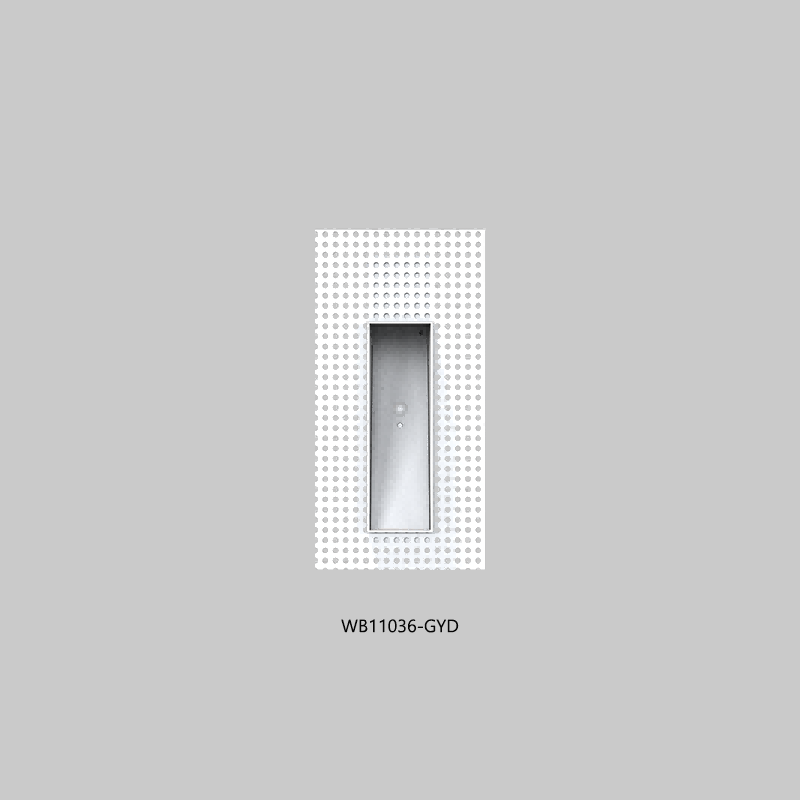
Outdoor stairs can turn unforgiving fast: one sloppy seal or mismatched driver invites flicker, water, or callbacks. Knowing how to install LED step lights starts with matching mounting, power, and exposure.
Recessed fixtures need cutout depth and drainage planning; surface-mounted options dodge major surgery. For crews, specifiers, buyers, IP67 protection, voltage, wattage, driver capacity, and access keep jobs on track.
Key Notes on How to Install LED Step Lights
➔ Preparation: Review site conditions, stair material, and IP67-rated fixtures. Gather junction boxes, weatherproof connectors, transformers or drivers, and technical datasheets.
➔ Mounting Options: Choose recessed housings for seamless integration or surface-mount fixtures to avoid cutting. Plan cutout depth, drainage, and wiring routes.
➔ Wiring & Sealing: Follow polarity diagrams, secure low-voltage or constant-current drivers, and seal every cable entry with outdoor-grade sealant.
➔ Compliance Checks: Verify UL listing, CE/RoHS where needed, impact resistance, thermal management, and proper ingress protection before energizing.
Trend & Insight Why Outdoor Stair Lighting Is Shifting to LEDs
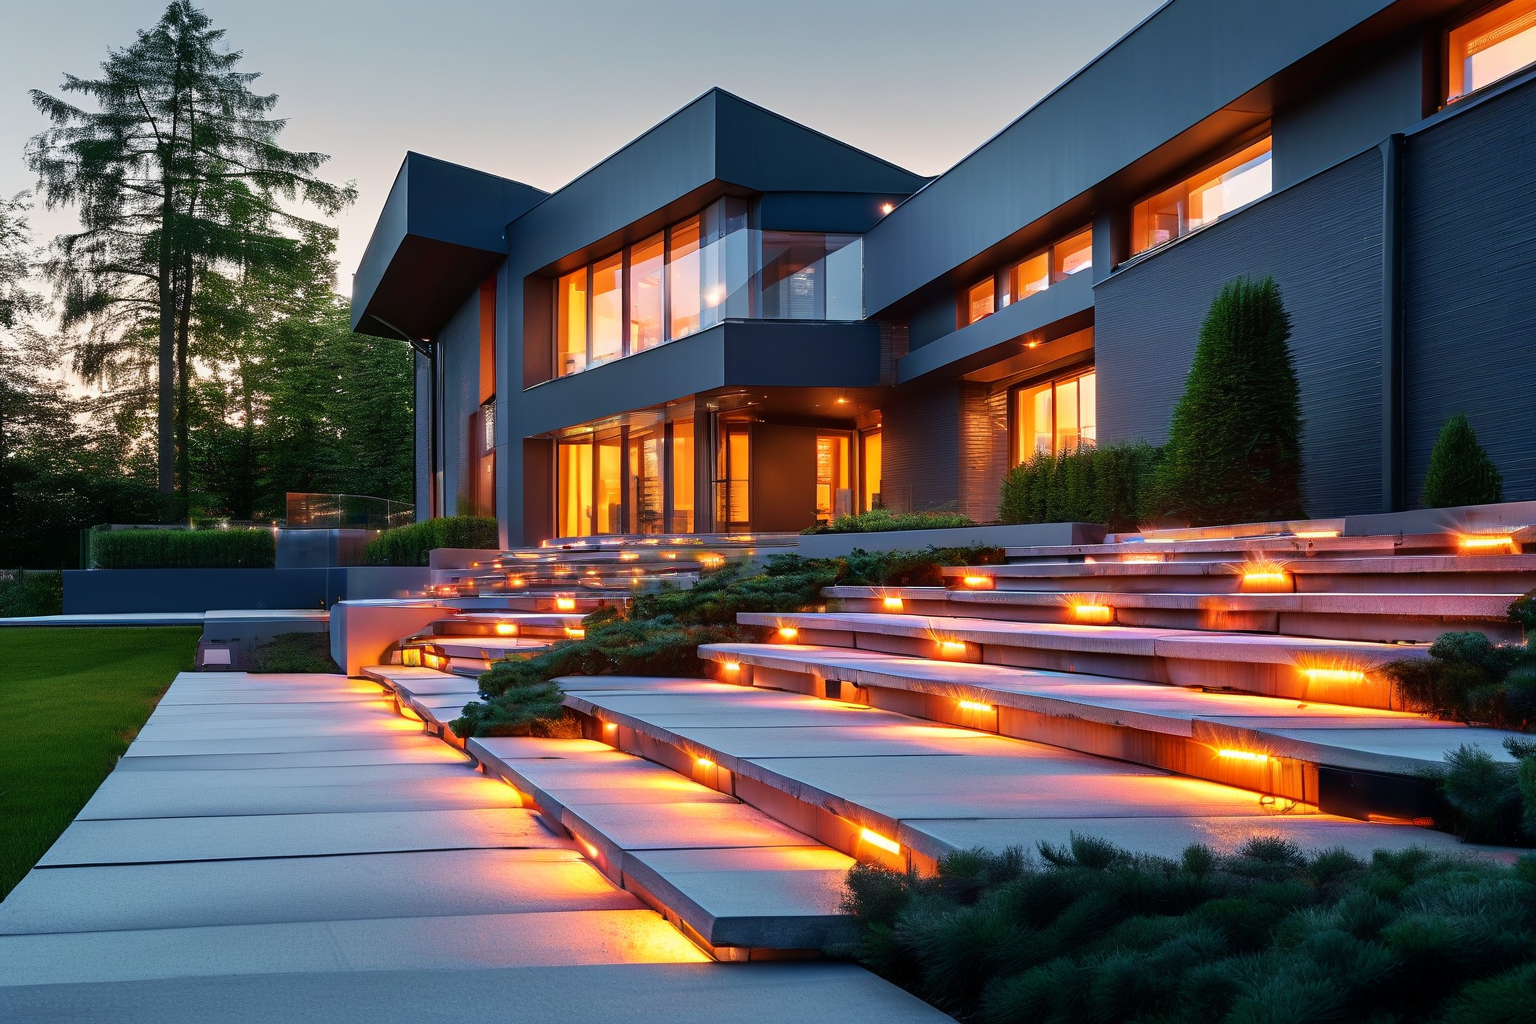
Outdoor stair projects are moving toward LEDs because lower power needs, controlled light, and tougher fixtures solve practical problems at once. For anyone researching how to install LED step lights, choices involving color, wattage, housing, and placement shape safety, comfort, and long-term costs.
landscape-pathway-ambiance”>How Color Temperature Choices Impact Landscape Pathway Ambiance
Good architectural lighting balances stair visibility with visual comfort, so brighter is not always better.
-
Color character
-
2700–3000K warm white produces relaxed outdoor ambiance around wood, stone, and gardens.
-
4000K cool white gives crisper illumination, often suiting contemporary paths.
-
-
Light quality
-
A CRI above 80 keeps surface colors recognizable.
-
Wide beam angles soften transitions; narrow beams emphasize individual treads.
-
The Kelvin scale describes light color rather than brightness. When learning how to install LED step lights, pair color temperature with practical lumen output instead of judging Kelvin alone. MG Lighting fixtures can be considered alongside spacing, beam control, and site conditions when planning LED step lighting.
Predicting Wattage Consumption Trends in Commercial Corridor Installations
For commercial lighting, how to install LED step lights efficiently starts with counting fixtures and estimating operating hours. Higher luminous efficacy, measured in lumens per watt, can cut power consumption without sacrificing useful light.
| Fixtures | Watts Each | Total Load | Annual Energy at 12 h/day |
|---|---|---|---|
| 20 | 3W | 60W | 263 kWh |
| 40 | 3W | 120W | 526 kWh |
| 60 | 3W | 180W | 788 kWh |
| 80 | 3W | 240W | 1,051 kWh |
| 100 | 3W | 300W | 1,314 kWh |
Actual electrical load must also account for driver specifications. Strong energy efficiency, suitable smart controls, and scheduled dimming support lower operating costs and broader sustainability goals in commercial lighting.
The Rise of Corrosion-Resistant Aluminum Housing in Outdoor Steps
Aluminum fixtures are popular because a quality metal fixture can manage heat while resisting outdoor exposure.
-
Protection
-
IP67 weatherproofing helps block dust and temporary water immersion.
-
Powder coating adds moisture resistance and protects exposed surfaces.
-
-
Service life
-
Effective thermal dissipation carries LED heat into the housing.
-
Better heat control supports driver and diode durability.
-
For concrete stairs, retaining walls, or decks, understanding how to install LED step lights also means checking drainage, cable sealing, mounting depth, and compatible architectural hardware. In short, sound LED stair-light installation depends on both electrical planning and physical protection.
Comparative Recessed LEDs Vs. Surface Mount Fixtures
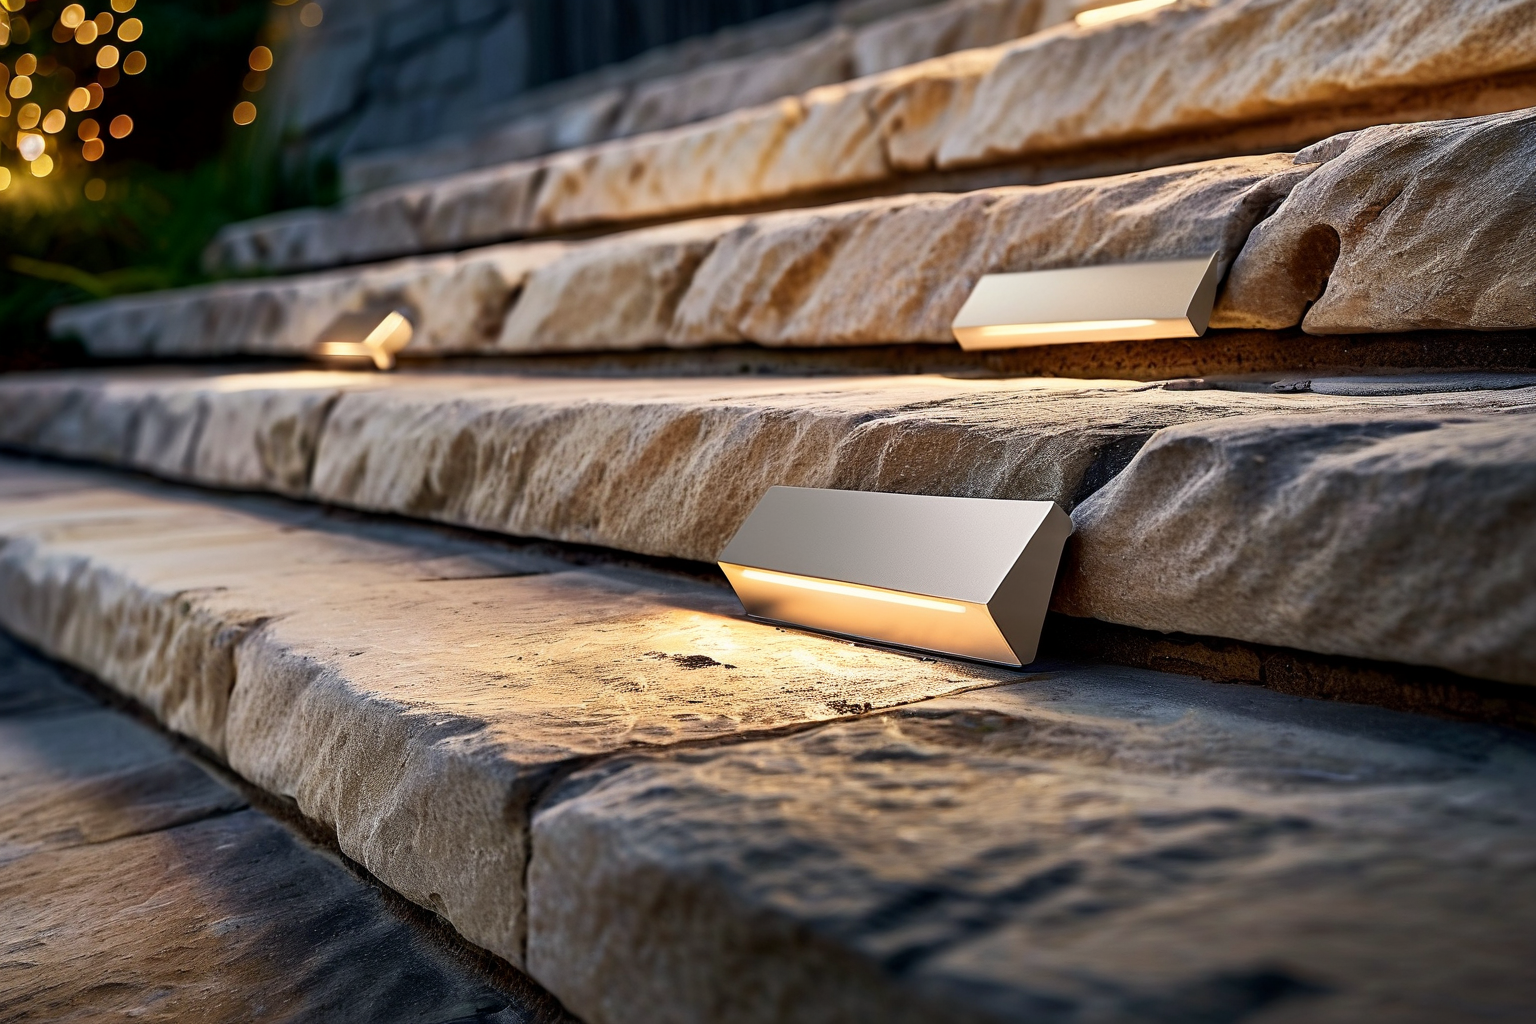
Choosing between recessed and surface-mounted outdoor lights comes down to the mounting material, available depth, wiring path, and the finish you want. When learning how to install LED step lights, these practical differences matter because concrete, timber, and masonry each call for a different approach.
Recessed LEDs
Recessed LEDs sit nearly flush with the stair face, giving outdoor steps a tidy built-in look. The catch is that installation needs enough space behind the finished surface.
-
Before cutting:
-
Check installation depth for the housing canister, plus clearance for wiring and heat management.
-
Mark the opening carefully. A hole saw suits compatible wood or similar materials, while a concrete wall may require masonry tools.
-
-
Behind the light:
-
Route low-voltage wire away from sharp edges and places where water can collect.
-
Position the junction or connection point where it remains serviceable.
-
Keep connections protected rather than burying an unsuitable splice.
-
-
Secure the fitting with approved mounting clips.
-
-
At the finished face:
-
Apply exterior-rated waterproof sealant where the manufacturer specifies.
-
Seat the faceplate evenly so water cannot easily work behind it.
-
That’s the nuts and bolts of how to install LED step lights with a recessed finish: plan the cavity before making a permanent cut.
Surface Mount Fixtures
Surface fixtures are handy when cutting a finished stair, timber stringer, or solid concrete is a no-go. A mounting bracket attaches directly to the surface using suitable screws and a drill, leaving the light body slightly proud.
For LED step light installation, check three practical details: projection, beam angle, and impact resistance. A low-profile fitting is less likely to catch shoes or cleaning equipment.
Run cable through a protected route to the junction box or driver. Outdoor-rated wire connectors keep electrical joints secure, while the supplied gasket helps stop moisture entering behind the fixture. Keep connections accessible for future maintenance.
Compared with recessed installation, surface mounting usually means less cutting and easier replacement. For anyone researching how to install LED step lights on existing stairs, that can make the job far less messy.
Can You DIY Stair LED Wiring?
Learning how to install LED step lights is doable when the fixture, supply, and cable specifications match. Good planning matters: check ratings before drilling, follow local electrical rules, and leave mains-voltage work to a licensed electrician when required.
What Tools and Technical Datasheet Do You Need?
Before figuring out how to install LED step lights, gather the basic gear and read the fixture paperwork. It saves a lot of hassle later.
-
Preparation
-
Electrical checks
- Use a multimeter and voltage tester to confirm voltage and test circuits safely.
-
Installation
- Keep a wire stripper, screwdriver, drill, and electrical tape handy.
-
-
Product details
-
Check the technical specification for customized voltage, wattage, dimensions, and driver requirements.
-
Follow the supplied wiring diagram and mounting instructions rather than guessing how the LED lights connect.
-
How to Achieve Reliable Wiring Connection and Grounding?
Reliable connections are a big part of how to install LED step lights, especially outdoors where moisture can cause trouble.
-
Match fixture polarity to the wiring diagram.
-
Make secure joints with a rated splice connector or terminal block.
-
Protect exposed connections using heat shrink tubing and an appropriate waterproof connector.
-
Confirm the ground wire reaches the required earth ground.
-
Check circuit continuity before closing accessible junction boxes.
Seal cable penetrations as specified, but don’t bury serviceable connections behind permanent finishes. That makes LED step-light wiring far easier to inspect and repair.
Should You Use a Low Voltage Transformer or Constant Current Driver?
Choosing the right supply is central to how to install LED step lights correctly.
-
For constant-voltage lights:
-
Use a compatible low voltage transformer or power supply.
-
Check total wattage capacity, allowing the manufacturer’s required margin.
-
Account for cable length and voltage drop.
-
-
For constant-current LEDs:
-
Use the specified constant current driver.
-
Match its output current and voltage range to the fixtures.
-
Verify dimmer switch compatibility before buying controls.
-
Keep the driver dry, ventilated, accessible, and installed exactly where its rating permits.