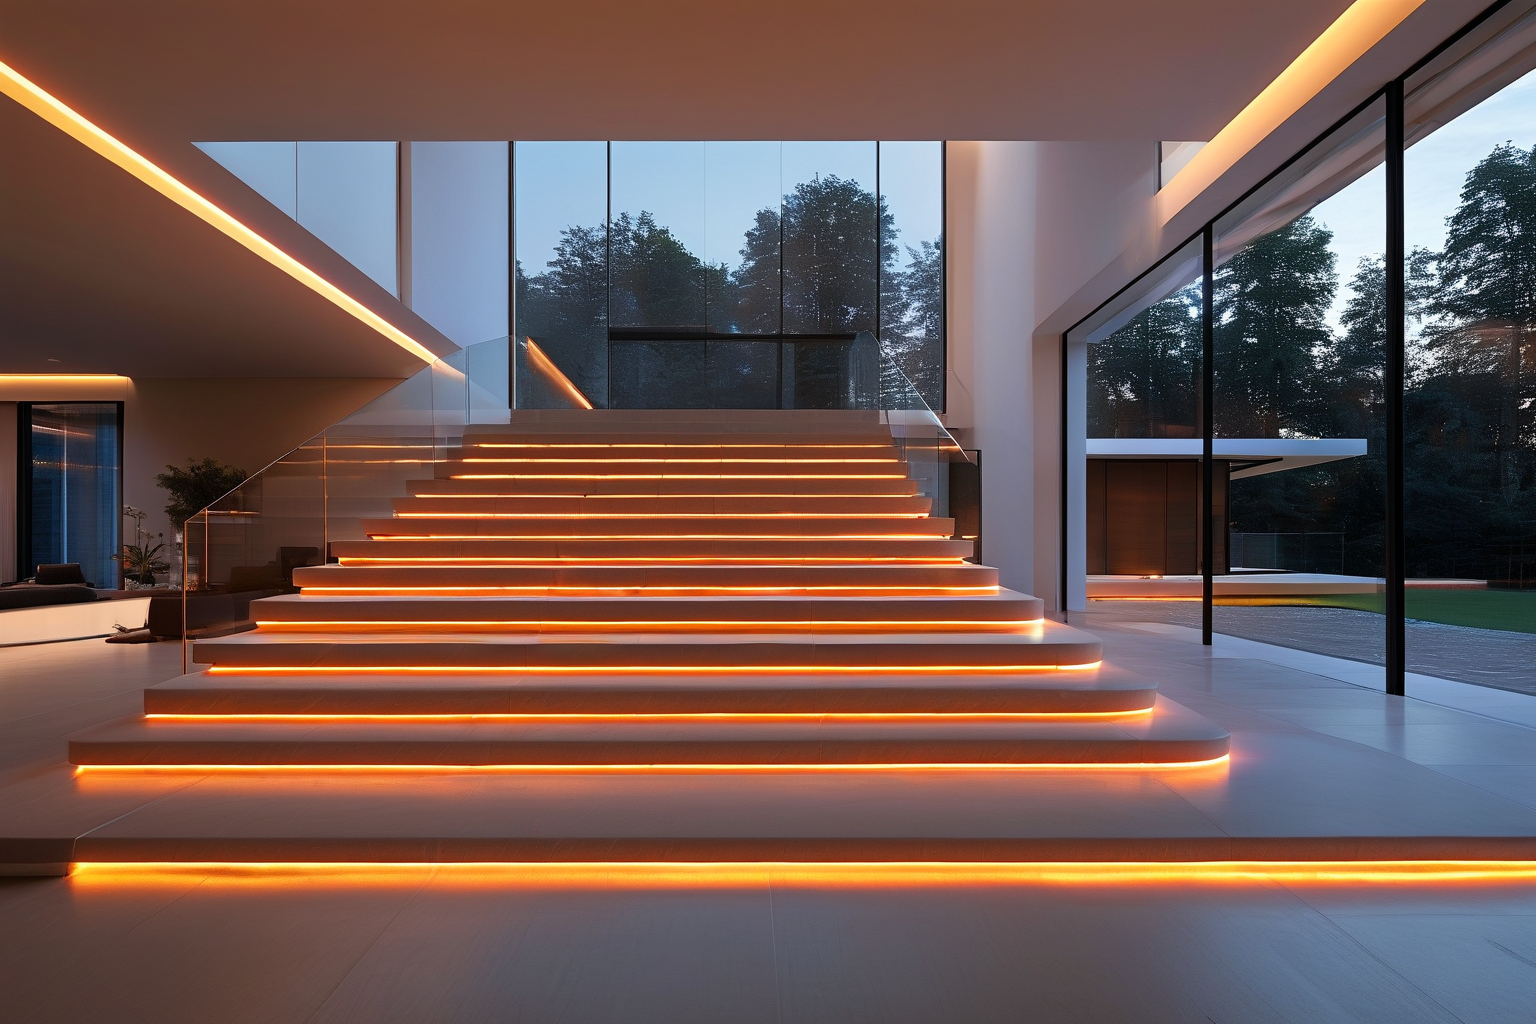
Why Motion Activated LED Strips for Stairs Are a Must-Have Upgrade
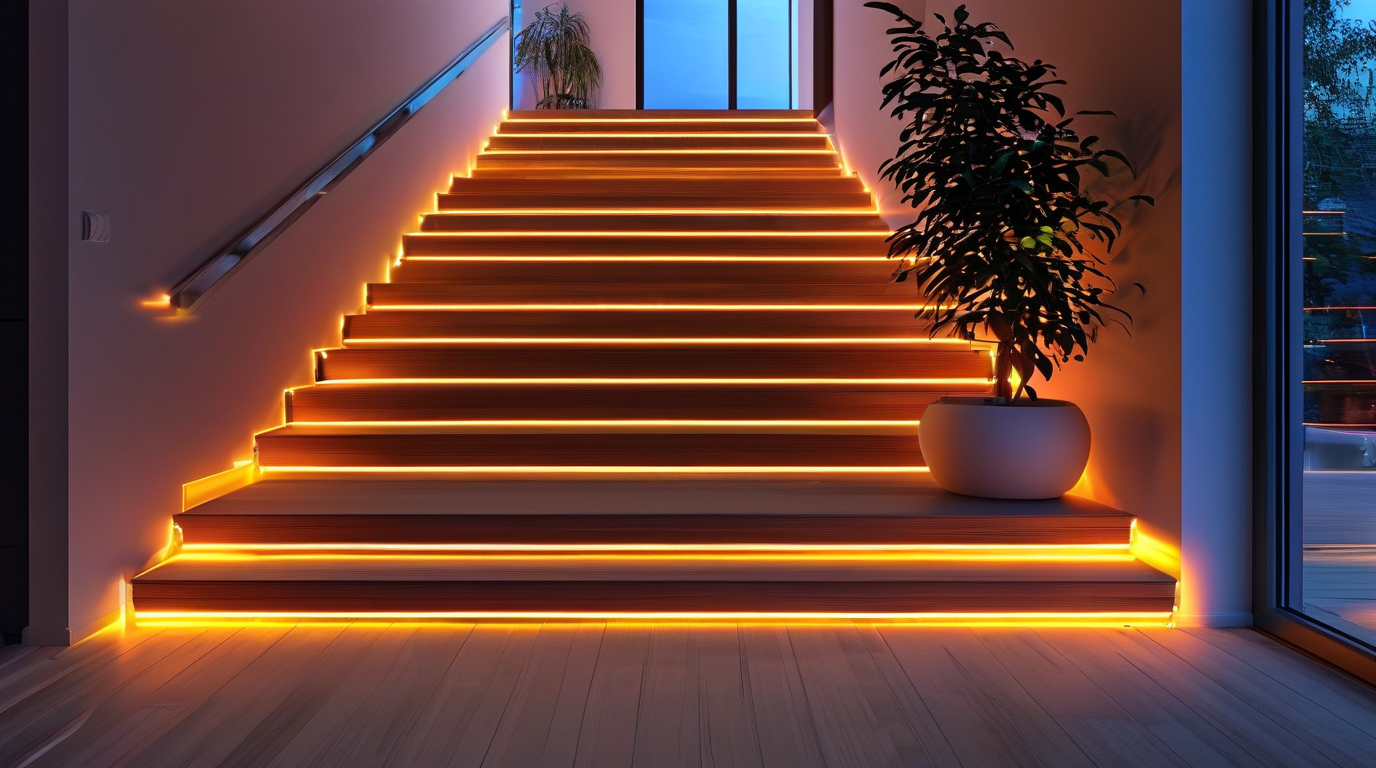
Upgrading your stairway with motion activated LED strips for stairs is one of the smartest improvements you can make to a home or commercial space. Unlike outdated fixtures that stay on all night or require a manual switch, these smart LED strip lights for stairs respond instantly to movement and turn off automatically when no one is around. The result is a safer, more efficient, and visually striking staircase that requires almost no daily effort to operate. Below are the five key reasons this upgrade pays for itself in comfort, safety, and long-term value.
Safety First: Light Exactly When You Need It
Stairs are one of the most common locations for nighttime falls and injuries. A dark step, a loose rug, or simply misjudging a tread can lead to serious accidents. Motion activated LED strips for stairs solve this problem by illuminating the full run of steps the moment someone approaches. The instant brightness highlights every riser and edge, making it easier for children, elderly family members, guests, and employees to navigate safely after dark. Because the lights are installed along the tread, riser, or wall base, they cast a low, even glow precisely where feet land, eliminating harsh shadows caused by overhead lighting.
Energy Savings That Add Up
Traditional stair lights are often left on for hours at a time, wasting electricity and shortening bulb life. In contrast, LED strip lights for stairs with motion sensors only draw power when the sensor detects movement. Most models use low-voltage LEDs that consume a fraction of the energy of incandescent or halogen bulbs, and the automatic shut-off means you will never pay to light an empty staircase. Over months and years, the reduction in energy use and replacement costs can make these kits one of the most cost-effective lighting upgrades in a home or building.
Ambiance and Aesthetic Appeal
Beyond the practical benefits, motion activated LED strips for stairs create a modern, high-end look. The soft linear glow can be tucked under the nosing of each tread, recessed into the wall, or run along the base of the handrail for a clean, architectural effect. Many systems offer adjustable color temperatures or RGB color options, so you can choose warm white for a cozy residential feel, cool white for a contemporary commercial space, or even color-changing modes for special events. The lighting becomes a design feature, not just a utility.
Hands-Free Convenience for Every User
One of the biggest advantages of motion-activated stair lighting is that it removes the need to fumble for a switch in the dark. This is especially useful when carrying laundry, groceries, luggage, or a sleeping child. The sensor handles the work for you, turning the lights on before you reach the first step and off after you have reached the landing. Typical benefits include:
- No wall switches needed, keeping walls clean and installation simple
- Automatic operation for family members, guests, and visitors with mobility challenges
- Adjustable timer and sensitivity settings to match foot traffic and room layout
- Silent activation that will not disturb sleeping household members
- Seamless integration with smart home systems and voice assistants in many kits
Boost Property Value and Market Appeal
Prospective buyers and commercial tenants notice thoughtful details, and a well-lit staircase is a strong selling point. Installing motion activated LED strips for stairs signals that the property is modern, safe, and energy-conscious. It also suggests the owner has invested in smart home technology and low-maintenance upgrades. For interior designers, this feature helps set a listing apart in photos and during walkthroughs, adding perceived value without the cost of a major renovation.
Motion Activated LED Strips vs. Traditional Stair Lighting
| Feature | Motion Activated LED Strips for Stairs | Traditional Stair Lighting |
|---|---|---|
| Activation | Automatic, sensor-triggered | Manual wall switch or always on |
| Energy Use | Very low; only on when needed | Higher; often left on continuously |
| Installation | Peel-and-stick or low-profile channel | Recessed fixtures, junction boxes, wiring |
| Safety | Illuminates every step before foot placement | Shadowed areas or uneven light distribution |
| Maintenance | Long LED lifespan, minimal bulb changes | More frequent bulb and ballast replacements |
| Ambiance | Linear, modern, customizable color | Fixed fixtures, limited visual effect |
Whether you are remodeling a single staircase or lighting an entire commercial building, motion activated LED strips for stairs deliver a rare combination of safety, efficiency, style, and convenience. They are easy to install, inexpensive to operate, and instantly make any stairway feel more welcoming and secure.
Dual-Sensor Setup: Light from Top and Bottom Landings
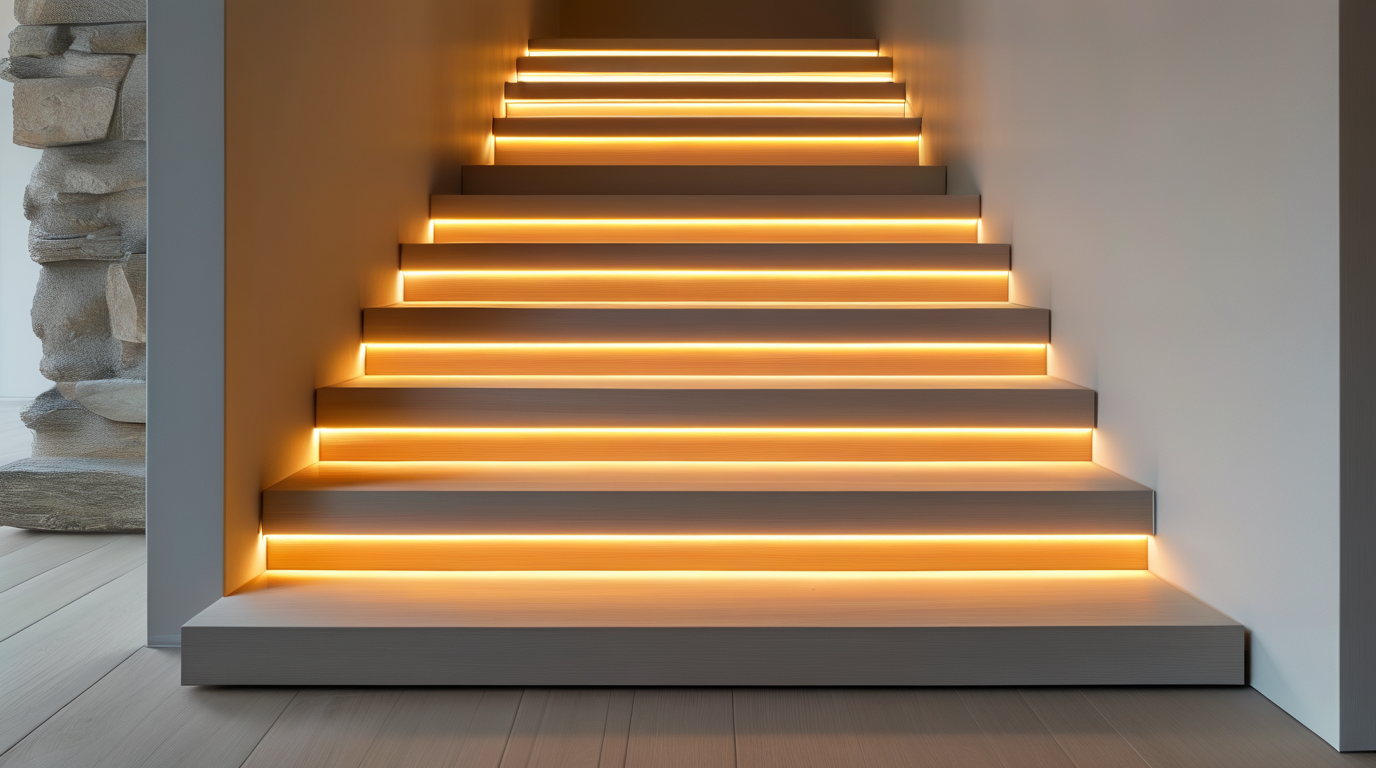
One of the most frustrating failures of a basic stair lighting project is the dreaded “mid-stair blackout.” You start up the stairs, the LED strips wake up, and halfway through the run the lights fade out because the single sensor lost sight of you. The fix is a dual-sensor layout: a PIR or microwave sensor at the top landing and another at the bottom landing, both tied to the same motion activated led strips for stairs. This arrangement treats the stair run as a single covered zone from both ends, keeping the lights on for the entire trip.
Why One Sensor Is Rarely Enough
A single PIR or microwave sensor has a detection cone, usually 110–120 degrees for PIR and wider for microwave. If you mount it at the top of a stair run, it can see you clearly as you approach the top, but its view of your feet or torso may be blocked by the stair risers once you are halfway down. The same problem happens in reverse from a bottom-mounted sensor. The result is that the controller receives no new motion pulses and begins its pre-set timeout, leaving you in darkness before you reach the landing. Dual sensors eliminate that blind spot by watching the run from both directions.
How Dual Sensors Cover the Entire Stair Run
With a sensor at each end, the first device to detect motion triggers the controller, and the second device acts as a “keep-alive” source as you move through the overlap zone. The key is sensor overlap. Position the top sensor so its detection zone reaches about two-thirds of the way down, and the bottom sensor so it reaches about two-thirds of the way up. The overlapping middle third acts as a hand-off zone: when you leave the top sensor’s view, you enter the bottom sensor’s view, so the timer never expires.
This is especially useful for long stair runs, switchback stairs, or open-riser designs where the controller must stay active for 15–30 seconds or more. The dual sensors keep the motion activated led strips for stairs running smoothly from the moment you commit to the first step until you clear the final tread.
Sensor Placement and Overlap Strategy
- Top landing sensor: Mount it on the ceiling or wall above the top landing, aimed down the stair run. Height of 7–9 feet is typical. Avoid pointing it directly at windows, HVAC vents, or radiators to prevent false triggers.
- Bottom landing sensor: Mount it on the wall or ceiling of the bottom landing, aimed up the stair run. Keep it at least 6–8 feet away from the first step for a clean approach view.
- Overlap zone: Set the detection distance so the two cones intersect in the middle third of the stair run. Test by walking slowly and confirming the LED strips stay bright for every step.
- Sensor type: Microwave sensors are more reliable than PIR on open stairs because they detect motion through thin risers and do not depend on body heat. PIR is more energy-efficient and cost-effective for enclosed stairways.
Wiring Diagram Concepts
Most dual-sensor installs follow a simple parallel trigger layout. Both sensors connect to the low-voltage input side of a single LED controller. When either sensor goes high, it closes the same trigger circuit and the controller powers the strips. A typical wiring flow is:
- Power supply (12 V or 24 V DC) → controller input.
- PIR/microwave sensor 1 trigger wire → controller signal input.
- PIR/microwave sensor 2 trigger wire → same controller signal input.
- Controller output → LED strip positive and negative.
- Shared ground (DC negative) between sensors, controller, and power supply.
If you are using smart controllers that accept only one trigger input, add a small diode or a relay module to isolate the two sensor outputs. This prevents one sensor from back-feeding the other while still allowing either one to start the lighting sequence. For long cable runs, use 18 AWG or 20 AWG low-voltage wire and keep sensor leads under 50 feet when possible to avoid voltage drop.
Single vs. Dual Sensor Setup Comparison
| Feature | Single Sensor | Dual Sensors |
|---|---|---|
| Coverage length | Best for short runs of 8–10 steps | Ideal for long runs, switchbacks, and open stairs |
| Trigger timing | Lights turn on only after the first sensor sees you | Lights turn on before the first step, from either end |
| Mid-stair darkness | Likely if detection cone is blocked | Almost eliminated by overlapping cones |
| Sensor overlap | None | Designed middle-third overlap zone |
| Wiring complexity | Simple, one trigger input | Moderate; may need diode/relay isolation |
| Component cost | Lower | Moderate; adds one sensor and longer cable |
| Best sensor type | PIR for small enclosed stairs | PIR or microwave; microwave preferred for open stairs |
Installation Tips for Best Results
- Always test in the dark with the timeout set to its shortest value. If the lights stay on during a full walk, the overlap is good.
- Point sensors slightly away from walls and handrails so pets or reflected heat do not cause false triggers.
- Choose the same sensor type for both ends so trigger behavior and detection delays match.
- Label the wires at the controller so future maintenance is easy.
- Consider adding a manual override switch in parallel if the sensors need to be disabled for cleaning or photography.
A dual-sensor setup is one of the most reliable ways to make your motion activated led strips for stairs feel truly responsive. Whether you are navigating a long straight staircase or a dramatic two-story split stair, sensors at both the top and bottom landings ensure every step is lit before you take it and stays lit until you reach the next floor.
Smart Home Integration: Voice and App Control
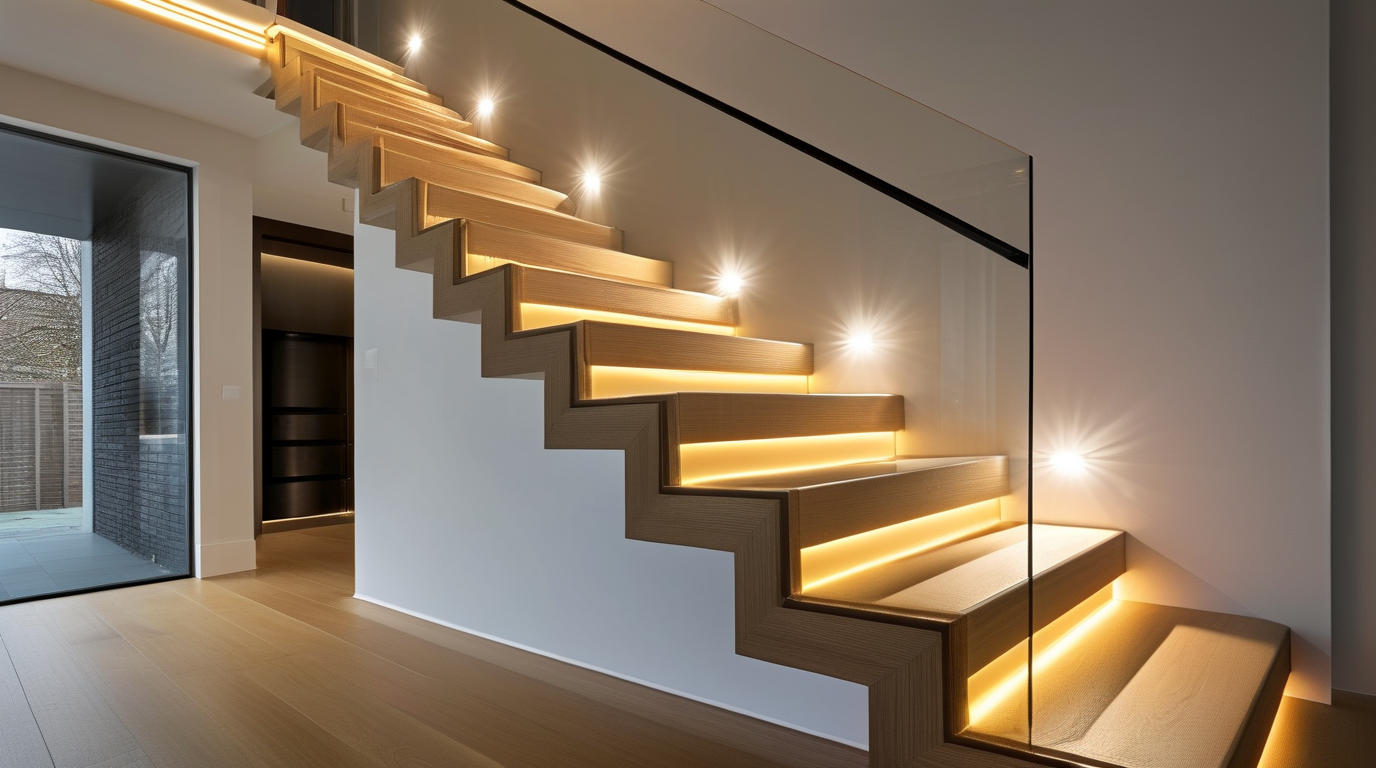
Adding smart home control to your motion activated LED strips for stairs turns a basic safety feature into a fully automated lighting system. Instead of relying only on a built-in PIR sensor, you can link the strips to your preferred voice assistant, schedule them through an app, trigger them by location, and adjust brightness or color to match the time of day.
Why Add Smart Control?
Motion detection is convenient, but pairing it with a smart home platform gives you more flexibility. You can override the motion sensor remotely, create dimmed “nightlight” modes, turn off strips automatically when nobody is home, or activate dramatic scene lighting for entertaining. The right controller or bridge makes most budget LED strips compatible with Alexa, Google Home, Apple HomeKit, and Tuya.
Connecting to Alexa
- Use a smart Wi-Fi LED controller or smart plug that is Alexa-certified, such as Tuya-based controllers, Govee, or Philips Hue.
- Wire the motion activated LED strips for stairs to the controller, then add the device in the Alexa app under Devices > Lights.
- Enable the relevant skill if your controller requires it (e.g., Smart Life, Govee Home, Hue).
- Voice commands: “Alexa, turn on the stair lights” or “Alexa, dim the stairs to 20 percent.”
- Create an Alexa Routine that triggers when the motion sensor activates, or combine motion with time-of-day conditions for sunset-only lighting.
Connecting to Google Home
- Choose a Google-compatible LED strip or smart controller. Most Tuya/Smart Life, Govee, and Hue products work with Google Assistant.
- Link the device in the Google Home app, then assign it to a room such as “Stairs” or “Hallway.”
- Use voice commands: “Hey Google, turn on the stairs” or “Set stair lights to warm white.”
- Google Home Routines can automate the lights based on motion sensor events, scheduled times, or sunrise/sunset.
Connecting to Apple HomeKit
- Look for HomeKit-certified LED strips or a compatible bridge. Some controllers work with HomeKit natively, while others require a Homebridge plugin.
- Add the accessory in the Apple Home app by scanning the HomeKit setup code.
- Use Siri for hands-free control: “Hey Siri, turn on the stair lights.”
- HomeKit Automations allow motion sensors, time of day, and location triggers to work together. A Home hub (Apple TV, HomePod, or iPad) is required for remote access and advanced automations.
Connecting to Tuya / Smart Life
- Many affordable motion activated LED strips for stairs are built on Tuya’s platform and controlled by the Smart Life app.
- Connect the controller to a 2.4 GHz Wi-Fi network and name the device in the app.
- From the app you can set timers, countdowns, schedules, and local sunrise/sunset triggers.
- Smart Life integrates with Alexa and Google Assistant, so you can add voice control after the device is online.
App-Based Automation Features
Scheduling
Set your motion activated LED strips for stairs to turn on only during evening hours or disable the motion sensor entirely after bedtime. Most apps let you create weekly schedules with different brightness levels for weekdays and weekends.
Geofencing
Geofencing uses your phone’s GPS to trigger lights when you arrive home or leave. Apple HomeKit, Smart Life, Alexa, and Google Home all support location-based automations, so the stair lights can welcome you back or turn off automatically when the house is empty.
Dimming and Brightness Control
Dimming is important for stair safety at night. A bright 100% output may be blinding at 2 a.m., but a 10% warm glow is enough to prevent trips. Use app sliders, voice commands, or routines to set the right level for each time of day.
Scene Modes
Scenes group multiple settings together. Create a “Movie Night” scene that dims the stair lights to a soft blue, a “Party” scene with color-changing effects, or a “Good Morning” scene that slowly brightens the staircase. Some apps include built-in scene modes like “reading,” “romantic,” or “sleep.”
Smart Platform Comparison
| Platform | Required Hardware / App | Connection | Voice Control | Scheduling & Geofencing |
|---|---|---|---|---|
| Amazon Alexa | Echo device or Alexa app; Alexa-compatible LED controller | Wi-Fi, Zigbee, or Bluetooth via Echo hub | Yes, full voice control | Routines with time, sensor, and location triggers |
| Google Home | Google Nest/Home device or Google Home app | Wi-Fi or Bluetooth | Yes, Google Assistant | Household Routines and sunrise/sunset triggers |
| Apple HomeKit | iPhone/iPad/Mac; HomeKit-certified strip or Homebridge | Wi-Fi, Thread, or Zigbee via HomeKit hub | Yes, Siri | Advanced geofencing and time-based automations |
| Tuya / Smart Life | Smart Life app; Tuya-compatible LED controller | 2.4 GHz Wi-Fi | Yes, via Alexa/Google skill | Timers, countdowns, schedules, and geofencing |
| Brand-Specific App | Manufacturer app (e.g., Govee, Hue, LIFX) | Wi-Fi or proprietary bridge | Varies by brand | Usually includes scenes, music sync, and timers |
Quick Tips for Reliable Setup
- Confirm your controller is on a 2.4 GHz Wi-Fi band if it does not support 5 GHz.
- Place the motion sensor where it can see foot traffic but is not blinded by direct sunlight or HVAC airflow.
- Create a low-brightness night scene so the motion activated LED strips for stairs do not wake others during late-night use.
- Link the motion sensor to automations as a trigger, but keep a manual override for guests or maintenance.
- Update firmware regularly for better security, compatibility, and new scene effects.
Battery-Powered vs. Hardwired: A Quick Buying Guide
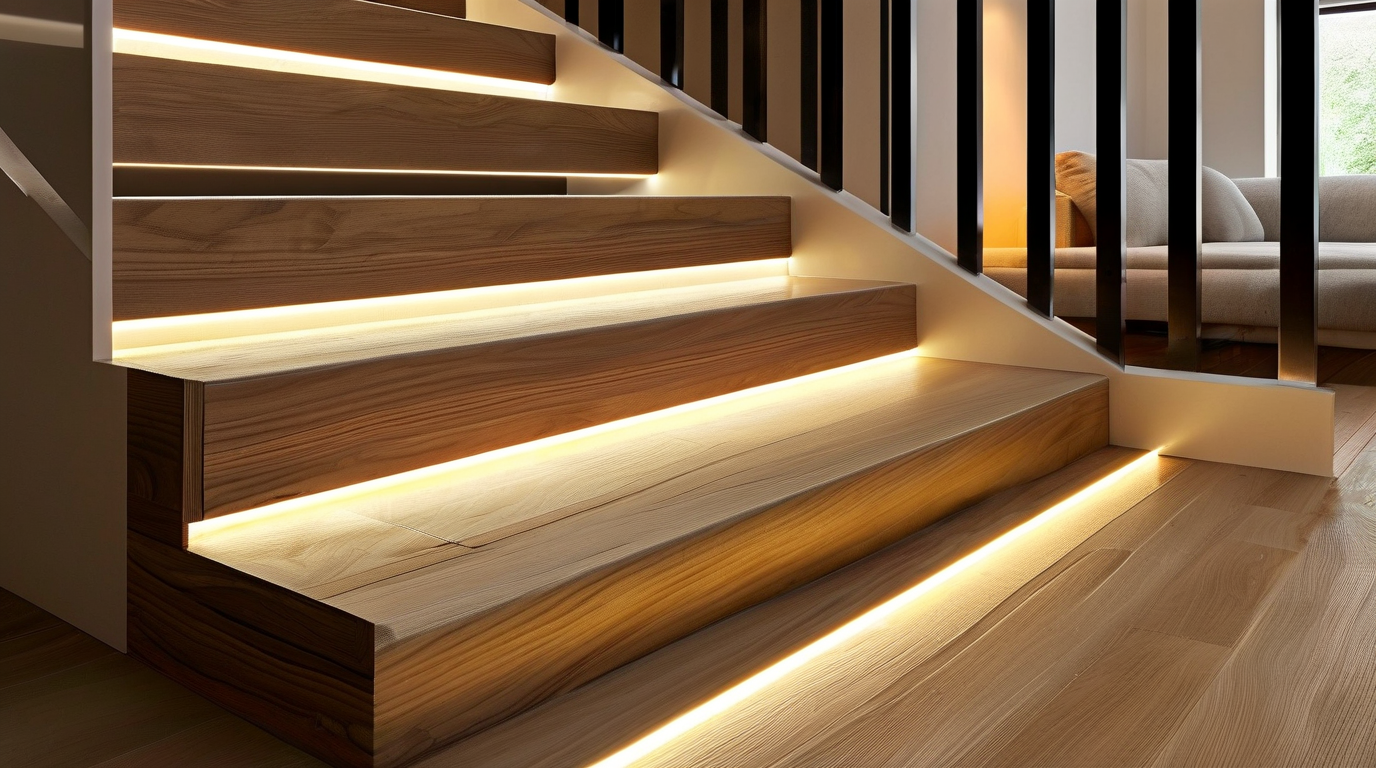
Choosing the right power source for your motion activated led strips for stairs is just as important as selecting the strip length or color temperature. The three main options—battery-powered, plug-in, and hardwired—each suit different staircases, budgets, and DIY skill levels. Below, we break down how they compare on cost, installation difficulty, maintenance, brightness, and longevity so you can make a confident decision.
How the Three Power Options Compare
Each power method has a clear sweet spot. Battery-powered kits are ideal for renters or quick weekend upgrades. Plug-in systems work well when an outlet is nearby and you want reliable brightness without wiring. Hardwired installations deliver the cleanest look and permanent performance, but they require more effort up front.
| Feature | Battery-Powered | Plug-In | Hardwired |
|---|---|---|---|
| Upfront cost | $15 – $50 | $25 – $80 | $50 – $200+ |
| Installation difficulty | Easy (peel-and-stick, no tools) | Moderate (routing cable, hiding adapter) | Hard (electrical work, switch integration) |
| Maintenance | High—batteries need replacing every 1–6 months | Low—occasional dusting and outlet check | Very low—long-lasting drivers and LEDs |
| Brightness | Moderate, often dimmer as batteries drain | Consistent and bright | Most consistent and customizable |
| Longevity | 2–3 years, limited by battery contacts and motion sensor life | 3–5 years, depends on adapter quality | 5–10+ years with quality LEDs and driver |
| Best for | Renters, temporary installs, tight budgets | Homeowners wanting easy, reliable stair lighting | Permanent remodels and premium finishes |
Battery-Powered Motion Activated LED Strips
Battery-powered motion activated LED strips are the easiest entry point. Most kits come with adhesive backing, a compact PIR sensor, and a battery box that hides under the stair tread or behind a railing. They turn on only when movement is detected, which helps preserve battery life.
Pros: no wiring, portable, low upfront cost, great for apartments or rental properties.
Cons: battery replacement can become a chore, brightness drops as charge depletes, and battery compartments can be bulky on narrow staircases.
For best results, look for rechargeable battery models or strips that use AA or AAA lithium batteries rather than alkaline, since lithium holds voltage longer and performs better in temperature swings.
Plug-In Motion Activated LED Strips
Plug-in systems bridge the gap between convenience and performance. You get a power adapter that plugs into a wall outlet, and the strip runs continuously with the motion sensor controlling when it lights up. These are a popular choice for homeowners who want bright LED strips for stairs without opening walls.
Pros: consistent brightness, no battery swaps, easy to relocate, affordable.
Cons: visible power cord unless carefully routed, limited by outlet location, may need cable management.
If your stairs are near an outlet, a plug-in kit can deliver years of reliable light with minimal upkeep.
Hardwired Motion Activated LED Strips
Hardwired stair lighting connects directly to your home’s electrical system, often controlled by a wall switch or integrated with a smart home hub. This is the best route for a permanent, professional finish and is commonly used in new builds or full staircase renovations.
Pros: cleanest look, highest brightness, longest lifespan, no battery or adapter clutter, works with dimmers and smart controls.
Cons: requires electrical knowledge or an electrician, higher upfront cost, not easily moved.
When installing hardwired motion activated led strips for stairs, pair them with a quality LED driver and consider a low-voltage 12V or 24V setup for safety and energy efficiency.
Decision Checklist: Which System Is Right for You?
- Budget first: If you want to spend under $30, battery-powered is your best bet. Plug-in systems offer the best balance of price and performance. Hardwired is the investment choice.
- DIY comfort: Only choose hardwired if you are comfortable with electrical work or plan to hire an electrician.
- Outlet access: If there is an outlet within a few feet of the stairs, plug-in is convenient. If not, battery or hardwired makes more sense.
- Maintenance tolerance: If you dislike changing batteries, avoid battery-powered kits and go plug-in or hardwired.
- Permanent vs. temporary: Renters and testers should choose battery or plug-in. Homeowners doing a full renovation should consider hardwired.
- Brightness needs: For the brightest and most consistent light, hardwired or plug-in wins. For soft accent lighting, battery-powered is sufficient.
- Aesthetics: Hardwired gives the cleanest appearance with no visible cords or battery boxes.
By matching the power source to your home, budget, and comfort level, you can enjoy safer, more attractive stairs with motion activated led strips for stairs that fit your lifestyle perfectly.
Installation Tips for a Clean, Professional Look
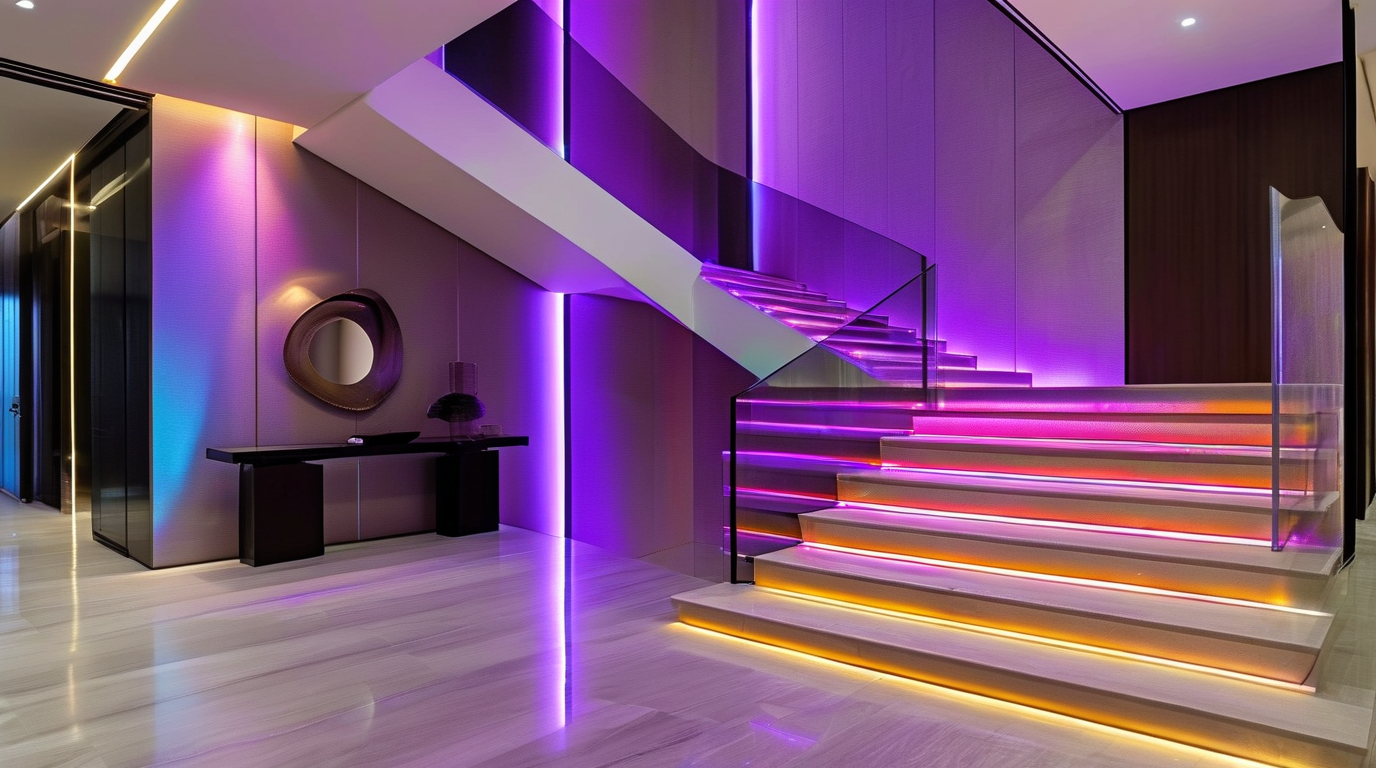
Even the best motion activated LED strips for stairs will look DIY and underperform if the installation is rushed. A clean, professional finish comes down to planning, hiding the hardware, and testing every step before you lock things in. The following tips will help you install stair lighting that looks like it was done by a pro while staying safe and reliable.
Plan the Layout Before You Stick Anything Down
Start by measuring each tread, riser, and the total run of your staircase. Decide whether the LED strips will sit under the nosing, along the side wall, or recessed into the riser. Mark the placement with painter’s tape and step back to check the visual effect at night. This is also the time to locate your nearest power outlet, PIR sensor mounting point, and any controller or dimmer location.
Map out the total strip length so you order enough material with extra to spare. Avoid planning runs that exceed the manufacturer’s recommended continuous length, typically 5 to 10 meters, depending on strip density and voltage.
Route Cables Out of Sight
Visible cables are the fastest way to ruin an otherwise sleek installation. Tuck wires behind baseboards, under stair treads, or through drilled holes in risers. Use low-profile cable clips and color-matched channels to keep runs tight against the wall or trim. For open staircases, run power leads through the stringer or inside hollow treads where possible.
Keep high-voltage wiring separate from low-voltage LED wiring, and never pinch cables between trim pieces. Leave a small service loop at the controller or sensor so future maintenance is easier.
Use Diffuser Channels for a Smooth Glow
Aluminum diffuser channels do three things: they protect the LEDs, dissipate heat, and turn harsh dots of light into a continuous line. This is especially important for motion activated LED strips for stairs, where the goal is soft, even illumination rather than a string of bright spots.
Choose a channel profile that fits your mounting surface: surface-mount for walls, recessed for tread nosing, or corner profiles for under-stringer applications. Cut channels to length with a hacksaw or miter saw, and deburr the edges before inserting the strip.
Prep the Mounting Surface Properly
LED strip adhesive sticks best to clean, dry, smooth surfaces. Wipe down the mounting area with isopropyl alcohol to remove dust, oils, and paint residue. If the surface is porous, uneven, or painted with a low-quality finish, add a small amount of VHB tape or use mounting brackets to prevent sagging over time.
For wood stairs, a light sanding followed by a clean wipe is usually enough. For concrete or painted metal, a self-etching primer or adhesion promoter can improve long-term holding power.
Avoid Voltage Drop
Voltage drop causes LEDs at the end of a long run to look dim or discolored. To prevent it, use a power supply rated for the total wattage of your install, plus at least 20 percent headroom. For runs longer than 5 meters, inject power from both ends or split the run into shorter parallel sections.
Keep power supply wire gauge appropriate for the distance. Thicker wire (lower AWG number) carries current farther with less loss. When in doubt, use 18 AWG or larger for 12V systems and 20 AWG or larger for short 24V runs.
Test Everything Before Finalizing
Power on the full installation before securing the final clips or closing up trim. Walk the stairs and trigger the motion sensor from different angles and heights. Confirm that the light turns on smoothly, reaches full brightness, and turns off after the intended delay. Check for flickering, dim sections, and color inconsistency.
If your controller supports it, set a short activation timer for indoor stairs or a longer hold time for outdoor steps. Adjust sensor sensitivity so pets do not false-trigger it, but so a person walking quietly is still detected.
Installation Checklist
- Measure each stair tread, riser, and total strip length.
- Choose mounting locations and mark them with tape.
- Confirm power supply location and wire gauge for the run length.
- Clean and prep the mounting surface with alcohol or adhesion promoter.
- Install diffuser channels and cut them square to length.
- Route cables behind trim, baseboards, or inside hollow structures.
- Connect the controller, motion sensor, and power supply in the correct order.
- Power on and test for brightness, color consistency, and sensor response.
- Secure all clips, close trim, and tidy any remaining visible wiring.
Common Mistakes and How to Fix Them
| Mistake | Why It Happens | Solution |
|---|---|---|
| Dim or yellowed LEDs at the end of the strip | Voltage drop across a long single run | Inject power at both ends or split into shorter runs |
| LEDs fall off after a few weeks | Dirty or porous mounting surface | Clean with alcohol, sand lightly, or use mounting brackets |
| Motion sensor does not trigger reliably | Wrong sensor angle or blocked field of view | Reposition the sensor 6 to 10 feet back and clear obstructions |
| Visible dots instead of a smooth light line | LEDs mounted without a diffuser | Install an aluminum channel with an opal diffuser cover |
| Power supply overheats or fails | Under-rated supply for the load | Size the supply at 120% of total strip wattage and allow airflow |
| Exposed cables look messy | Cables routed along visible surfaces | Run wires inside walls, trim, or low-profile cable raceways |
Following these installation tips will help your motion activated LED strips for stairs look clean, perform reliably, and last for years. The extra time spent on planning, surface prep, and testing is what separates a professional finish from a temporary weekend project.
FAQ: Motion Activated LED Strips for Stairs
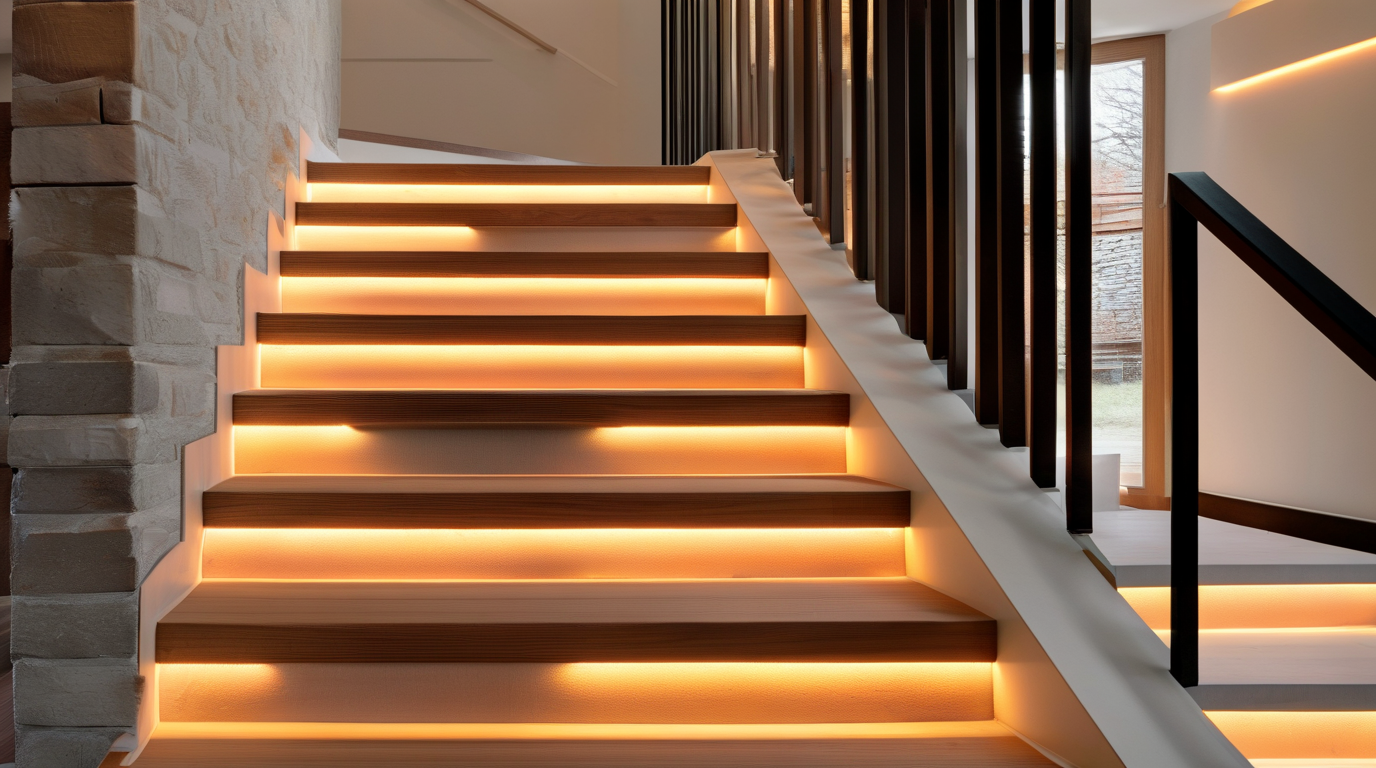
How bright are motion activated LED strips for stairs?
Motion activated LED strips for stairs offer a wide range of brightness levels, typically measured in lumens per foot or per meter. For safe nighttime navigation, most stair lighting projects use motion activated LED strips for stairs that produce between 150 and 400 lumens per meter. If your goal is subtle ambient lighting, a lower-lumen strip behind the riser or under the tread nose creates a soft glow without glare. For main staircases or darker hallways, choose a higher-lumen option or add density by using more LED chips per meter, such as 60 LEDs/meter or 120 LEDs/meter. Dimmable controllers and motion sensors let you tune brightness automatically, so the lights are bright enough to prevent trips but never harsh when you walk through at night.
Can motion activated LED strips for stairs be used outdoors?
Yes, many motion activated LED strips for stairs are suitable for outdoor use as long as you select a strip with the correct IP rating. For covered porches or staircases that are partially shielded from direct rain, an IP65-rated strip is usually sufficient because it resists dust and water jets. For fully exposed deck stairs, patio steps, or walkways that endure heavy rain and standing water, look for IP67 or IP68-rated strips. The power supply, controller, and motion sensor must also be rated for outdoor conditions or installed inside a weatherproof enclosure. UV-resistant silicone coatings help prevent yellowing and cracking in direct sunlight, so outdoor installations stay bright and reliable for years.
How long do batteries last in battery-powered motion activated LED strips for stairs?
Battery life depends on the battery capacity, the brightness setting, how often the stairs are used, and how long the timer keeps the strip on after each motion trigger. Most motion activated LED strips for stairs powered by AA or AAA batteries can last anywhere from several weeks to a few months in a typical home. Rechargeable lithium battery kits, USB-C power banks, or hardwired adapters can extend runtime and reduce the need for frequent replacements. To maximize battery life, choose a strip with a short auto-off timer such as 15 or 30 seconds, lower brightness mode, and a sensor that only activates in low-light conditions. In high-traffic areas, hardwired or plug-in kits are usually the better long-term choice.
Are motion activated LED strips for stairs compatible with smart home systems?
Many modern motion activated LED strips for stairs work with popular smart home platforms, including Amazon Alexa, Google Home, and Apple HomeKit. Some kits connect directly to Wi-Fi or Zigbee hubs, allowing you to control brightness, color, schedules, and automation through a smartphone app or voice command. Others rely on a separate smart motion sensor that triggers scenes, such as turning the stair lights on when a door opens or arming the security system. If you want full integration, check the product description for protocol support like Wi-Fi, Zigbee, Z-Wave, or Matter. Even non-smart strips can often be paired with a smart plug or relay, giving you app control and scheduling while keeping the built-in motion sensor active.
How difficult is it to install motion activated LED strips for stairs?
Installing motion activated LED strips for stairs is one of the easiest DIY lighting projects you can complete in a single afternoon. Most kits come with adhesive backing, so you can simply peel and stick the strip along the underside of the stair nosing, the riser, or the side stringer. Battery-powered options avoid the need for wiring entirely, making them ideal for renters or anyone who wants a quick upgrade. Hardwired or plug-in versions require a nearby outlet or low-voltage transformer and a bit more planning for cable routing, but they still do not demand professional electrical skills. The motion sensor is usually mounted at the top or bottom of the staircase, and many kits include splitters or extension cables to cover long runs. For the cleanest results, measure each step, clean the mounting surface, and use mounting clips or aluminum channels for extra durability.
Conclusion: Light the Way Forward with Motion Activated LED Strips for Stairs
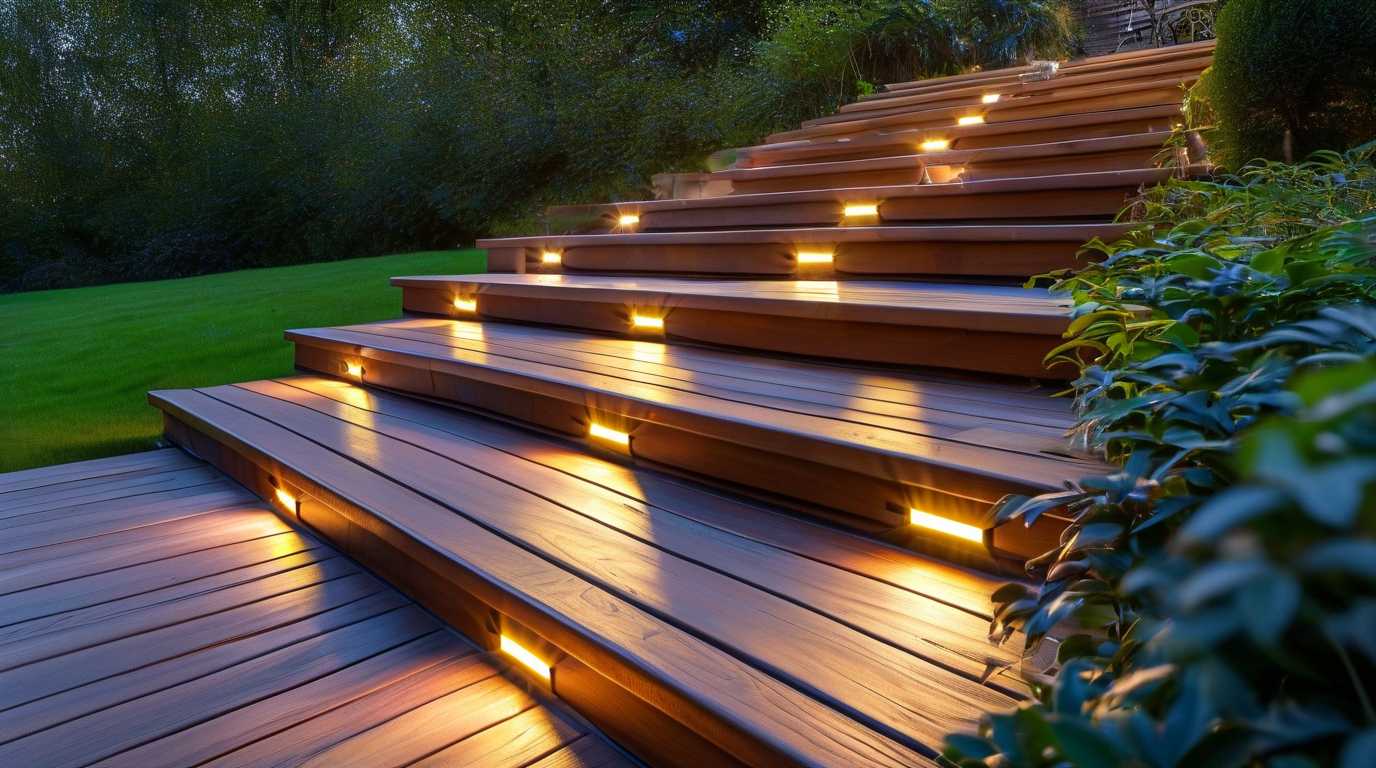
Motion activated LED strips for stairs have moved far beyond simple novelty lighting. They are now one of the most practical, affordable, and visually striking upgrades you can make to a home. Whether you are renovating a grand staircase, adding safety to a basement stairway, or creating ambient glow in a hallway, the right motion activated LED strips for stairs can transform both the look and feel of your space.
Why Motion Activated Stair Lighting Works So Well
The appeal of this technology is rooted in how it solves everyday problems. A well-placed strip turns on automatically when you need it, stays off when you do not, and reduces the risk of trips and falls in dimly lit areas. It also adds architectural interest, highlights materials like wood, tile, and carpet, and can be customized to match the mood of any room.
Throughout this article, we explored ten ideas that show just how versatile these lights can be. From color-changing smart systems to discreet under-nose installations, the options are broad enough to suit modern, rustic, minimalist, and luxury interiors alike.
Key Benefits at a Glance
| Benefit | Why It Matters |
|---|---|
| Hands-free activation | No wall switches needed; lights respond to movement automatically |
| Improved safety | Reduces tripping hazards on stairs during nighttime or low-light conditions |
| Energy efficiency | LEDs use minimal power and only run when motion is detected |
| Customizable design | Available in warm white, cool white, RGB, and tunable color temperatures |
| Easy installation | Most kits use adhesive backing, plug-and-play controllers, and wireless sensors |
| Long lifespan | Quality LEDs can last tens of thousands of hours with minimal maintenance |
How to Choose the Right Setup for Your Home
Not every staircase is the same, so your lighting choice should match your specific needs. Start by asking a few practical questions:
- Is this for safety, style, or both? Safety-first installations benefit from warm white light and reliable motion sensors, while style-focused setups may favor RGB color options or cascading effects.
- Will the lights be indoors or outdoors? Outdoor steps require weatherproof strips with IP65 or higher ratings and durable mounting channels.
- Do you want smart control? Some systems integrate with Alexa, Google Home, or Apple HomeKit for scheduling, dimming, and voice commands.
- What is your power situation? Battery-powered kits are easier to install, but hardwired or plug-in options offer more consistent brightness and fewer battery swaps.
- How visible should the LEDs be? Recessed or under-nose placement hides the source for a clean look, while surface-mounted strips create a more dramatic glow.
Taking a few minutes to answer these questions will help you avoid buying a kit that is either too weak for your staircase or too complex for your comfort level.
Final Thoughts
Stair lighting is one of those small details that makes a surprisingly large difference. The right installation can make your home feel safer, more welcoming, and more thoughtfully designed. Motion activation adds a layer of convenience that manual lighting simply cannot match, especially for households with children, elderly family members, or frequent nighttime movement.
We hope the ideas in this article have given you a clear starting point for your own project. Whether you want a subtle warm glow or a bold color-changing display, there is a motion activated LED strip for stairs solution that fits your space and your budget.
Ready to bring your staircase to life? Explore a curated range of LED step lighting solutions at ledsteplight.com and find the perfect kit to brighten every step of your home.
Under-Tread Glow: Hidden Lighting for Floating Stairs
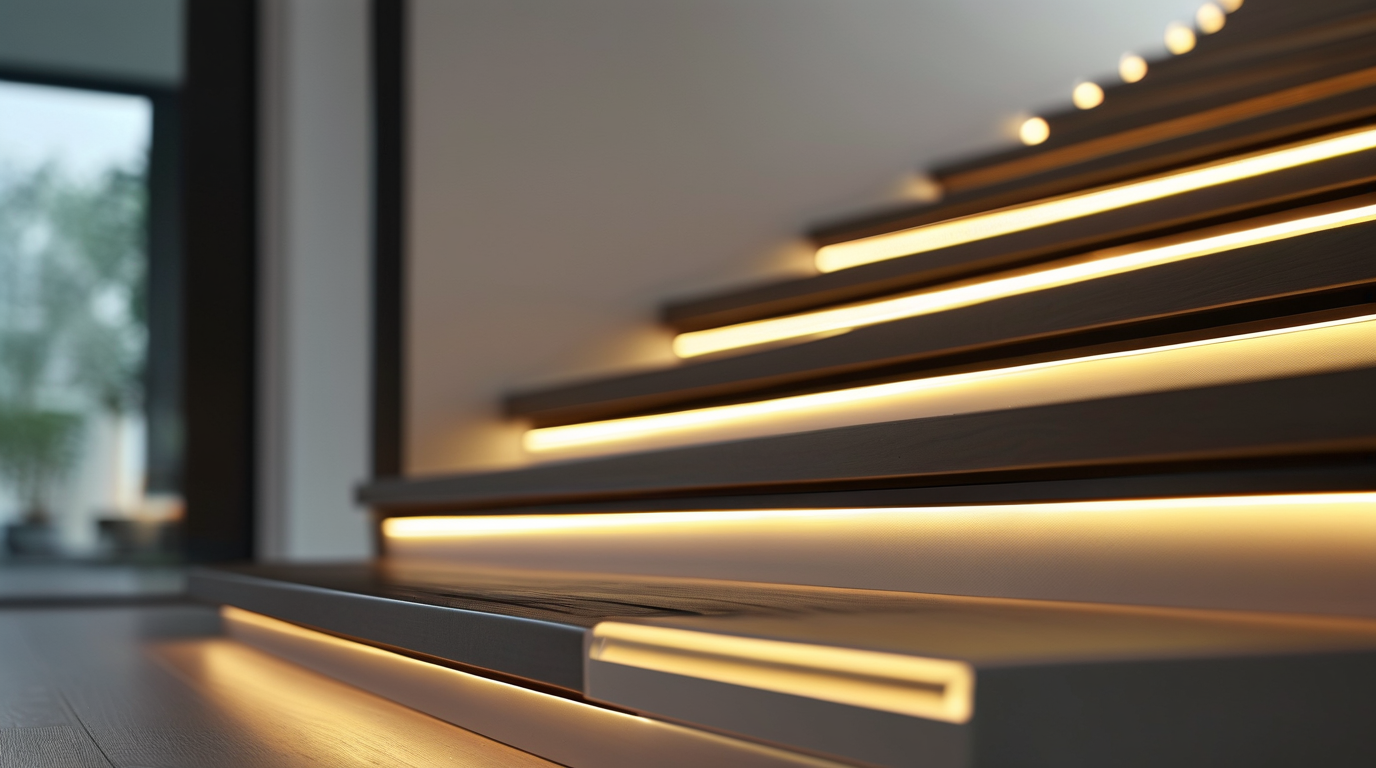
Motion activated LED strips for stairs are one of the most sophisticated ways to illuminate modern homes, and nowhere is that more obvious than beneath the treads of floating stairs. Under-tread lighting channels the light source out of sight, letting the stair structure itself appear to hover in a warm, floating glow. The result is clean, architectural, and quietly luxurious.
Why Under-Tread Lighting Looks Elegant
The magic of under-tread lighting is that the LED strip itself is never visible. Instead, the light is cast downward onto the wall or riser gap behind each step, creating a soft halo of illumination. This highlights the clean lines of floating stairs, adds depth to the wall surface, and produces a low-glare guide for feet after dark. Because the light pools on the surface below, it also avoids the harsh, direct sparkle you sometimes get from surface-mounted LEDs. The effect is more like a hidden cove light than a task light, which makes it ideal for open-plan spaces, glass balustrades, and minimalist interiors where visible fixtures would break the visual flow.
How to Install LED Strips Under Each Tread
Installation begins with a recessed or surface-mounted aluminium channel fixed to the underside of each tread, toward the front edge. The channel should be placed slightly back from the nose so the light grazes downward without leaking upward into the eye. The typical workflow is:
- Measure the underside width of each tread and cut aluminium channels to length.
- Mount the channels flush or slightly recessed so the LED strip sits protected.
- Route low-voltage cable from one step to the next, ideally through drilled holes in the stringer or along a concealed chase.
- Connect each strip to the controller in a consistent parallel run so voltage drop does not dim the top steps.
- Pair the controller with a motion activated LED strips for stairs sensor so the lights come on only when someone approaches.
If your stairs are steel or timber, plan the cable path before finishing the structure. Retrofitting floating stairs is possible but usually requires access panels or a small chase behind the wall.
Diffuser Channels and Wiring Tips
Always use an aluminium channel with an opal or frosted diffuser. Bare LED strips create bright dots of light that look cheap and uneven. A diffuser spreads the light into a continuous line, which is essential for the under-tread glow effect. For wiring, use these guidelines:
- Use 18–20 AWG stranded low-voltage cable between the driver and each strip.
- Keep total cable length under 5 m per run when possible; longer runs require thicker gauge or a separate driver.
- Wire all strips in parallel, not daisy-chain power from one strip to the next.
- Place the driver and controller in a ventilated, accessible location such as a cupboard under the bottom step.
Choose an IP-rated channel if the stairs lead to an exterior or wet area, and always confirm that the total wattage of the strips does not exceed the driver capacity.
Color Temperature Choices
Warm white (2700K–3000K) is the most flattering choice for residential floating stairs. It mimics the warmth of candlelight and complements timber, concrete, and painted finishes. If the stairway is part of a modern, commercial-style space, neutral white (3500K–4000K) can give a sharper, more architectural feel. Color-tunable strips are worth considering when the stairs serve multiple moods. Dimmable and tuneable white strips let you shift from a bright, welcoming glow in the evening to a subtle 2700K nightlight after midnight. Pairing this with motion activated LED strips for stairs controls means you can set brightness to 10% during late-night motion events, enough to see the edge of each step without waking the household.
Design Tips Table
| Design Decision | Recommended Choice | Why It Works |
|---|---|---|
| Channel placement | 20–30 mm back from tread nose | Hides the source while lighting the step below |
| Diffuser type | Opal polycarbonate | Creates a smooth, dot-free line of light |
| Color temperature | 2700K–3000K | Warm, inviting, and easy on the eyes |
| Control method | Motion sensor + dimmer | Hands-free, energy-efficient, and adjustable |
| Driver location | Accessible, ventilated void | Easier maintenance and longer driver life |
Under-tread glow is one of the most refined ways to use motion activated LED strips for stairs. It keeps the technology invisible while the atmosphere it creates is impossible to miss. With the right channel, wiring, and color temperature, floating stairs become a quiet showpiece that is also safer to use at night.
Handrail Highlights: Accent Lighting Along the Rail
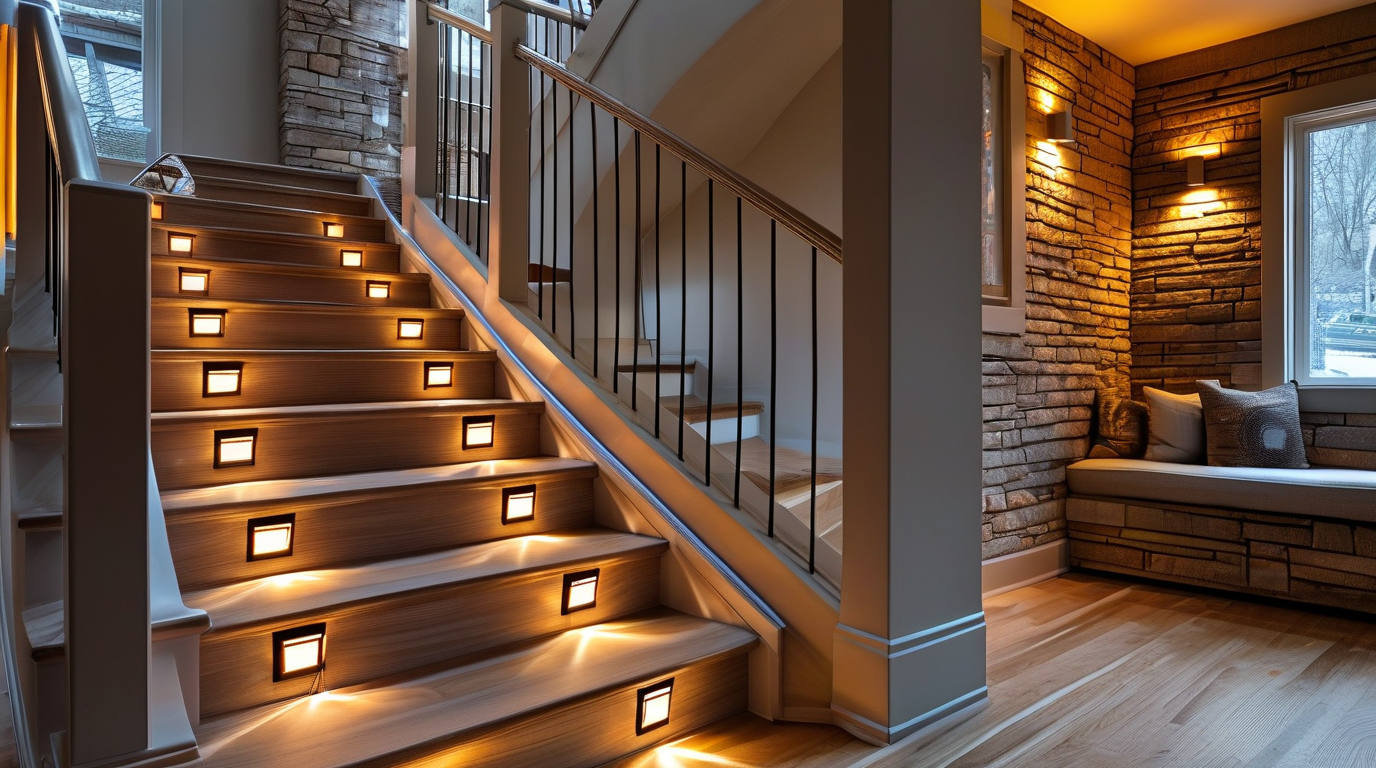
One of the most elegant ways to upgrade a staircase is to hide motion activated LED strips for stairs inside or beneath the handrail. Instead of lighting each individual tread, you create a continuous ribbon of soft illumination that follows the natural line of the rail. The result is a floating-glow effect that guides the eye—and the feet—without the cluttered look of multiple fixtures.
This approach works especially well on open-riser staircases, basement steps, and exterior deck railings where a single light source can illuminate both the rail and the nosings below. Because the LEDs are concealed, they stay protected from dust, pets, and accidental bumps, which helps them last longer and keeps the installation looking clean.
Where to Mount the Strip
There are two common mounting positions for handrail LED lighting:
- Underside of the rail: The strip faces downward, washing light over the stairs and the wall. This is the easiest retrofit because most handrails have a flat bottom surface that accepts adhesive-backed tape.
- Built-in groove or channel: Many modern handrails come with a recessed slot designed specifically for LED profiles. The strip sits flush or slightly behind the rail, producing a polished, glare-free line of light.
If your handrail does not have a groove, an aluminum LED channel mounted on the underside can act as a heat sink and a diffuser. The channel also straightens the strip so the light line is smooth even around gentle curves.
Safety Benefits of Rail-Mounted Motion Lighting
Handrail lighting improves staircase safety in several ways. The beam angle from below lights the front edge of each step, reducing the risk of tripping in low-light conditions. Because the system is motion activated, it turns on automatically when someone approaches and shuts off after a set delay, so hands remain free for carrying items or balancing.
Additional safety advantages include:
- Uniform coverage: A continuous strip eliminates dark patches between fixtures.
- Low mounting height: Light originates close to where people actually need it—the steps and the rail.
- Automatic operation: No wall switches are required, which is helpful for children and older adults.
- Soft, indirect glow: Diffused light reduces harsh shadows and eye strain compared to overhead bulbs.
Sensor Placement and Wiring
Motion sensors for handrail projects are usually placed at the top and bottom of the stair run. PIR sensors can be mounted on the wall, inside the newel post, or embedded in the end cap of the handrail. For the cleanest look, choose a narrow-detection PIR sensor or a microwave sensor that can see through thin wood or acrylic if you want it hidden inside the rail.
Power routing depends on whether the rail is hollow or solid:
- Hollow metal or composite rail: Run low-voltage wire through the inside of the rail and out at a newel post where the power supply is hidden.
- Solid wood rail: Route the wire along the back of the rail or behind the wall-mounted brackets, using cable clips or a shallow raceway painted to match the wall.
- Deck or exterior rail: Use an outdoor-rated power supply placed in a weatherproof enclosure, and seal all wire entry points with silicone.
Most motion activated LED strips for stairs operate at 12 V or 24 V, so a nearby transformer is needed. Keep the transformer in a ventilated closet, cabinet, or junction box within a few feet of the start of the strip to avoid voltage drop.
Style Ideas for Handrail Lighting
Beyond safety, rail lighting is a strong design feature. Consider these looks:
- Warm white wash: 2700 K to 3000 K LED strips give a cozy, traditional feel in wood-lined stair halls.
- Cool modern line: 4000 K to 5000 K strips behind a frosted channel create a crisp, architectural accent.
- Color accent: RGB or RGBW strips can be programmed to shift color for holidays, parties, or smart-home scenes.
- Minimalist invisible glow: Mount the strip deep inside a wide groove so only the light is visible, not the LEDs themselves.
Handrail Material Compatibility
Not every handrail accepts LED strips the same way. The table below summarizes how common materials work with this method.
| Handrail Material | Strip Compatibility | Installation Notes |
|---|---|---|
| Hardwood | Excellent | Can be routed to create a custom groove; use a channel if no groove exists. |
| Pine / Softwood | Good | Easy to cut but may splinter; sand and seal the groove before inserting the strip. |
| Stainless Steel | Excellent | Often comes with a built-in channel; dissipates heat well. |
| Aluminum | Excellent | Lightweight, corrosion-resistant, and ideal for heat dissipation. |
| Wrought Iron | Moderate | Usually requires a clip-on or underside channel; avoid direct contact with sharp edges. |
| PVC / Composite | Good | Check for a manufacturer-approved LED slot; do not over-tighten fasteners. |
| Glass with Metal Cap | Limited | Light can be mounted to the metal cap or wall brackets; glass itself cannot be routed. |
Installation Tips
To get professional results from a handrail LED project, keep these points in mind:
- Measure the total rail length carefully and order a strip that can be cut to the exact size at the marked cut points.
- Clean the mounting surface with isopropyl alcohol so the adhesive tape bonds properly.
- Install the motion sensor where it can detect both ascending and descending traffic without being blocked by the rail itself.
- Use a diffuser channel to hide individual LED dots and create a smooth light line.
- Test the full length before finalizing the wiring to catch any dim sections caused by voltage drop.
Handrail highlights are one of the simplest ways to add dramatic, functional lighting to a stairway. With the right motion activated LED strips for stairs, placement, and a compatible handrail material, you can turn an ordinary railing into a glowing safety feature that looks custom-built.
Step-Edge Illumination: Crisp Lines for Every Stair
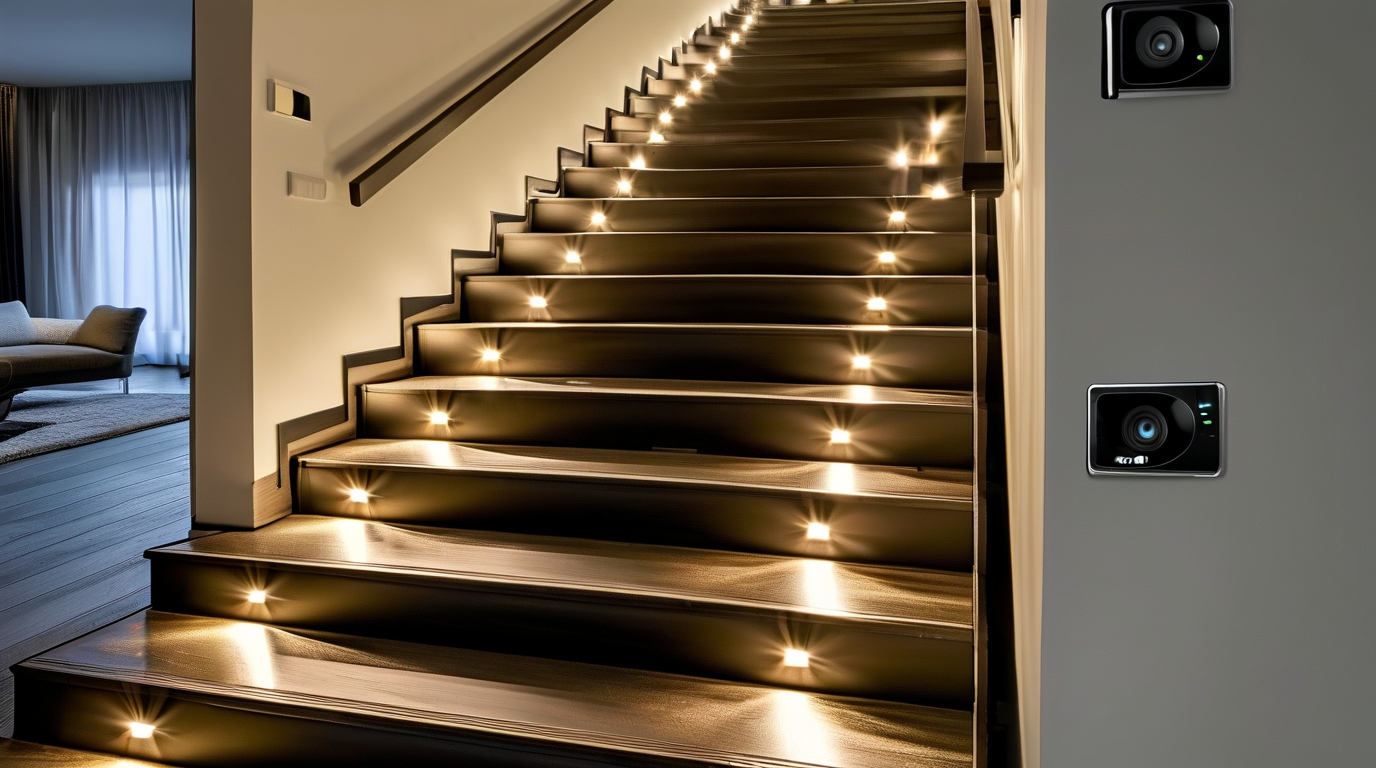
One of the most striking ways to upgrade a staircase is to highlight every individual step. Step-edge illumination does exactly that: it installs motion activated LED strips for stairs along the stair nose or front vertical edge, turning each tread into a crisp, glowing line. The result is a floating, architectural effect that makes the staircase look custom-built while also making every step easy to see in the dark.
Unlike overhead lighting, which can cast uneven shadows, step-edge lighting traces the exact contour of the stairs. This creates strong visual definition, which is especially helpful on open-riser or floating staircases where the edges can disappear at night. It also helps prevent trips and falls by clearly marking the boundary between each tread and riser. Because the light is low-level and directional, it does not glare into eyes or wash out the room when someone walks downstairs at 2 a.m.
How Step-Edge Lighting Creates Definition and Safety
The narrow, linear beam produced by an LED strip along the front edge of a step draws the eye exactly where the foot needs to land. This visual cue is valuable for:
- Depth perception: a glowing edge separates the horizontal tread from the vertical riser, reducing missteps.
- Open-riser stairs: edge lighting makes the gap between treads visible, preventing the “floating step” illusion at night.
- High-traffic homes: children, guests, and elderly family members can navigate without fumbling for wall switches.
- Design impact: the light becomes a design feature, not just a utility, adding a modern, high-end finish.
When paired with a motion sensor, the system only turns on when someone approaches. This is the core benefit of motion activated LED strips for stairs: automatic, hands-free lighting that saves energy and extends the life of the LEDs.
Installation Profile Options
The physical channel that holds the strip is just as important as the LED itself. A well-chosen profile keeps the strip straight, protects it from foot traffic, and diffuses the light for a smooth line. Common choices include:
- Surface-mount aluminum channel: the easiest option. Screwed or adhered to the front edge of the tread, it works on wood, tile, concrete, and composite stairs.
- Recessed or flush-mount profile: routed into the underside of the stair nose so the diffuser sits flush with the surface. This gives the cleanest look but requires cutting into the tread.
- Angled or corner profile: designed for 90-degree tread-to-riser corners. It aims light slightly downward onto the riser or forward across the tread.
- Flexible silicone sleeve: useful for curved staircases or stone edges where a rigid aluminum channel will not conform.
For a stair nose installation, the recessed angled profile is usually the most popular. It hides the electronics while projecting a bright, even line across the front of the step.
Waterproof and IP Rating Guidance
Stair lighting often faces dust, dirty shoes, cleaning products, and outdoor weather. Choosing the right waterproof grade keeps the installation reliable. IP ratings use two numbers: the first measures dust protection, the second measures water protection.
| IP Rating | Best For | Notes |
|---|---|---|
| IP20 | Dry indoor stairs only | No dust or water protection; fine for clean interior installations. |
| IP44 | Indoor stairs, hallways, basements | Protected against small objects and light splashing; good for normal household use. |
| IP65 | Kitchen stairs, mudrooms, covered porches | Dust-tight and resistant to water jets; safe for areas exposed to cleaning. |
| IP67 | Outdoor steps, pool areas, patios | Can handle temporary immersion and heavy rain; ideal for exterior staircases. |
As a general rule, choose IP65 or higher for any stair near a door, sink, or exterior wall. For fully outdoor motion activated LED strips for stairs, IP67 is the safest long-term choice.
Sensor Placement Tips for Step-Edge Strips
The sensor is what turns the staircase from a static nightlight into a responsive system. Placement affects both convenience and false triggers:
- Mount at the top and bottom: a PIR motion sensor at both landings catches someone starting the ascent or descent and lights the entire run before they reach the first step.
- Angle downward slightly: aiming the sensor toward the floor reduces false triggers from pets or heat sources above.
- Use a 2–5 minute auto-off timer: this keeps the lights on long enough to finish the stairs without wasting energy.
- Consider daylight sensors: a built-in photocell prevents the strips from activating during bright daylight.
- Hide the sensor: tuck it under the stair nose or inside a side wall so it does not break the clean line of the LED strip.
For smart homes, look for controllers that allow adjustable sensitivity, time delay, and brightness. Some systems can also dim the strip to 10% instead of turning it completely off, giving a soft standby glow.
Edge-Mounted vs. Under-Tread Placement
Deciding where to put the strip changes both the appearance and the performance. Here is a quick comparison:
| Factor | Edge-Mounted (Nose/Front) | Under-Tread (Beneath the Tread) |
|---|---|---|
| Visual effect | Bright, crisp outline of each step; very modern. | Soft glow on the riser below; more subtle and indirect. |
| Safety | Excellent: directly marks the tread edge. | Good: lights the next step but the edge itself is less defined. |
| Visibility of hardware | Channel is visible on the front edge unless recessed. | Channel is hidden above the riser, very discreet. |
| Installation difficulty | Easier with surface-mount profiles; can be done as a retrofit. | Usually requires routing under the tread or access from below. |
| Best for | Open-riser, contemporary, or commercial stairs. | Traditional closed-riser stairs where a subtle look is preferred. |
Quick Design Tips
- Use warm white (2700K–3000K) for a cozy, residential feel and cool white (4000K–5000K) for a clean, modern look.
- Keep the same LED color temperature across all steps so the staircase looks uniform.
- Choose a high-CRI strip (90+) to keep wood grains and carpet colors looking natural.
- Install the strip slightly behind the stair nose lip to protect it from direct foot impact.
- Always use a low-voltage power supply with enough wattage headroom for the full run.
Step-edge illumination is one of the most effective ways to make motion activated LED strips for stairs work as both a safety feature and a design statement. By choosing the right profile, waterproof rating, and sensor setup, you can create crisp, glowing lines that guide every footfall while adding a premium look to the home.
Color-Changing Motion Strips for Modern Entryways
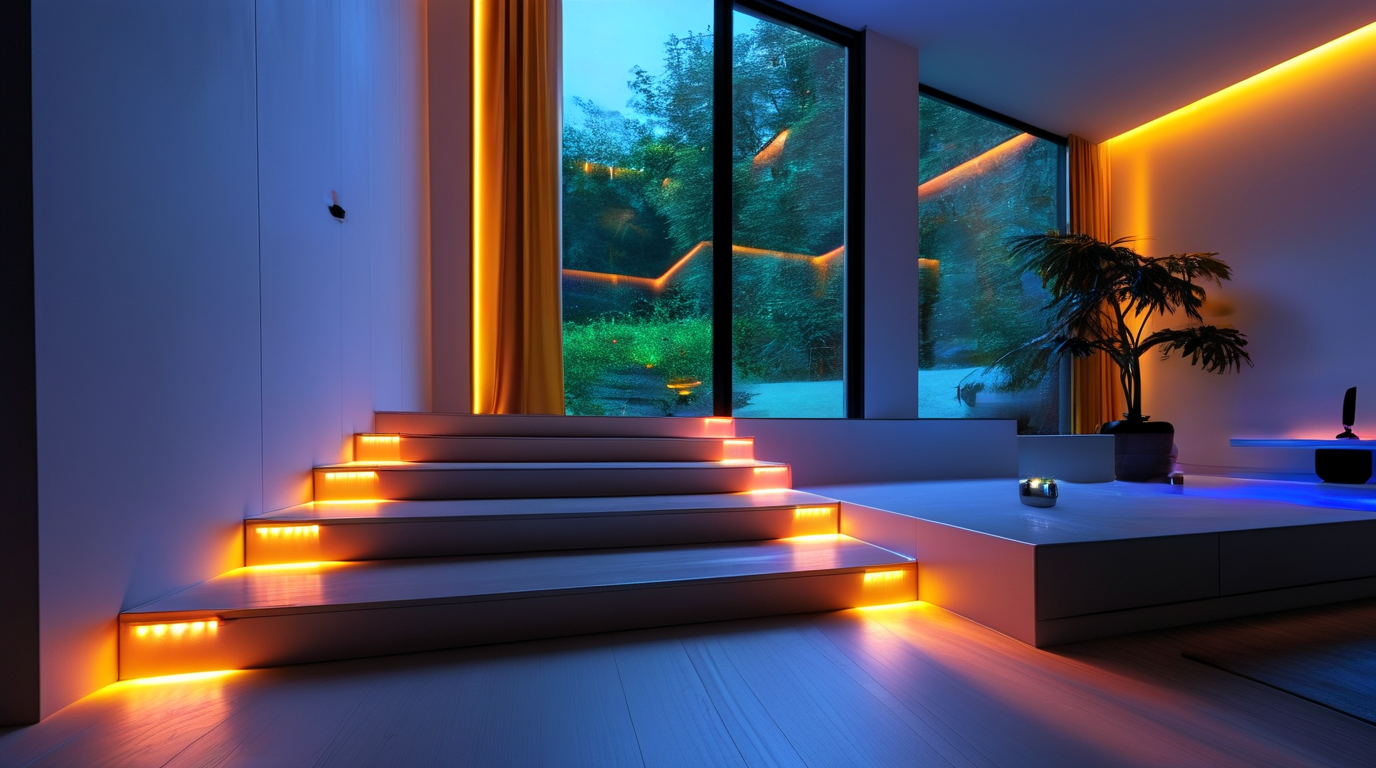
Your entryway sets the tone for the entire home, and few upgrades make as bold a first impression as motion activated LED strips for stairs in the foyer. RGB and RGBW strips react the moment someone steps inside, washing stair treads in warm welcomes, energizing colors, or subtle accent light. Because they are fully dimmable and programmable, they work equally well as everyday safety lighting and as showstopping décor for special occasions.
The “W” in RGBW adds a dedicated white chip, so you can switch from a vivid red or blue scene to a clean 3000 K–6000 K white when practical visibility matters. This dual-purpose design is one reason RGBW motion activated LED strips for stairs are becoming popular in open-concept homes, duplexes, and boutique commercial entrances.
Why Choose RGB/RGBW Motion Strips for Entry Stairs
Standard white step lights provide visibility, but color-changing strips offer atmosphere and identity. In a foyer, the stair riser planes become a vertical canvas that can be lit by zone, by color, or by motion-triggered animation. Visitors notice the effect immediately, and homeowners appreciate the convenience of hands-free activation.
- Instant welcome glow: The strip lights up in a soft amber or cool white as soon as the door opens, guiding guests without flipping a switch.
- Dynamic color scenes: Preset modes shift between colors, fades, or chases to match holidays, seasons, or mood.
- Smart control: Connect to Alexa, Google Home, or Apple HomeKit for voice commands, schedules, and app-based overrides.
- Party and event modes: Sync lights to music or set a color theme for gatherings, then return to neutral white afterward.
- Dual safety benefit: Motion activation ensures the stairs are always lit when occupied, reducing trip risks at night.
Planning Your Entryway Stair Lighting Layout
To get the most from color-changing strips, treat the foyer as a layered lighting project. Start with a motion sensor at the top and bottom of the staircase, plus one near the front door if the stairs are visible from the entrance. Use aluminum channels with diffusers to hide individual LEDs and produce smooth, even bands of color on each riser.
Power the system with a controller that supports RGB or RGBW wiring, and confirm the controller is rated for the total strip length. For a typical 12–16 tread foyer run, a 60 LED/m strip consumes roughly 5–7 A at full white, so size the transformer accordingly. Many controllers also offer “last state memory,” so the strips return to your preferred default color after each motion event.
Color-Use Scenarios for Entry Stairs
| Color / Scene | Best Use Case | Recommended Brightness |
|---|---|---|
| Warm White (2700–3000 K) | Daily welcome lighting, evening arrivals | 40–60% brightness |
| Cool White (5000–6000 K) | Morning departures, task visibility | 60–80% brightness |
| Soft Amber / Gold | Luxury hospitality feel, fall and winter décor | 30–50% brightness |
| Deep Blue / Teal | Modern accent, coastal themes | 40–60% brightness |
| Red / Green | Holiday scenes, themed parties | 50–70% brightness |
| Rainbow Fade / Chasing Color | Parties, celebrations, smart-home showcases | 60–80% brightness |
Smart Control and Automation Tips
Modern RGBW controllers make it easy to integrate motion activated LED strips for stairs into a broader smart home routine. For example, you can set the foyer to warm white at 30% brightness whenever motion is detected after sunset, but switch to a color loop during weekend entertaining. Geofencing can trigger the lights when you arrive home, and a “goodnight” scene can turn everything off from a bedside voice command.
When programming scenes, keep default motion colors subtle and reserve bright saturated hues for manual party modes. This prevents the entryway from feeling like a nightclub every time someone walks through. Also, use an outdoor-rated motion sensor if the front door is exposed to drafts or humidity, and place the controller in a ventilated location to avoid heat buildup.
With the right planning, RGB and RGBW motion strips transform a foyer staircase from a simple path into a dynamic, welcoming feature that adapts to every moment of the day.
Warm White Welcome: Cozy Lighting for Indoor Staircases
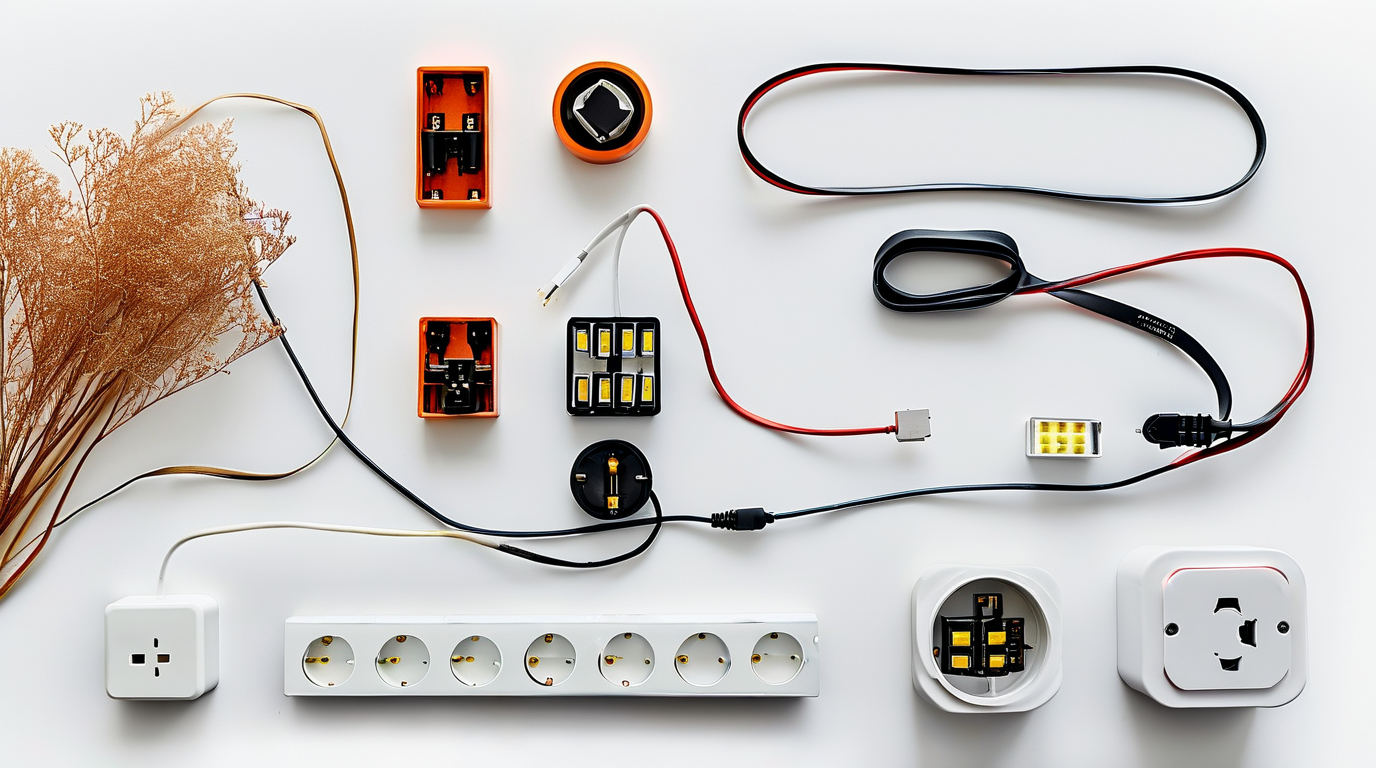
A staircase should feel like a gentle invitation, not a harsh pathway. That is why motion activated LED strips for stairs in warm white (2700K–3000K) are one of the most popular choices for homeowners. The golden glow they produce is soft enough to avoid glare, yet bright enough to guide every step. Unlike cool white or daylight LEDs, warm white closely mimics the color of traditional incandescent bulbs, making it ideal for family spaces where comfort matters as much as safety.
Why Warm White Works Best Indoors
Human eyes relax under warm tones, especially during evening hours. After sunset, a staircase lit by 2700K–3000K LED strips feels welcoming rather than clinical. The color temperature range reduces the amount of blue light emitted, which helps protect your family’s sleep cycle when someone heads upstairs late at night. This is one of the reasons many interior designers recommend warm white motion activated LED strips for stairs in bedrooms, hallways, and landings.
Comfort, Soft Glow, and Family Safety
With motion activation, the strips only turn on when they detect movement. This means children, grandparents, and guests always have light when they need it, without searching for wall switches. The soft glow also prevents the jarring experience of a fully lit hallway during a midnight trip downstairs. The result is a safer home environment where every step is visible and the atmosphere remains calm.
Key benefits for families include:
- Gentle illumination: No harsh brightness that stuns sleepy eyes.
- Automatic guidance: Lights turn on before a foot reaches the next step.
- Energy savings: Strips operate only when motion is detected.
- Reduced fall risk: Edge lighting clearly defines each tread and riser.
- Calm bedtime routine: Warm tones support the body’s natural wind-down cycle.
Matching Interior Finishes
Warm white LED strips complement a wide range of interior finishes. In homes with oak, walnut, or maple staircases, the 2700K–3000K range brings out the rich tones of natural wood. They also pair beautifully with cream, beige, terracotta, and soft gray paint palettes. For modern homes with brushed brass or matte black hardware, warm white highlights metallic accents without creating cold reflections.
When choosing a color temperature, consider the materials surrounding your staircase. Cooler whites can make warm wood look dull or gray, while warm white enhances depth and texture. The goal is to make the lighting feel like a natural extension of your interior design, not an afterthought.
Color Temperature Guide for Stair Lighting
The table below shows how different color temperatures perform in common stair lighting applications. Use it to select the right tone for each area of your home.
| Color Temperature | Light Appearance | Best Uses for Stair Lighting |
|---|---|---|
| 2700K | Very warm, golden glow | Cozy living spaces, traditional wood staircases, bedrooms |
| 3000K | Warm white, slightly crisper | Modern hallways, transitional homes, mixed material finishes |
| 3500K | Neutral white | Basement stairs, utility areas, commercial spaces |
| 4000K–5000K | Cool white to daylight | Outdoor stairs, security lighting, high-traffic public areas |
Installation Tips for a Warm White Staircase
For the coziest effect, install warm white motion activated LED strips for stairs under the tread nosing or along the riser base. This hides the LED source while casting a soft pool of light on each step. Choose a motion sensor with adjustable sensitivity and an auto-off timer between 30 seconds and 3 minutes. This keeps the lights responsive without wasting energy.
If your staircase has a landing, use the same color temperature throughout for visual consistency. Diffuser channels are worth adding because they smooth out individual LED hotspots and create an even, welcoming glow. Finally, select a dimmable driver so you can fine-tune brightness to match the time of day or your family’s preferences.
Creating a Warm Welcome Every Time
Warm white stair lighting is about more than visibility. It sets the emotional tone of your home. Whether you are coming home after a long day or sending a child upstairs to bed, motion activated LED strips for stairs in 2700K–3000K deliver a gentle, reliable welcome. They blend safety with comfort, protect your family’s nighttime routine, and enhance the natural beauty of wood, paint, and hardware finishes. For homeowners who want stair lighting that feels as good as it looks, warm white is the natural choice.
Outdoor Motion Activated LED Strips for Patio Steps
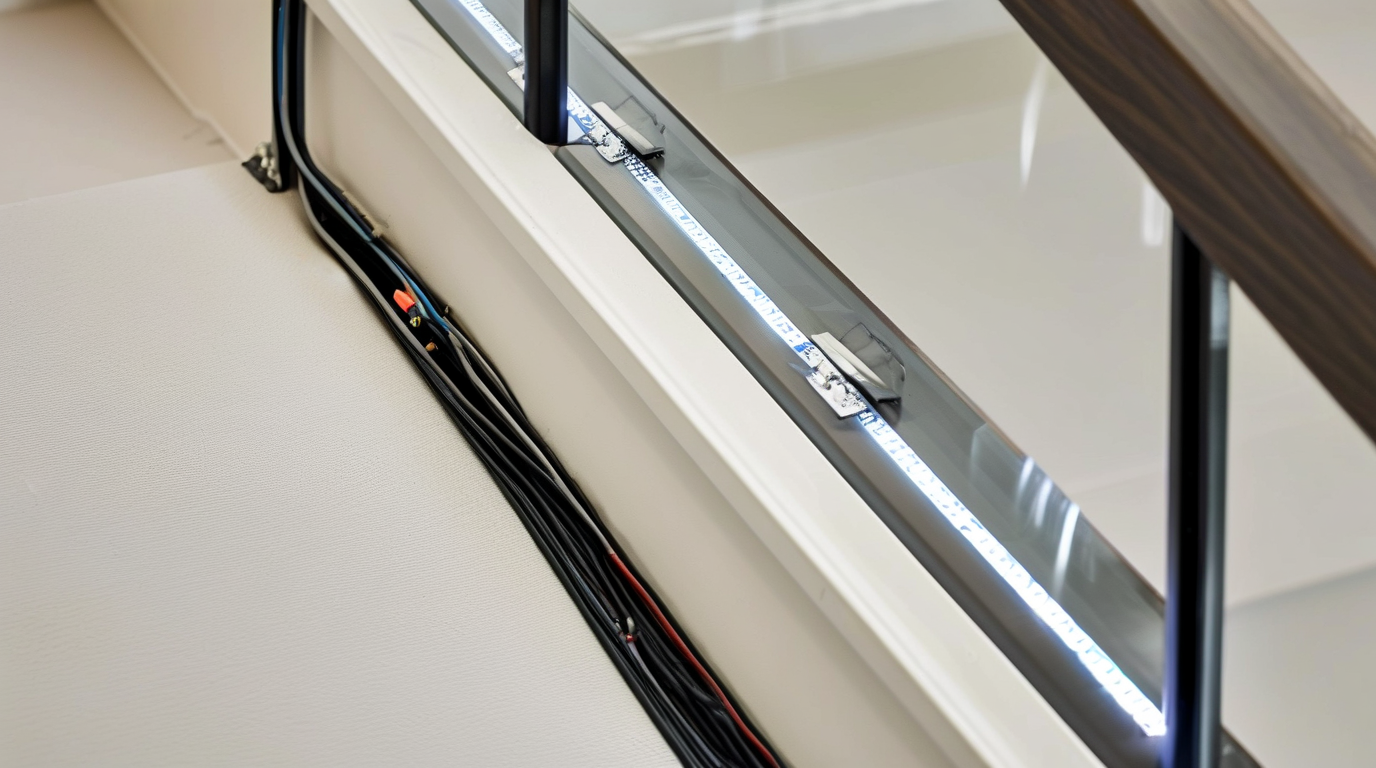
Outdoor stairs and patio steps are some of the most hazardous areas around a home after dark. Uneven risers, wet surfaces, and poor visibility all contribute to trips and falls. Installing motion activated LED strips for stairs outside solves these problems by delivering hands-free illumination exactly when someone approaches. The key difference between indoor and outdoor step lighting is protection: outdoor strips must survive rain, snow, UV rays, and temperature swings while still triggering reliably every time.
Waterproof Ratings and What They Mean
IP ratings tell you how well an LED strip resists dust and water. For outdoor steps, never install non-weatherproof strips even under a covered patio. Moisture, condensation, and splashing will destroy unprotected electronics quickly. The table below breaks down the most common IP ratings used with outdoor motion activated LED strips for stairs.
| IP Rating | Protection Level | Best For |
|---|---|---|
| IP54 | Dust protected; splashing water from any angle | Covered patios, dry climates, areas with minimal direct rain |
| IP65 | Dust tight; low-pressure water jets | Most outdoor stairs and patio steps; rain, sprinklers, and hose cleaning |
| IP67 | Dust tight; temporary immersion up to 1 meter | Steps near pools, fountains, or areas prone to heavy water runoff |
| IP68 | Dust tight; continuous submersion under pressure | Water features, coastal installations, or extreme exposure zones |
For standard patio steps, IP65 is the sweet spot. It offers enough protection for rain and washing without the cost premium of IP68. If your stairs sit near a pool, fountain, or frequently flooded walkway, move up to IP67 or IP68.
Weatherproof Power Supplies and Controllers
Waterproof strips are only half the battle. The power supply, motion sensor, and controller must also be rated for outdoor use. Mount these components in a sheltered location whenever possible, such as inside a covered junction box, beneath the deck, or behind a wall-mounted fixture. Always look for:
- IP65 or higher power supply to match the strip rating
- UV-resistant cable jackets that won’t crack after sun exposure
- Silicone or epoxy-coated controllers instead of open PCB boards
- Operating temperature range that covers your local climate, typically -20°C to 60°C
Using an indoor adapter outside, even under an awning, is a common mistake. Eventually, humidity finds its way in and causes failure or corrosion. For safety and longevity, pair outdoor-rated strips with outdoor-rated drivers and connectors.
Sensor Durability in Outdoor Conditions
Not all motion sensors perform the same outdoors. PIR sensors can become overly sensitive or blinded by direct sun, heavy rain, or temperature extremes. When choosing motion activated LED strips for stairs outside, look for these sensor features:
- PIR sensor with a weather-resistant lens hood or housing
- Adjustable sensitivity and daylight override to prevent daytime triggers
- Detection range matched to your stair length, typically 2 to 10 meters
- Time-delay adjustment so lights stay on long enough to cross safely
Some homeowners prefer microwave sensors for outdoor steps because they are less affected by temperature swings and can detect motion through non-metallic surfaces. However, microwave sensors may false-trigger from wind-blown plants or passing animals, so balance sensitivity carefully.
Installation on Concrete, Wood, and Patio Stairs
Each stair material demands a slightly different mounting approach. The goal is the same: secure the strip, hide the wiring, and protect the lights from foot traffic and standing water.
Concrete stairs: Use adhesive-backed aluminum channels mounted with masonry screws and wall plugs. Channels protect the strip from impact and help dissipate heat. Run channels along the vertical riser of each step for the cleanest look and safest forward-facing light.
Wood stairs: Deck and porch steps accept the same aluminum channels. Pre-drill to avoid splitting, use stainless steel screws to resist rust, and seal any screw holes with outdoor silicone to prevent rot.
Pavers and patio stairs: Low-profile aluminum extrusions can be tucked into the gap between tread and riser, or along the front edge of the step. If you cannot drill into the stone, use exterior-grade construction adhesive rated for stone and masonry, then secure the wiring in expansion joints or behind landscaping.
Wherever you install, place the strip where shoes won’t scrape it and where water drains away naturally. Never trap LED strips in a pool-collecting groove.
Safety Considerations for Outdoor Step Lighting
Safety is the main reason homeowners choose motion activated LED strips for stairs. Keep these guidelines in mind:
- Use low-voltage DC strips (12V or 24V) to reduce shock risk outdoors
- Install a GFCI-protected outlet or breaker for any AC connections
- Keep all connections above ground and off the walking surface
- Do not run standard indoor extension cords through wet areas
- Choose a warm white color temperature (2700K–3000K) to avoid harsh glare
- Ensure the motion sensor covers the full approach path so steps light before the first foot lands
Motion activation also improves security by removing constant light pollution and saving energy. When someone steps onto the patio, the strips illuminate the path instantly; after they pass, the lights turn off.
Maintenance Tips for Outdoor LED Step Strips
Outdoor installations need occasional care to keep shining bright. Schedule maintenance twice a year and after major storms:
- Wipe lenses and sensor covers with a soft, damp cloth to remove dirt and spiderwebs
- Inspect all connections for corrosion, moisture, or loosening
- Clear leaves and debris from stair channels to prevent heat buildup
- Check mounting screws and adhesive; replace any that have loosened
- Verify sensor aim and sensitivity as landscaping grows and changes
- Apply fresh silicone sealant to any penetrations in wood or masonry
With the right IP rating, quality components, and proper installation, motion activated LED strips for stairs can turn a dark patio into a safe, welcoming outdoor space for years to come.
Stair Nose Lighting for Subtle Guidance
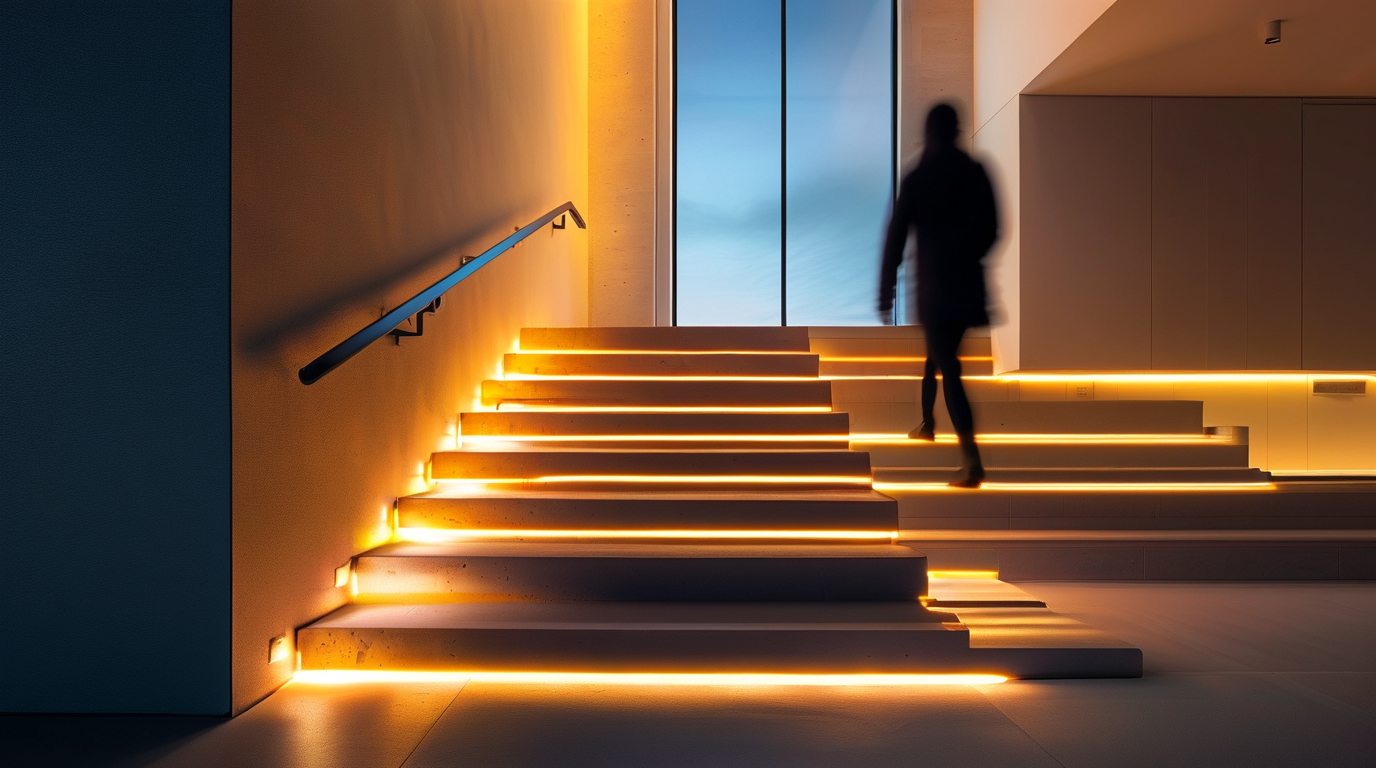
If you want guidance lighting that nearly disappears during the day, embedding motion activated led strips for stairs inside the stair nosing is one of the cleanest approaches. The nosing—the front edge of each tread—is an ideal location for low-profile illumination because it points light downward, highlights the trip hazard, and stays hidden from normal sightlines. The result is a floating-step effect that activates only when someone approaches and shuts off automatically when the stairway is empty.
What Is Stair Nose Lighting?
Stair nose lighting uses a slim LED strip mounted in or behind the nosing, usually on the vertical face of each step. Because the strip is oriented toward the tread below, the light creates a soft wash across the step surface without casting glare into eyes. It is especially popular in open-riser, floating, and modern closed-riser staircases where recessed wall lights would break the visual line.
Compared with side-mounted or wall-wash step lighting, nosing placement gives two practical advantages:
- Even coverage per step: every tread receives the same amount of light because the source is located at the same point on each step.
- Minimal visible hardware: the strip, channel, and wiring sit behind the nosing or anti-slip strip, so only the glow is visible.
Surface vs. Recessed Nosing Profiles
Choosing between surface-mounted and recessed nosing profiles depends on your staircase material, budget, and how much construction you are willing to do. The table below compares the two options for motion activated led strips for stairs projects.
| Feature | Surface Nosing Profile | Recessed Nosing Profile |
|---|---|---|
| Installation | Screws or adhesive onto existing nosing | Routered groove or channel cut into tread edge |
| Profile height | 6–12 mm visible above the tread | Flush or nearly flush with the tread surface |
| Best for | Retrofit, carpet stairs, or metal stair pans | New wood, composite, or concrete treads |
| Durability | Good; may catch debris at the lip | Excellent; protected from foot traffic and cleaning |
| Anti-slip compatibility | Can integrate with stick-on or screw-down anti-slip strips | Anti-slip insert can be mounted directly above the channel |
| Cost | Lower labor and material cost | Higher labor cost due to cutting and finishing |
| Light diffusion | Clear lens often exposed; watch for glare | Light diffused by a flush opal lens or recessed cover |
Surface profiles are the fastest way to add motion activated led strips for stairs to an existing staircase. Recessed profiles deliver the most refined look and the best protection for the strip, but they require precise machining and are best planned before the treads are installed.
LED Strip Profile Selection
For stair nose applications, choose a slim aluminum channel designed specifically for step edges. Common sizes are 10 mm × 10 mm or 17 mm × 7 mm, which fit neatly under a nosing overhang. Look for these features:
- Low profile height: keep the strip below 10 mm so it does not become a trip point or visual bulk.
- Opal diffuser: hides the individual LEDs and produces a continuous line of light.
- IP rating: use IP65 or higher for outdoor stairs, basements, or areas exposed to cleaning.
- Covers with anti-slip texture: some aluminum profiles accept a ribbed or grit insert that also serves as the anti-slip strip.
- Mounting flange: a flange with pre-drilled holes makes surface installation faster and more secure.
LED density matters, too. A 120 LEDs per meter strip at 2700 K–3000 K gives a warm, even glow that is easy on the eyes at night. Avoid high-lumen 5050 strips unless you install a dimmer or controller; stair lighting is most effective when it is subtle.
Wiring for Stair Nose Installations
Power each nosing strip from a single low-voltage run to avoid multiple wall adapters and keep the installation safe. The typical wiring path is:
- Run a 12 V or 24 V supply cable from the transformer to the bottom of the staircase.
- Bring a small-diameter cable up inside the stringer or along the underside of the treads.
- Connect each nosing strip in parallel to the supply cable, not in series, so voltage drop is minimized.
- Route a short jumper from the supply line into the aluminum channel at each step.
Because the total length of all nosing strips can add up quickly, calculate current draw before selecting the transformer. For example, twenty steps with 1 meter of 4.8 W/m strip pull roughly 96 W; choose a 120 W supply with a 20% safety margin. Keep all connections inside the channel or within a junction box, and never bury transformers inside closed cavities without ventilation.
Sensor Integration Strategies
To make the nosing strips truly hands-free, pair them with a motion sensor and a small controller. The most common setup is a single PIR or microwave sensor at the top and bottom of the stair run, wired to a controller that turns the entire strip string on and off together.
For more advanced behavior, consider these sensor integrations:
- Top-and-bottom PIRs: one sensor at each end triggers the full run; the light stays on for a timer duration after the last motion is detected.
- Per-step break-beam sensors: an invisible beam across the stair width triggers the next step and cascades light up or down the flight.
- Pressure or capacitive sensors: hidden under the tread or nosing, these detect foot contact and are not affected by pets or moving curtains.
- Daylight sensors: prevent motion activated led strips for stairs from turning on when the room is already bright, saving energy and extending LED life.
When selecting a controller, choose one with adjustable on-time and fade-in/fade-out options. A slow fade-in prevents the jarring snap of full brightness at night, while a fade-out gives occupants enough time to reach the top before the lights extinguish.
Stair nose lighting is an elegant way to add safety without sacrificing the clean lines of a modern staircase. By selecting the right profile, running low-voltage wiring neatly, and integrating a reliable motion sensor, you can turn a functional anti-slip edge into a discreet design feature that welcomes every footstep.
Motion-Activated Accent Lighting for Basement Stairs
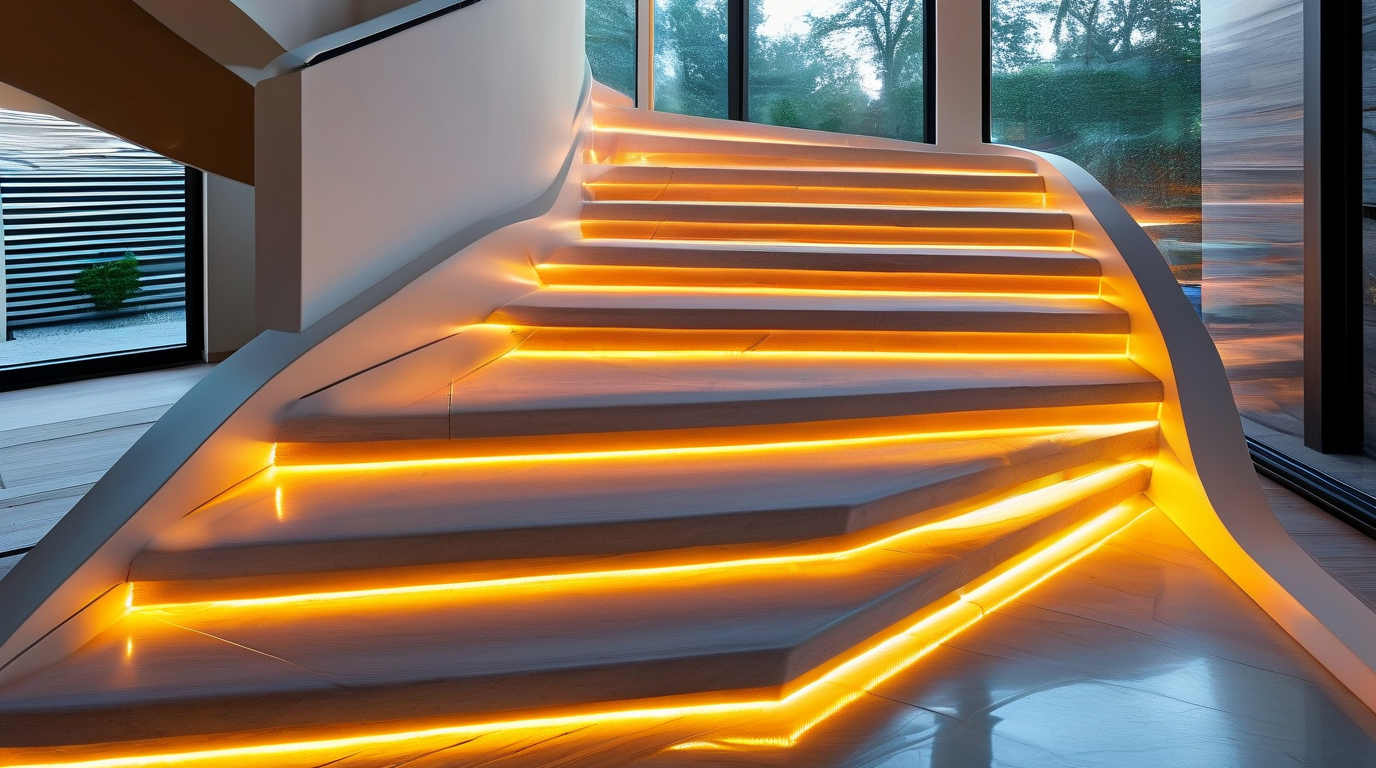
Basements are naturally prone to poor lighting, narrow passages, and shadowed staircases. Installing motion activated led strips for stairs in these areas is one of the smartest ways to improve visibility, safety, and comfort without rewiring an entire floor. Because basement stairs are often used infrequently and at odd hours, accent lighting that turns on automatically only when needed is both practical and energy efficient.
Why Basements Benefit from Motion-Activated LED Strips
Unlike main-floor staircases, basement stairs are usually tucked away, poorly lit by natural light, and easy to overlook when planning a home lighting scheme. A motion-triggered LED strip solves several problems at once:
- Hands-free operation: You do not need to fumble for a light switch while carrying laundry, storage bins, or tools.
- Instant illumination: The strip lights up the moment you approach the top or bottom of the stairs.
- Energy savings: LEDs consume very little power, and the motion sensor ensures they stay off when the basement is empty.
- Comfort and ambiance: A soft glow makes unfinished or dim basements feel more welcoming and usable.
Because these lights are only active during movement, they also reduce the risk of leaving a basement light on for hours accidentally.
Low-Voltage and Battery Options for Safer Basement Installations
Safety is especially important in basement environments, which can be damp, dusty, or used for storage. Low-voltage motion activated led strips for stairs typically run on 12V or 24V DC, which is much safer to handle than standard household line voltage. Many systems are also plug-and-play, meaning you can connect them to a standard wall outlet or a battery pack without hiring an electrician.
Power Options Comparison
| Power Source | Best For | Pros | Cons |
|---|---|---|---|
| Plug-in Adapter (12V/24V) | Stairs near an outlet | Reliable, continuous power, bright output | Requires nearby outlet, visible cord unless hidden |
| Rechargeable Battery Pack | Remote or finished basement stairs | Wireless, flexible placement, easy to install | Requires periodic recharging |
| Hardwired Low-Voltage Transformer | Permanent remodels | Cleanest look, long-term reliability | Higher upfront cost, may need professional help |
| USB Power Bank | Temporary or seasonal setups | Portable, cheap, easy to swap | Limited capacity, not ideal for daily use |
Avoiding Dark Zones on Basement Stairs
A single overhead bulb in the basement often leaves the middle of each step in shadow. Motion activated led strips for stairs should be installed where they directly illuminate the walking surface. Mounting the strip along the underside of the stair nosing or along the wall at toe-kick height creates a continuous wash of light across every tread.
To eliminate dark zones, follow these placement tips:
- Run one continuous strip under each stair nosing for even step-by-step lighting.
- Install a second strip along the handrail or baseboard for extra coverage on wide stairs.
- Choose warm white or neutral white LEDs to reveal texture and edges without glare.
- Test the lighting at night to confirm every tread is clearly visible from both directions.
Sensor Placement Tips
Correct motion sensor placement is key to reliable operation. If the sensor is blocked, aimed incorrectly, or too far from the stairs, the lights may not activate when needed.
- Mount at the top and bottom of the staircase: Dual sensors cover both directions of travel and prevent the light from turning off mid-climb.
- Angle the sensor toward the landing: This detects a person before they step onto the first stair.
- Keep sensors away from heat sources: Furnaces, water heaters, and dryers can trigger false activations or confuse passive infrared sensors.
- Protect from moisture: If the basement is humid, choose a sensor and strip rated for damp locations.
- Set an appropriate delay: A 30- to 60-second timeout gives enough time to ascend or descend safely.
Safety Code Considerations
Even though accent lighting is decorative, it should still meet basic safety and electrical guidelines. When installing motion activated led strips for stairs in a basement, keep these code and safety points in mind:
- Use low-voltage, UL-listed or ETL-listed LED strips and power supplies.
- Secure all cables and strips to avoid trip hazards, especially on narrow basement stairs.
- Do not install standard power supplies in wet areas unless they are rated for damp or wet locations.
- Follow local building codes for stair lighting, including minimum illumination levels and switch locations.
- If hardwiring, consider hiring a licensed electrician to ensure code compliance and safety.
Motion-activated accent lighting transforms basement stairs from a dim, neglected passage into a safer, more usable part of the home. Whether you choose a plug-in kit, a rechargeable battery strip, or a hardwired low-voltage system, the right setup keeps every step visible and every trip downstairs worry-free.
Related posts

Upgrade Your Home Safety with Hardwired Indoor LED Step Lights with Motion Sensor

Hardwired indoor LED step lights with motion sensor for safer stairs, better visibility, and a cleaner modern home upgrade.

15 Stunning Stair Lighting Ideas for Indoor & Outdoor Steps
Explore 15 stunning stair lighting ideas for indoor and outdoor steps, from LED tread lights and riser lighting to handrail, deck stair, and pathway lighting concepts.

Many Lumens Outdoor Step Lights: Benefits, Drawbacks, and Buying Tips
Why Lumens Matter for Your Outdoor Steps
You want your steps to look great and keep everyone safe at night. Most outdoor step lights wo...