Why Light Brick Steps?
You can light up your brick steps to boost safety and add style at the same time. Poor lighting causes 20% of stairway accidents, so you want to make your steps safer for family and guests.
Adding paver stair lights gives your steps a modern look and helps prevent trips. Upgrading your lighting makes your home feel welcoming and can even increase resale value. Creative designs and proper placement make your steps stand out after sunset.
Key Takeaways
- Bright lights on brick steps make them safer. They help people see dangers better.
- Pick good lighting, like paver stair lights or LED strips. This makes steps safe and look nice.
- Follow local building rules for where to put lights. This helps you follow the law and avoid problems.
- Clean and check your lights often. This keeps them working and looking good.
- Use different lighting styles together. This makes your home look friendly and pretty at night.
Why Light Brick Steps?
Safety and Code Compliance
You want your brick steps to be safe for everyone. Poor lighting can hide hazards like uneven bricks or debris. When you can’t see these dangers, accidents happen. Here are some common risks you face with unlit steps:
- You might trip or slip on uneven surfaces.
- The elderly or anyone with poor eyesight can fall more easily.
- Property owners must keep their steps well-lit to avoid injuries.
Tip: Good lighting shows you care about safety and helps you avoid problems with insurance or local rules.
Most building codes require a certain amount of light on each step. Usually, you need at least 1 foot-candle (10 lux) on the treads. If you skip this, you could fail inspections or even lower your home’s value. Always check with your local building department before you start. They can tell you about any extra rules in your area.
Curb Appeal and Ambience
Lighting does more than just keep you safe. It also makes your home look incredible at night. When you add lights to your brick steps, you’re really showing off your entryway’s best features. Landscape designers say outdoor lighting adds depth and a bit of drama to your home’s exterior. It pulls the eye toward your landscaping and makes the whole place feel way more inviting.
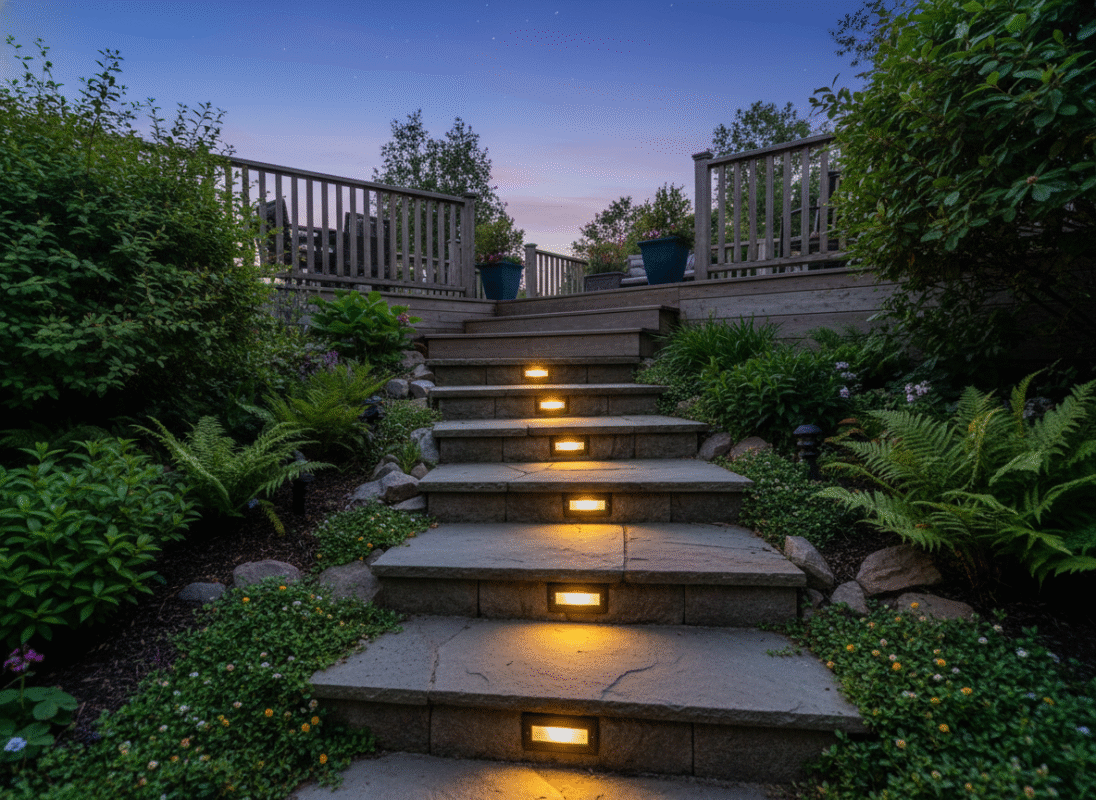
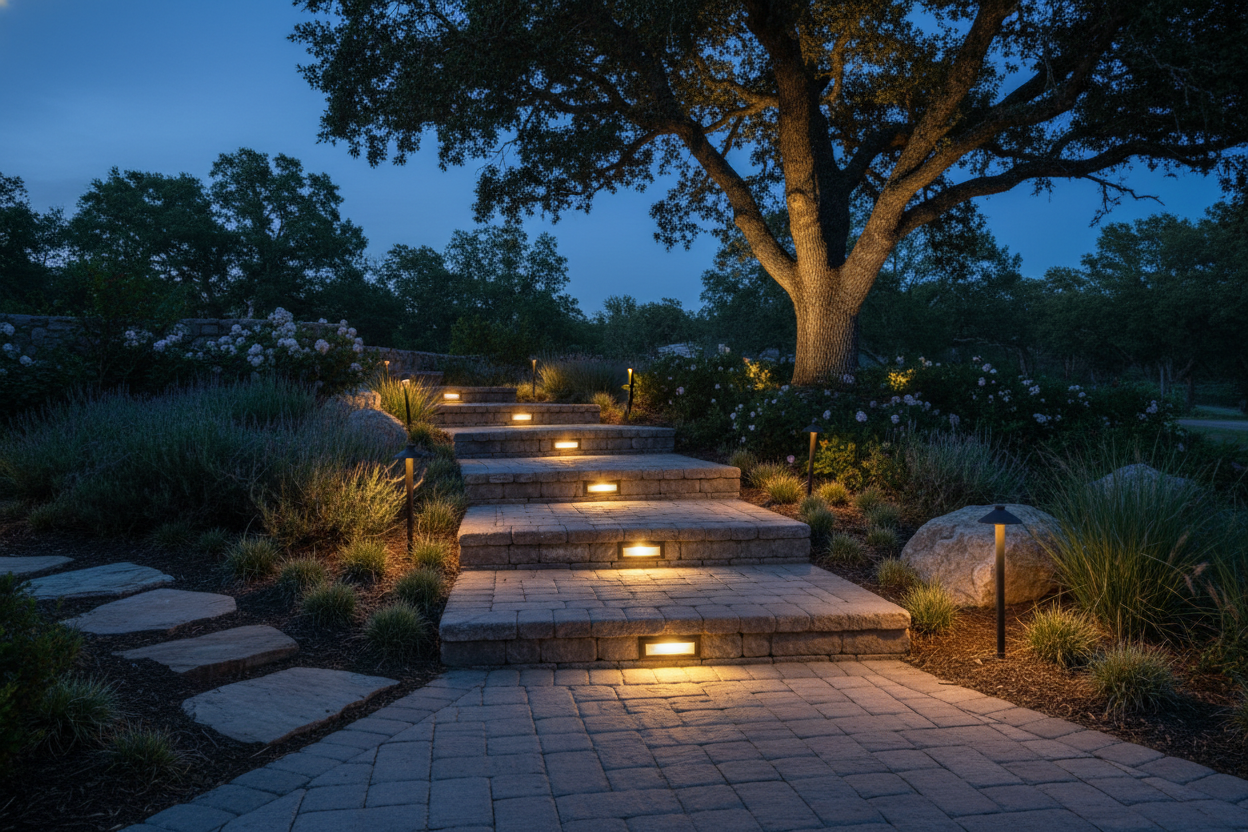
You can play around with different types of lights to set whatever mood you’re after. Step and brick lights come in all sorts of shapes and styles. Some fit right into the brickwork for a sleek, modern look. Paver stair lights are a popular pick because they blend in seamlessly and give off a soft, even glow.
Usability After Dark
Lighting up your brick steps makes your home a lot easier to use once the sun goes down. You can walk up and down safely, even when it’s pitch black. Your guests will find your house a lot more welcoming, too. It also makes hauling groceries or packages way less stressful since you won’t have to worry about missing a step. Good lighting means you can enjoy your outdoor spaces longer, whether you’re coming home late or hanging out with friends.
Best Lighting Options for Brick Steps
Picking the right lighting for your brick steps can feel a bit overwhelming. You want something that looks good, keeps everyone safe, and doesn’t break the bank. Let’s break down the main options so you can figure out what works best for your place.
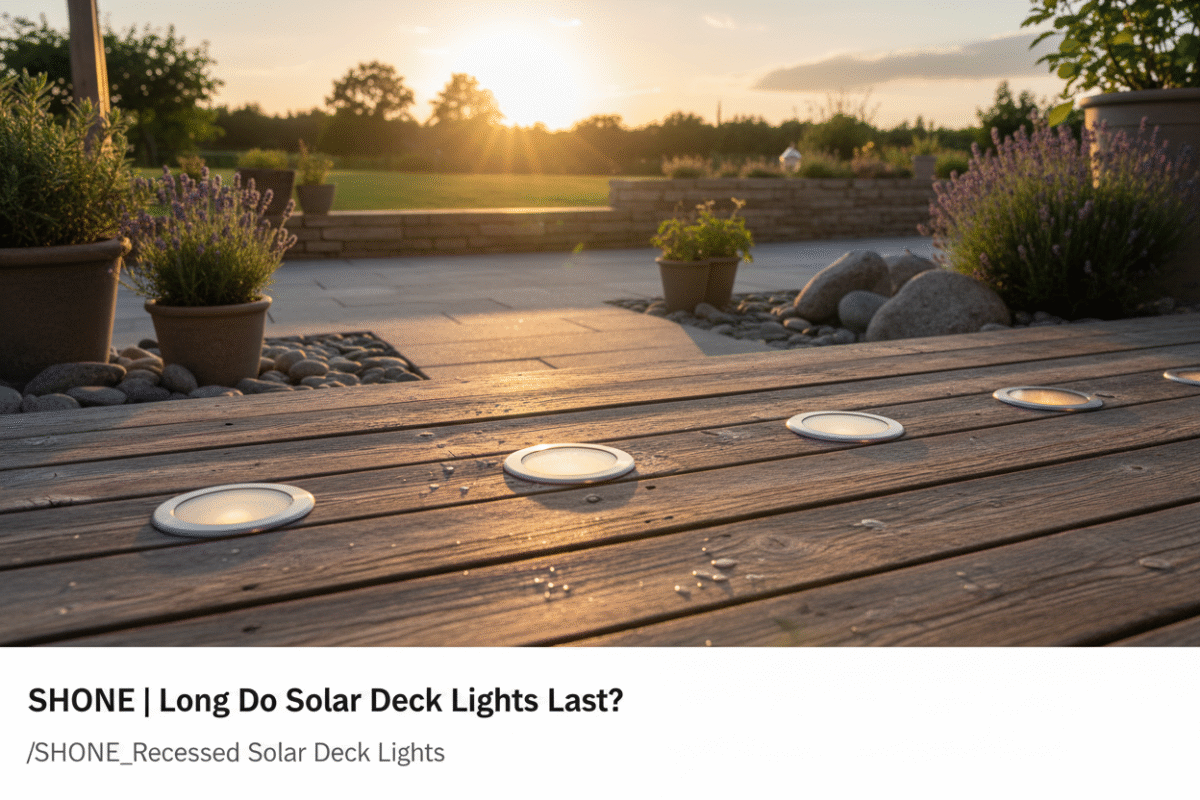
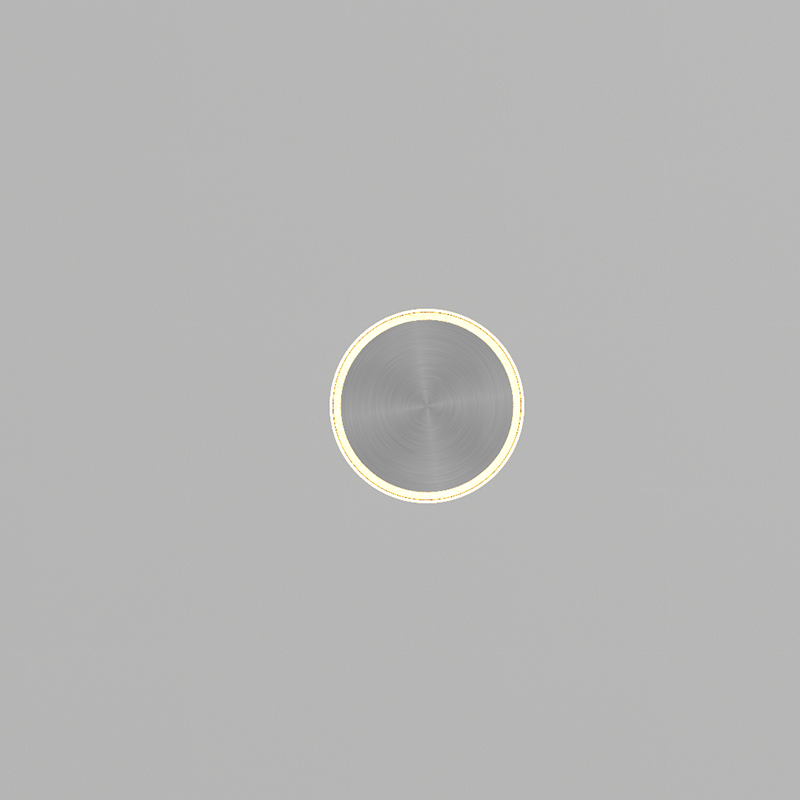
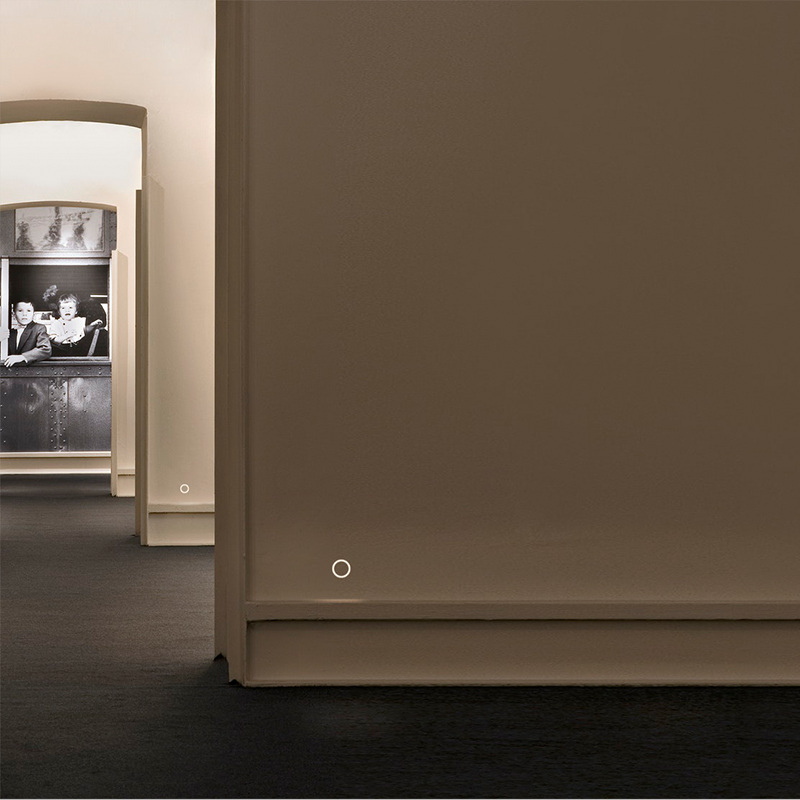
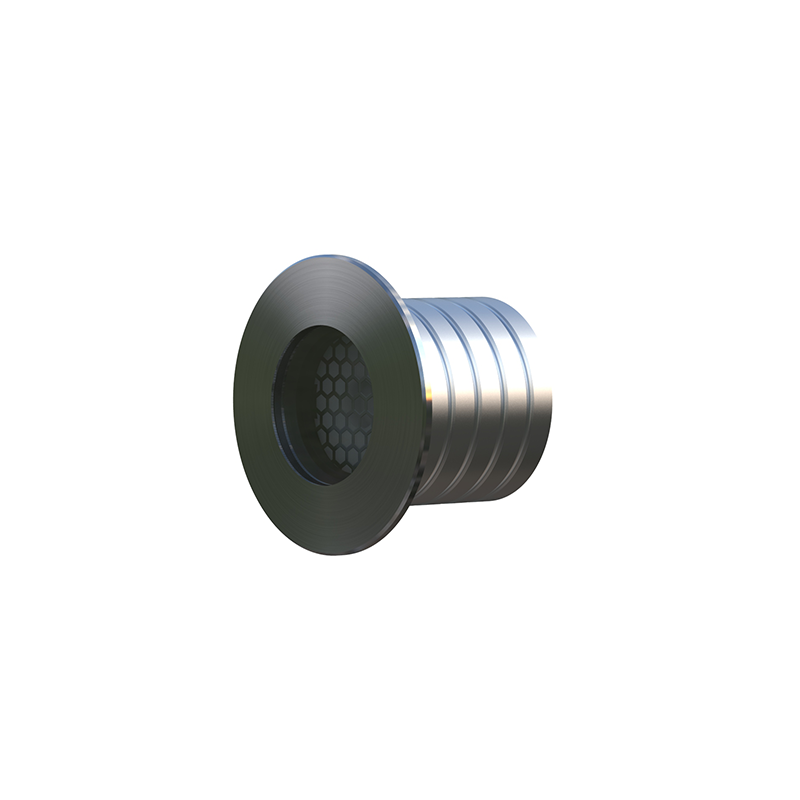
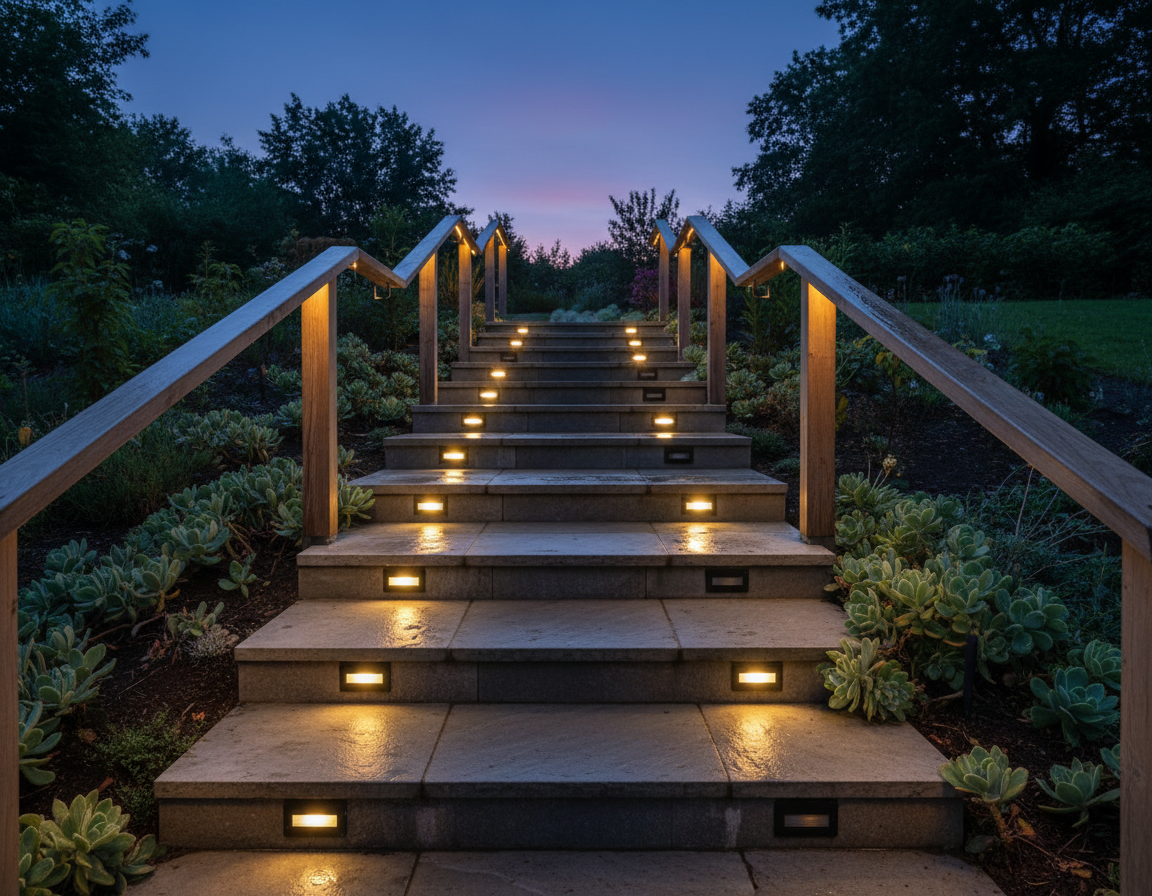
Paver Stair Lights Overview
Paver stair lights fit right into your brick steps. You can install them between the bricks or right under the edge of each step. These lights give off a soft, even glow that makes every step easy to see. A lot of homeowners love how these lights disappear during the day but really shine at night.
Here’s what you need to know before you install paver stair lights:
- You’ve got to follow local electrical codes for safety.
- Always call 811 before you dig to mark any underground utilities.
- If you hire an electrician, expect to pay around $50-$100 per hour.
- Plan your layout and wear safety gear to avoid any accidents.
- Check your lights twice a year and gently clean off any dirt or leaves.
- Reseal any loose fixtures and plan on replacing bulbs every 3-5 years.
Paver stair lights last a long time if you take care of them. They handle all kinds of weather and add a modern touch to your steps. You can use them on both new and old brick stairs.
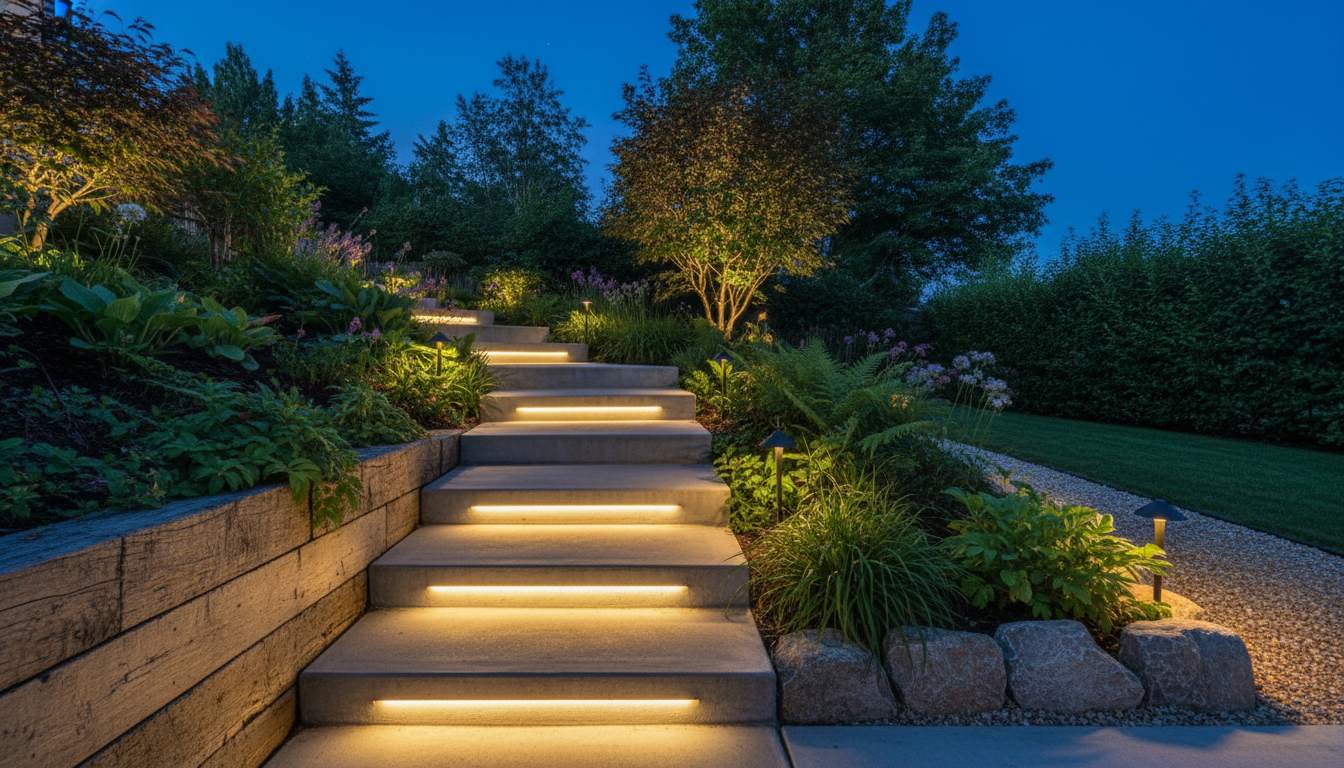
LED Tape and Strip Lights
LED tape and strip lights give you a ton of design flexibility. You can stick ’em right under the lip of each step or run ’em along the sides. Since they’re thin and bendy, it’s easy to shape them to match your steps perfectly.
LED tape and strip lights handle outdoor use pretty well, but you’ve gotta install them correctly. Make sure you seal up the ends and joints to keep water out. Good drainage also helps keep moisture at bay. Tossing in a surge protector can keep your lights running when storms roll through.
If you’re after a bright, modern vibe, LED strips are a solid pick. They sip power and last for years. Plus, you can choose different colors to match your style.
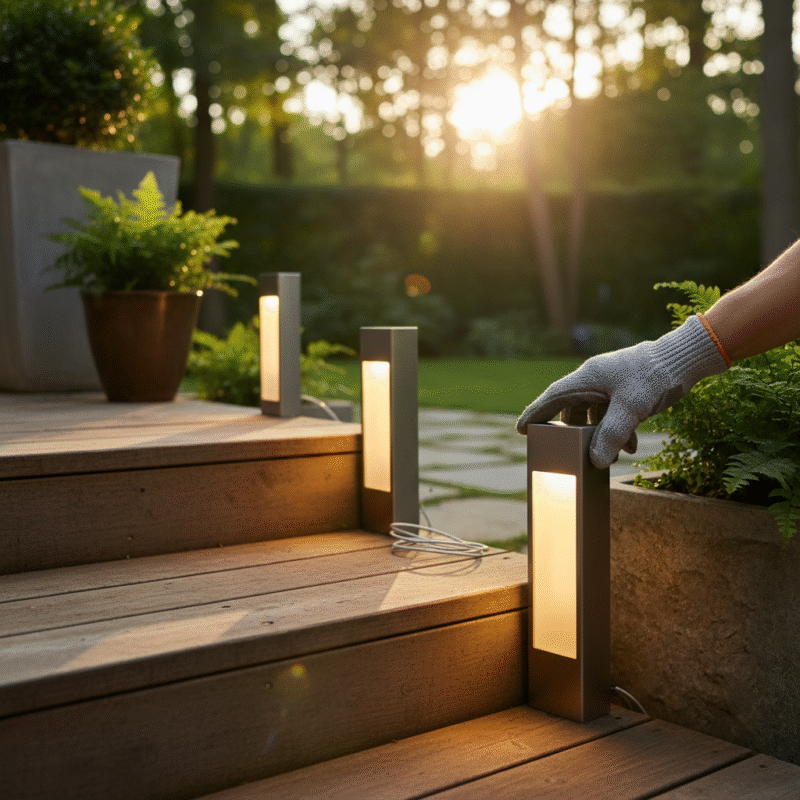
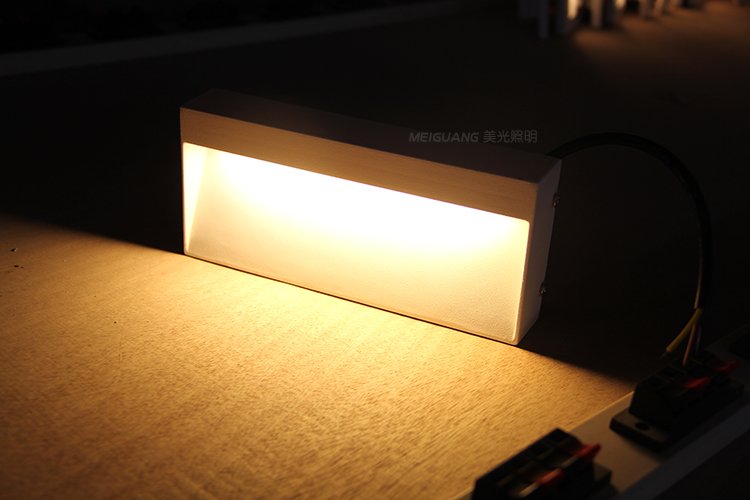
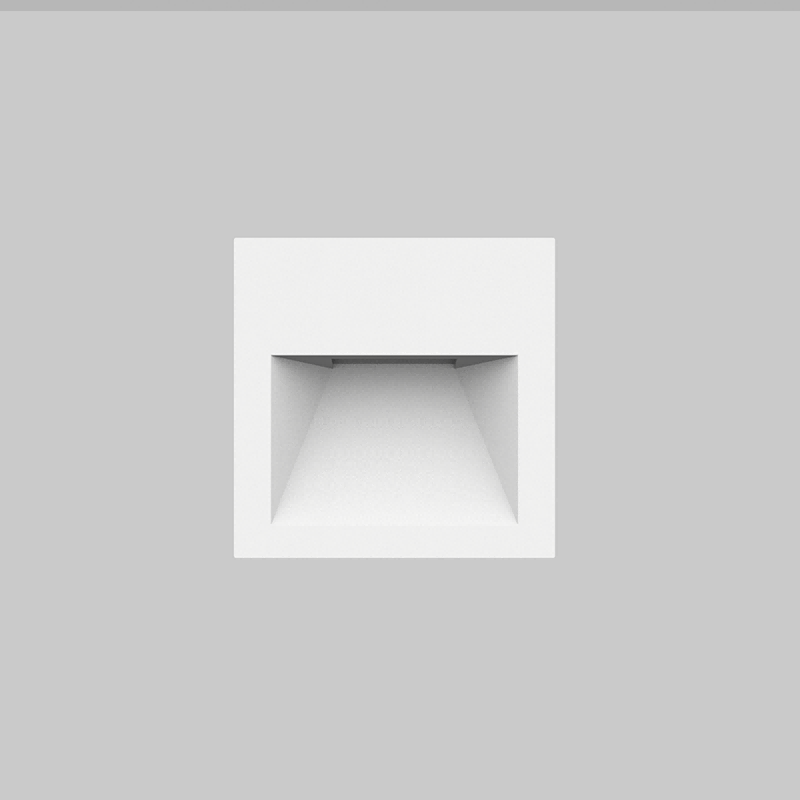
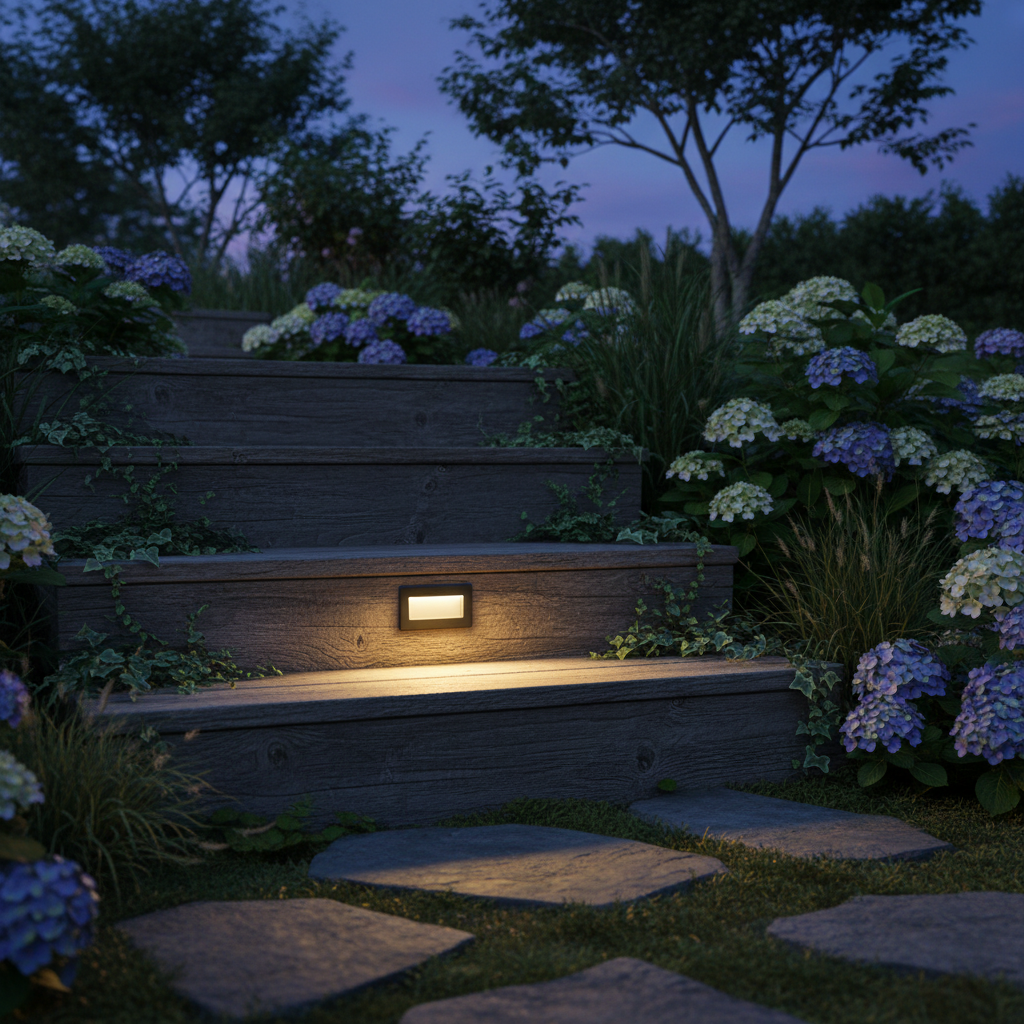
Wall-Mounted Step Lights
Wall-mounted step lights attach to the side walls next to your brick steps. These lights cast a glow across each step, so you can clearly see where you’re stepping. You’ll find them in all sorts of shapes and finishes, from classic to contemporary.
Wall-mounted lights work best when you’ve got a wall or railing beside your steps. Space them every 8-10 feet, or put one every two steps for even coverage. They’re easy to clean and swap out. Most models use LED bulbs, so you won’t be replacing them anytime soon.
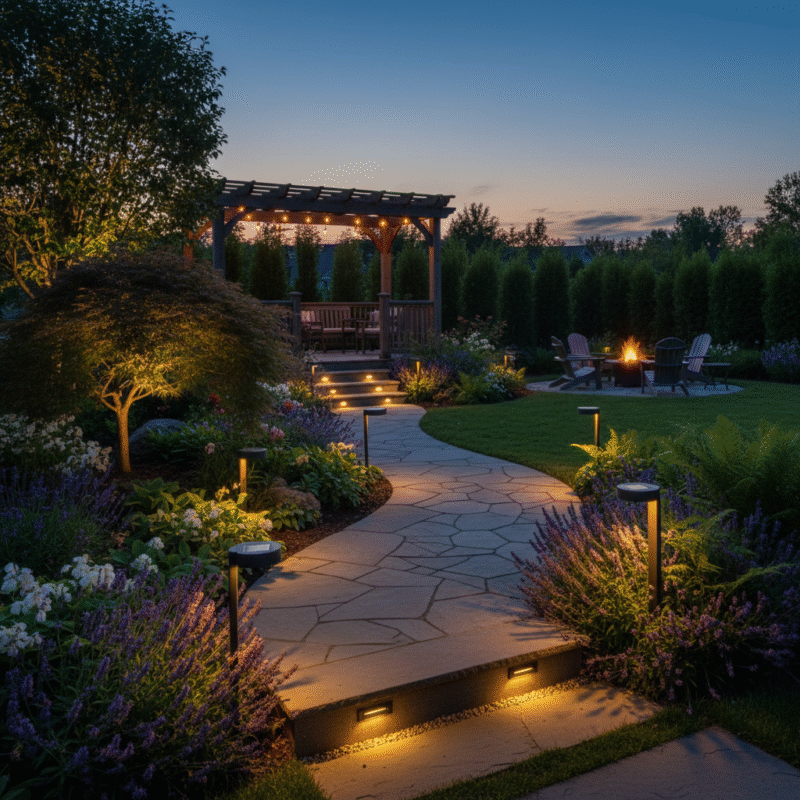
Downlighting Techniques
Downlighting means placing lights above your steps—like under a porch roof or in a nearby tree. The light shines down, creating soft shadows and really bringing out the texture of your brick steps. This style gives your entryway a warm, welcoming feel.
Downlighting spreads light evenly and highlights the details in your brickwork. You can use it on its own or mix it with other lights for a layered look. This technique also works great if you want to show off your landscaping.
Comparing Lighting Options and Costs
Wondering what these options will set you back? Here’s a quick breakdown:
|
Lighting Option |
Cost Range |
|---|---|
|
$3,000 – $20,000 |
|
|
Solar light installation |
$200 – $1,600 |
|
Big box store low voltage system |
$695 – $3,600 |
Paver stair lights and wall-mounted lights usually land in the low to mid-range, depending on how many steps you’ve got and whether you hire a pro. LED tape and strip lights can be a budget-friendly DIY project, but you’ll need to keep ’em protected from water. Solar lights cost less upfront and don’t need wiring, but they might not shine as bright or last as long.
Tip: Always check your local building codes. Most places require at least one light at the top or bottom of your steps. Good spacing and placement help you meet these rules and keep everyone safe.
No matter which option you pick, you can mix and match to get the look and safety you want. Paver stair lights work well with downlighting or wall-mounted lights for extra style and brightness.
Choosing and Placing Stair Lights
Durability and Weather Resistance
When you’re picking stair lights for your brick steps, you want ’em to hold up through every season. Outdoor lights face rain, wind, and big temperature swings. Look for lights with metal housings and impact-resistant lenses. These materials stand up to harsh weather and keep your lights working year after year. High-quality coatings also help protect against rust and fading. If you choose sturdy lights, you’ll spend less time fixing or replacing them.
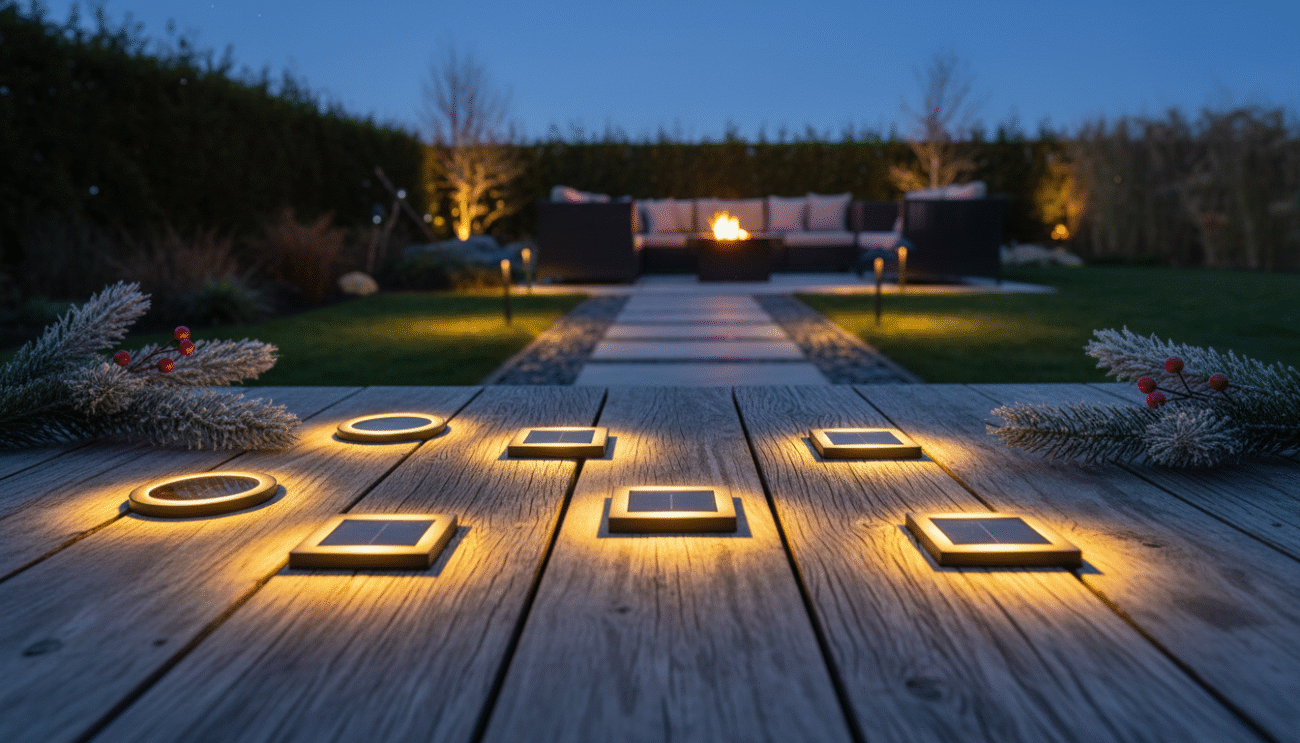
Power Source: Wired vs. Solar
You’ve got two main choices for powering your stair lights: wired or solar. Each has its own pros and cons. Here’s a quick comparison to help you decide:
|
Feature |
Wired Lighting |
Solar Lighting |
|---|---|---|
|
Reliability |
More dependable, works in all weather |
Dependent on sunlight, may not work in bad weather |
|
Maintenance |
Low upkeep, lasts for decades |
Higher maintenance, requires battery replacements and cleaning |
|
Installation |
Requires professional installation |
DIY-friendly, easy to install |
|
Performance |
Consistent brightness |
May dim or fail in poor weather |
Wired lights give you steady brightness and need little care. Solar lights are easy to install and save energy, but they might not work well on cloudy days or in shady spots. Think about your local weather and how much sunlight your steps get before you choose.
Placement Tips and Spacing
Where you put your stair lights matters for both safety and style. Lighting pros suggest these tips:
- Place lights on the riser of each step or under the lip if you can.
- Skip lighting every single step to avoid too much brightness.
- For wide steps, space lights every 3-4 feet.
- Always check your local building codes. Most codes say you need at least one light at the top or bottom of your steps.
If you use paver stair lights, you can blend them right into your brickwork for a clean look. Good placement helps everyone see each step clearly and makes your entryway shine.
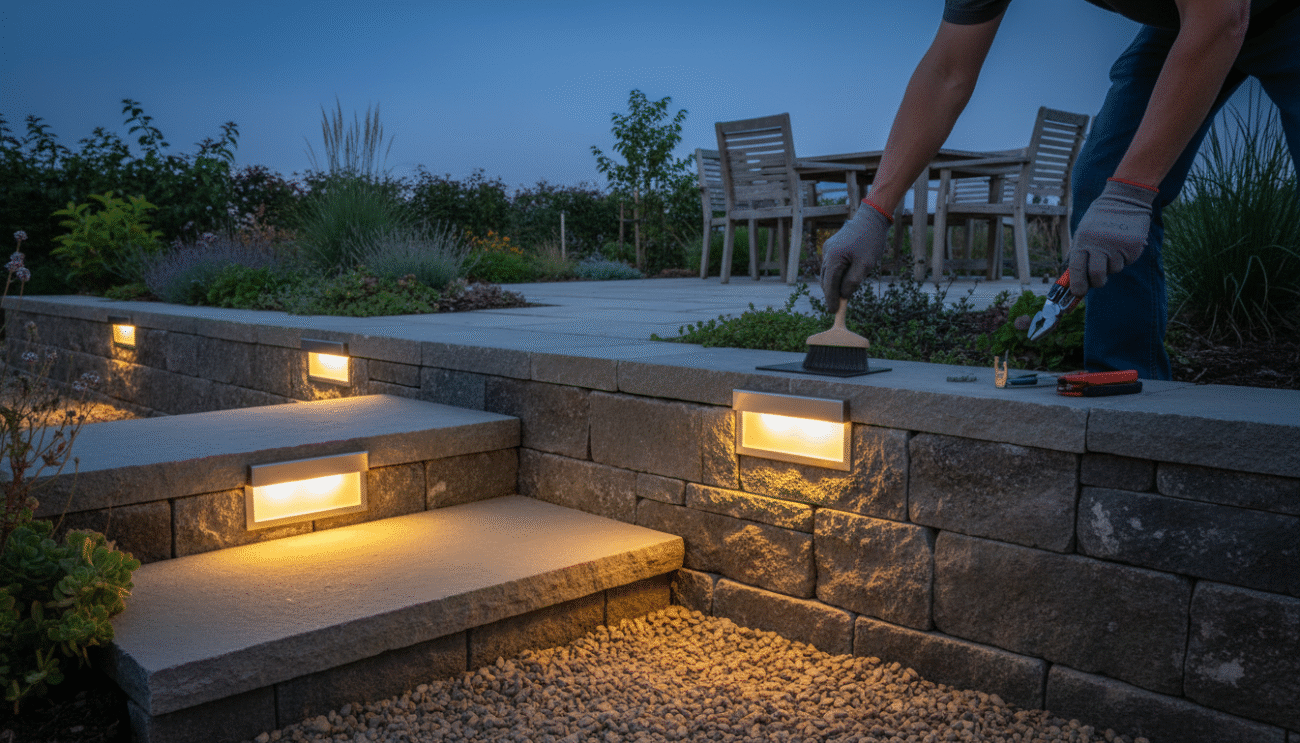
Installing Paver Stair Lights
Tools and Materials Needed
You need the right tools and materials before you start your project. Having everything ready makes the job easier and safer. Here’s what you should gather:
- Paver stair lights (including light base, lens, lamp socket, bulbs, connectors)
- Low voltage power supply cable
- Transformer
- Philips head screwdriver
- Pliers
- Wire cutters
Tip: Draft a layout of your project. Mark where you want to place each light and where you’ll plug in the transformer. Planning ahead helps you avoid mistakes and saves time.
Step-by-Step Installation
You can get paver stair lights installed on your brick steps with just a few simple steps. Follow this guide to make sure your lights work well and look great.
- Mark the spot for each light on your brick steps.
- Put on safety glasses. Use a hammer drill with a diamond bit to drill a hole at a 45° angle.
- Rinse off any dust or residue. You want a clean surface for the light.
- Create a channel for the wire. Cut the bedding layer if you need more space.
- Feed the wire through the hole you drilled.
- Tap the light into place using a rubber mallet.
- Set the paver and run the wire through the channel.
- If you want easier access to connections, add an extender.
- Run the main cable line to the transformer.
- Secure the connector by twisting it until it clicks.
- Place the paving stones over the cable.
- Bury the wires in your landscape to keep them safe and hidden.
Safety Alert: Always wear safety glasses and gloves. Make sure you turn off power before connecting wires. If you feel unsure, ask a licensed electrician for help.
Common Mistakes to Avoid
You can avoid problems if you watch out for these common mistakes:
- Skipping the layout step. If you don’t plan, you might place lights unevenly or miss important spots.
- Using the wrong drill bit. A diamond bit works best for brick. Other bits can crack the paver or leave rough edges.
- Forgetting to rinse off dust. Dust can block the light or cause poor connections.
- Not sealing wire channels. Water can get in and damage your paver stair lights if you leave channels open.
- Over-tightening connectors. If you twist too hard, you can break the connector or damage the wire.
- Leaving wires exposed. Bury wires to protect them from weather and foot traffic.
Note: Check your lights after installation. Make sure each one works and sits flush with the brick. If you see any loose fixtures, reseal them right away.
You can enjoy safe, stylish steps if you follow these tips and steps. Installing paver stair lights gives your entryway a modern look and helps everyone see each step clearly.
Maintenance and Design Ideas
Cleaning and Upkeep
You want your stair lights to shine bright and last for years. Regular cleaning and upkeep make a big difference. Just wipe down the lights with a soft cloth to knock off dirt and dust. If you’re using solar lights, give the panels a clean so they soak up enough sunlight. Keep an eye out for leaves or debris that might block the light. Check the batteries and swap them out if you notice dimming. Look for any cracks or damage on the fixtures too. When you stay on top of these simple tasks, your stair lights work better and stay safe. A little regular care helps your lighting system last longer and stops problems before they start.
Troubleshooting Issues
Sometimes, your stair lights don’t work like they should. You can fix a lot of common problems with just a few easy steps. Here’s a quick guide to help you out:
|
Issue |
Troubleshooting Method |
|---|---|
|
Insufficient sunlight exposure |
Check which areas get the most sun during the day. Move solar lights to sunnier spots if needed. |
|
Battery performance |
Choose high-quality solar lights with strong batteries. Replace old batteries to keep lights bright. |
|
Inconsistent light output |
Pick solar lights with adjustable brightness or different modes. This helps you get even lighting. |
If you’re still having trouble, take a look at the wiring or connections. A loose wire or connector is often the culprit. Make sure everything’s tight and dry.
Creative Lighting Designs
You don’t have to stick with boring lights for your brick steps. Try these ideas to boost safety and style:
- Add path lights for a soft, even glow along your steps.
- Use modern fixtures to give your entryway a fresh look.
- Install rail post caps or risers with built-in lights for extra visibility.
- Wrap string lights around nearby railings or plants for a cozy feel.
- Place garden lights around your steps to highlight your landscaping.
Mixing different types of lights can make your steps stand out and help guests find their way. You can match your lighting design to your home’s look and create a space you love.
Lighting your brick steps keeps everyone safe and adds a stylish touch to your home. You want to pick lights that fit your style, use durable materials, and give off the right brightness. Make sure you follow local codes and space your lights to avoid dark spots. Here are a few things to remember:
- Choose shapes and colors that match your home.
- Use weatherproof fixtures for long-lasting results.
- Install lights at regular intervals for even coverage.
- Try motion-sensor or glare-free options for extra safety.
Keep your lights clean and check them often. Ready to brighten up your steps? Start your project today!
FAQ
How many lights do I need for my brick steps?
You usually need one light at the top and one at the bottom. For long stairs, add a light every 2-3 steps. Check your local code for exact rules.
Can I install stair lights myself?
Yes, you can install many stair lights as a DIY project. Always turn off the power first. If you feel unsure, call a licensed electrician for help.
What type of light bulb works best outdoors?
LED bulbs work best for outdoor steps. They last a long time and use little energy. Look for bulbs labeled “weatherproof” or “outdoor rated.”
Will solar lights work on shady steps?
Solar lights need sunlight to charge. If your steps stay shady, wired lights will work better. You can mix both types if some areas get sun.
How do I keep my stair lights clean?
Just give your stair lights a quick wipe with a soft cloth every couple of weeks. Pick off any leaves or dirt you see. If you’ve got solar lights, make sure to clean the panels too—that way they’ll charge up properly and keep working like they should.