 Lighting up stone steps doesn’t have to be complicated—it can actually look really sharp. You’ve got options like paver stair lights or more modern picks such as LED strips and wall sconces. A lot of folks go with natural stone materials for their lighting setup because they’re both beautiful and built to last. These choices don’t just boost your curb appeal—they also help keep things safe after dark. And you don’t need to be a pro to pull it off. Most homeowners can handle this upgrade with a little planning.
Key Takeaways
- Lighting your stone steps helps people see at night, which cuts down on trips and falls.
- Step lights make your home look better. Visitors and potential buyers will notice.
- Pick a lighting style that fits your vibe—whether that’s paver stair lights or LED strips.
- Clean your step lights regularly and make seasonal tweaks. That keeps them working like new.
- Think carefully about where you place your lights. Good positioning gives even light and cuts down on glare.
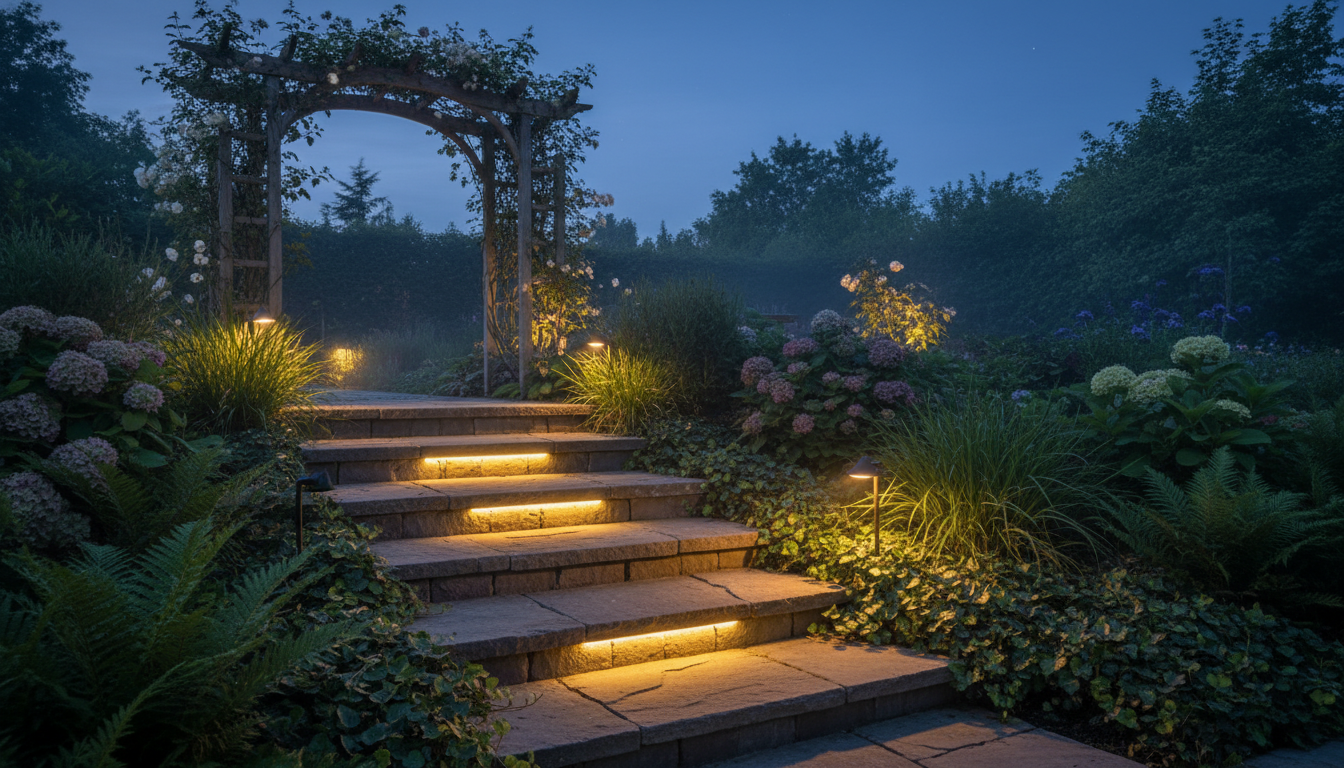
Why Light up Steps?
Safety Benefits
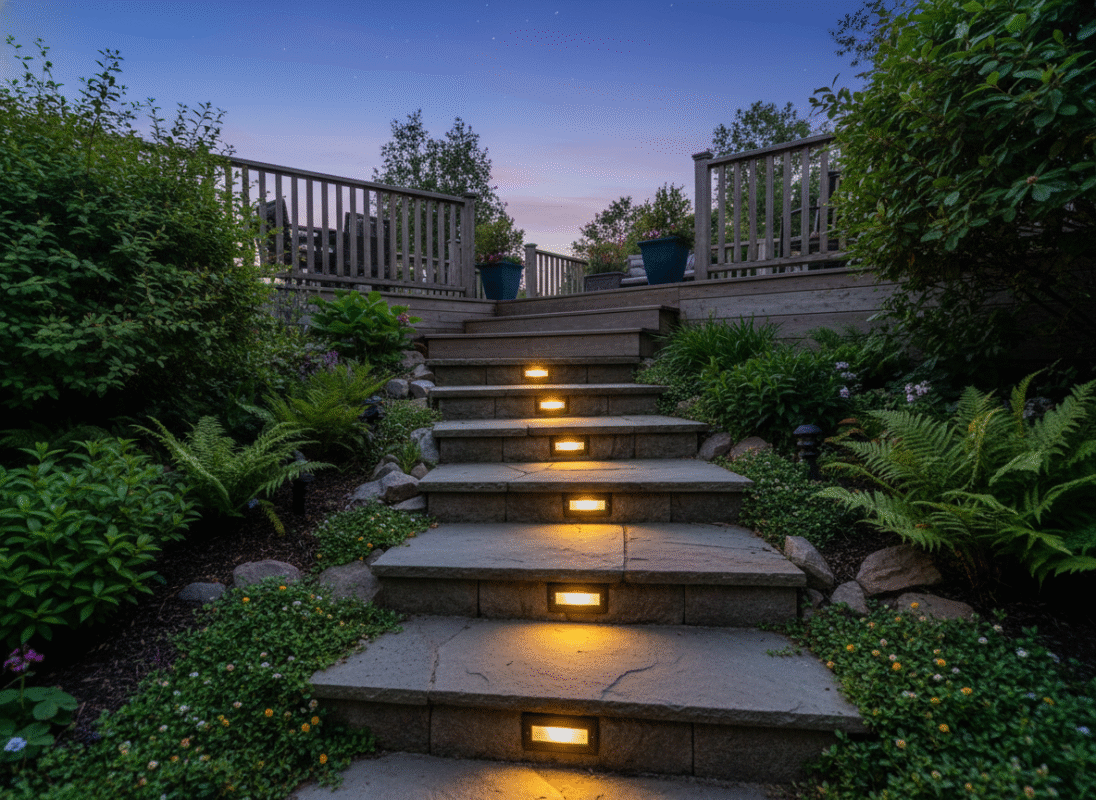
You want your home to feel safe for everyone, right? When you add step lights to your stone steps, it’s way easier to see where you’re going—especially once the sun goes down. Good lighting lets you spot each step clearly, so you can avoid trips and falls. That matters for you, your family, and anyone who comes over. Safety experts point out that step lights do more than just light the way—they also help you keep an eye on your property. When you light up your steps, you’re making your whole home a safer place.
Curb Appeal
Step lights aren’t just about staying safe—they make your home look incredible from the street. When you light up your stone steps, it shows you actually care about your home’s appearance. Real estate studies back this up: homes with well-designed lighting feel more welcoming, and they can even sell for more money.
- Homes with step lights and other outdoor lighting come across as high-quality and secure.
- Buyers notice homes with great curb appeal, and they’re often willing to pay a premium.
- Step lights really bring out the beauty of your stone steps and help your home stand out from the crowd.
- Outdoor lighting—including step lights—gives you a solid return on your investment.
Pick the right step lights, and you’ll create a warm, inviting look that makes your home shine.
Nighttime Usability
You want to enjoy your outdoor spaces even after the sun goes down, right? Step lights on your stone steps make that happen. Research shows that when you use step lights to spread light evenly, your yard feels more relaxing and comfortable at night. You can walk up and down your steps with confidence, host friends, or just kick back and enjoy a quiet evening outside. Step lights make your steps easy to use at any hour, so you get way more out of your outdoor space.
Lighting Options for Stone Steps
 When you’re ready to brighten up your steps, you’ve got plenty of lighting options to choose from. Each type brings its own style, features, and benefits. Let’s break down the most popular choices so you can pick what works best for your home.
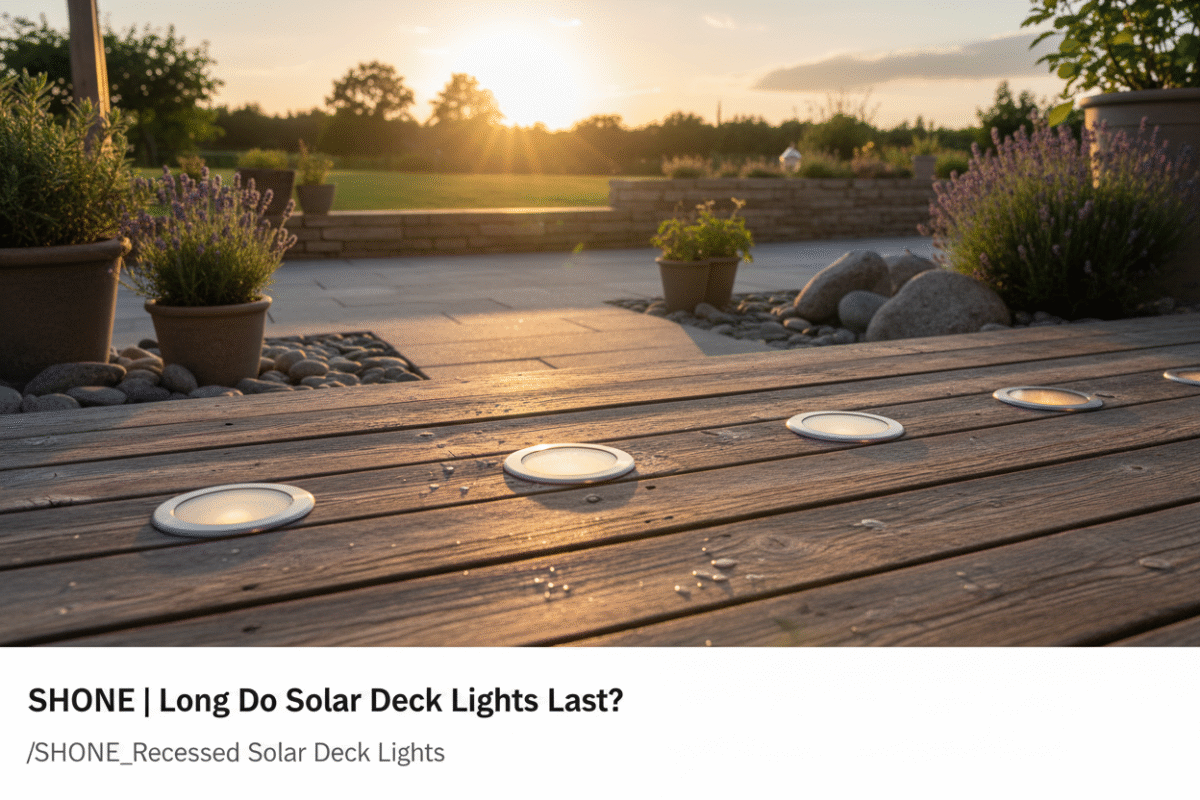
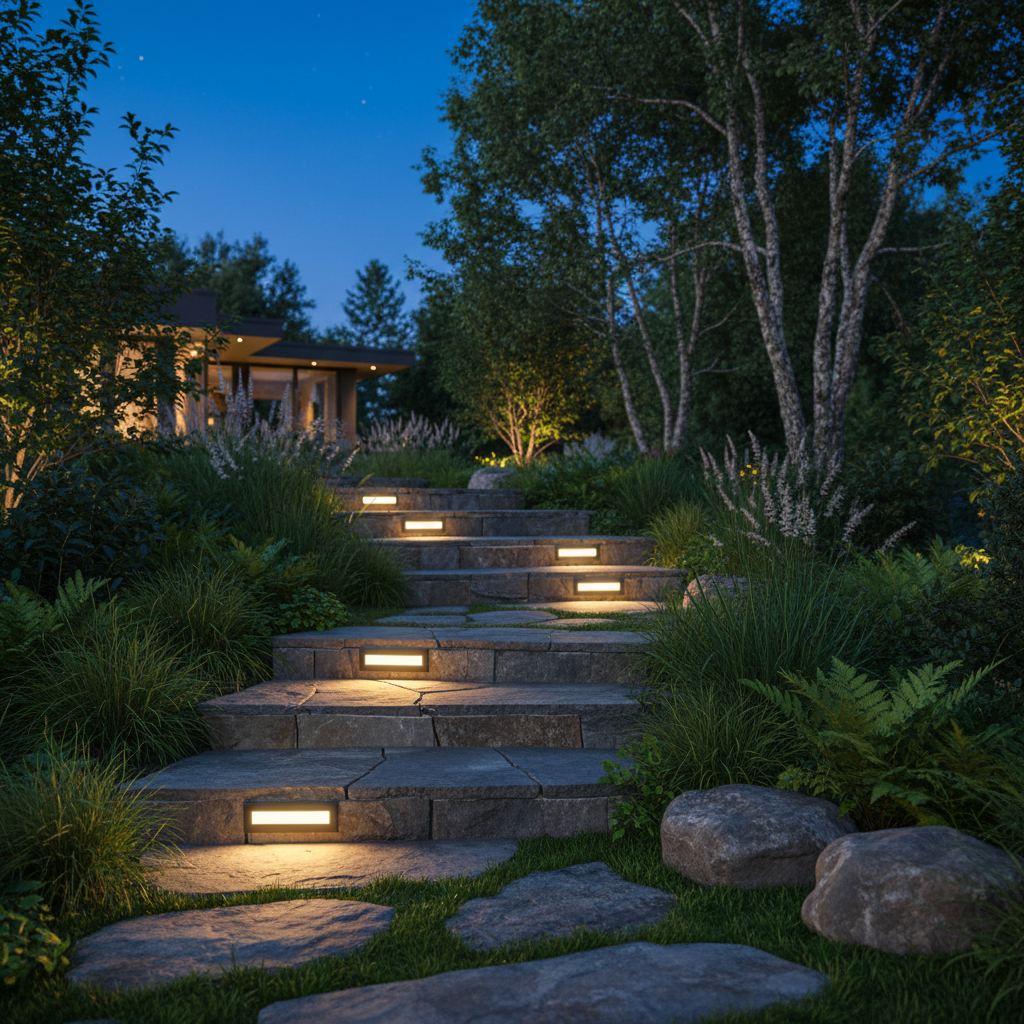
Paver stair lights fit right into your stone steps. You install them between the pavers, so they blend in and look seamless. These step lights give you a clean, modern look and help you see each step clearly at night. You can find them in different shapes and sizes, so you can match your steps and your style.
Here’s a quick look at what you get with LED hardscape paver stair lights:
|
Specification |
Details |
|---|---|
|
Product Type |
SHONE Outdoor Solar Step Light |
|
Power Source |
Solar Powered |
|
Luminous Output |
200 Lumens |
|
CRI (Color Rendering Index) |
>80 Standard (Optional >90 for Premium CRI) |
You get great energy efficiency and bright, even light. Paver stair lights last a long time and need little maintenance. You can use them for both straight and curved steps, which makes them one of the most flexible lighting solutions for outdoor stairs. If you want a safe, stylish, and long-lasting option, these step lights are a top pick.
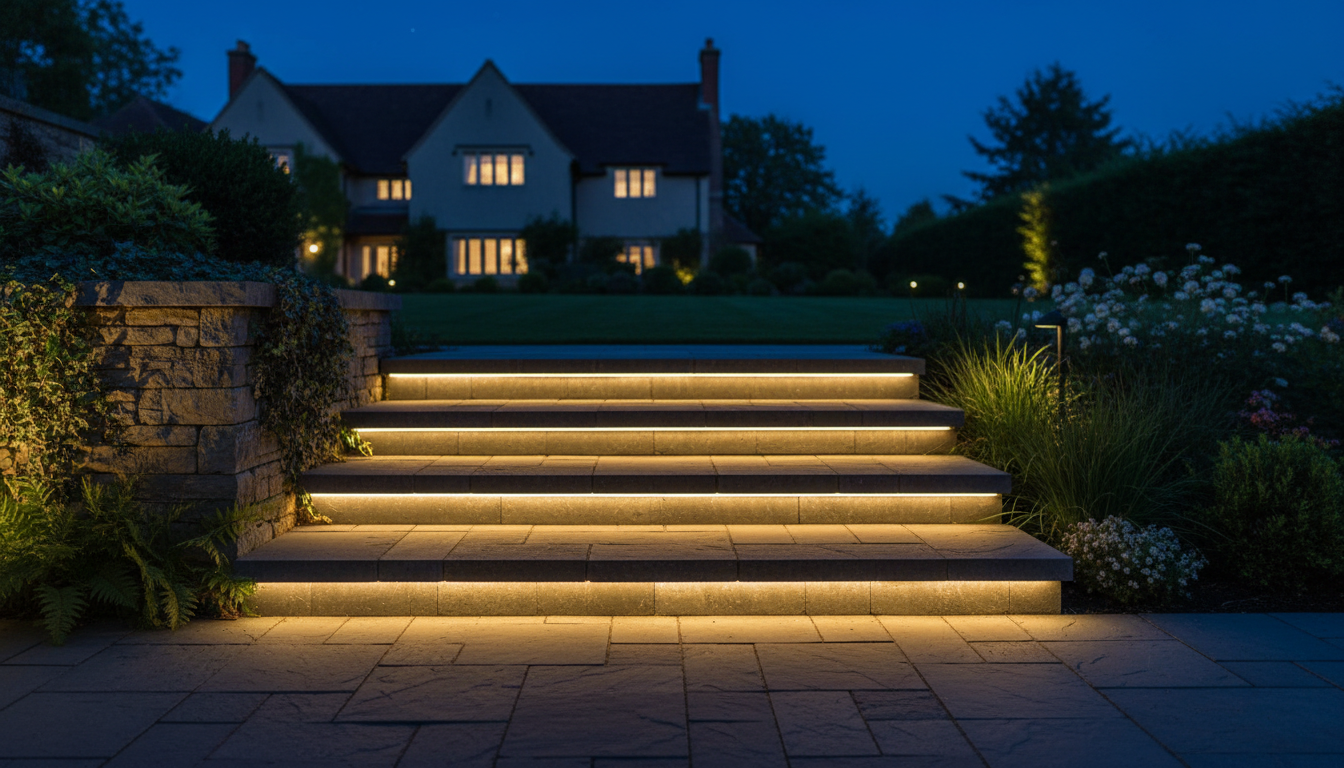
LED Strip Lights
LED strip lights give you a lot of design freedom. You can run them along the edge of your steps or tuck them under the lip for a soft, glowing effect. These lighting solutions work well if you want to highlight the shape of your steps or create a modern look.
Let’s see how LED strip lights stack up:
|
Advantages |
Disadvantages |
|---|---|
|
Energy efficiency |
Higher initial installation costs |
|
Long lifespan |
Potential need for professional installation |
|
Versatility in design |
|
|
Enhanced safety through better illumination |
|
You save energy and get a long-lasting solution, but you might need help with installation. LED strip lights can handle curves and corners, so you can get creative with your step lights. They also boost safety by lighting up every inch of your steps.
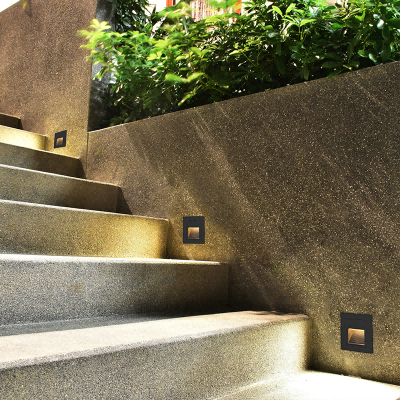
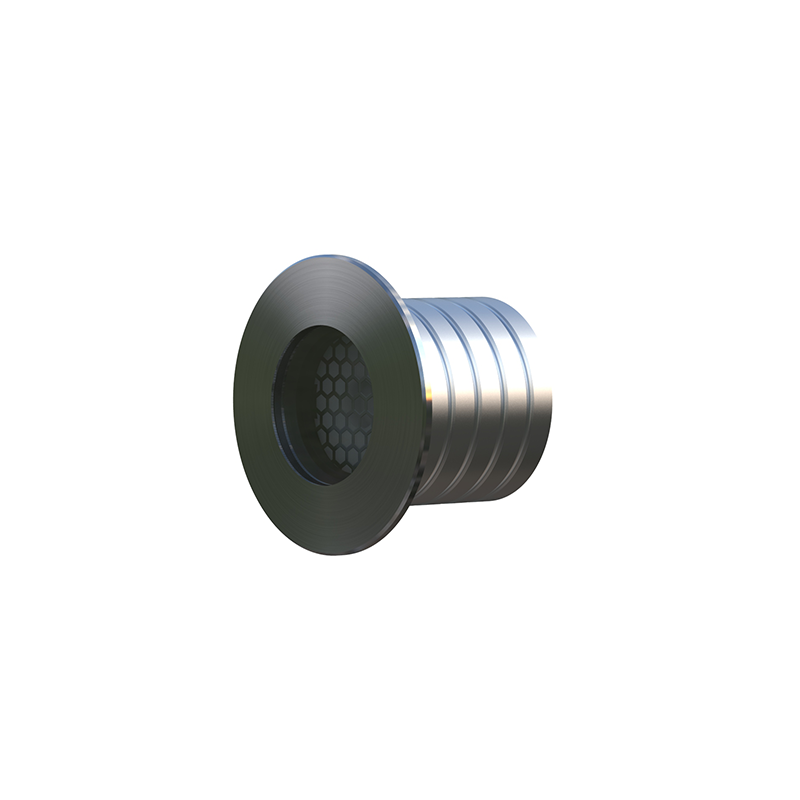
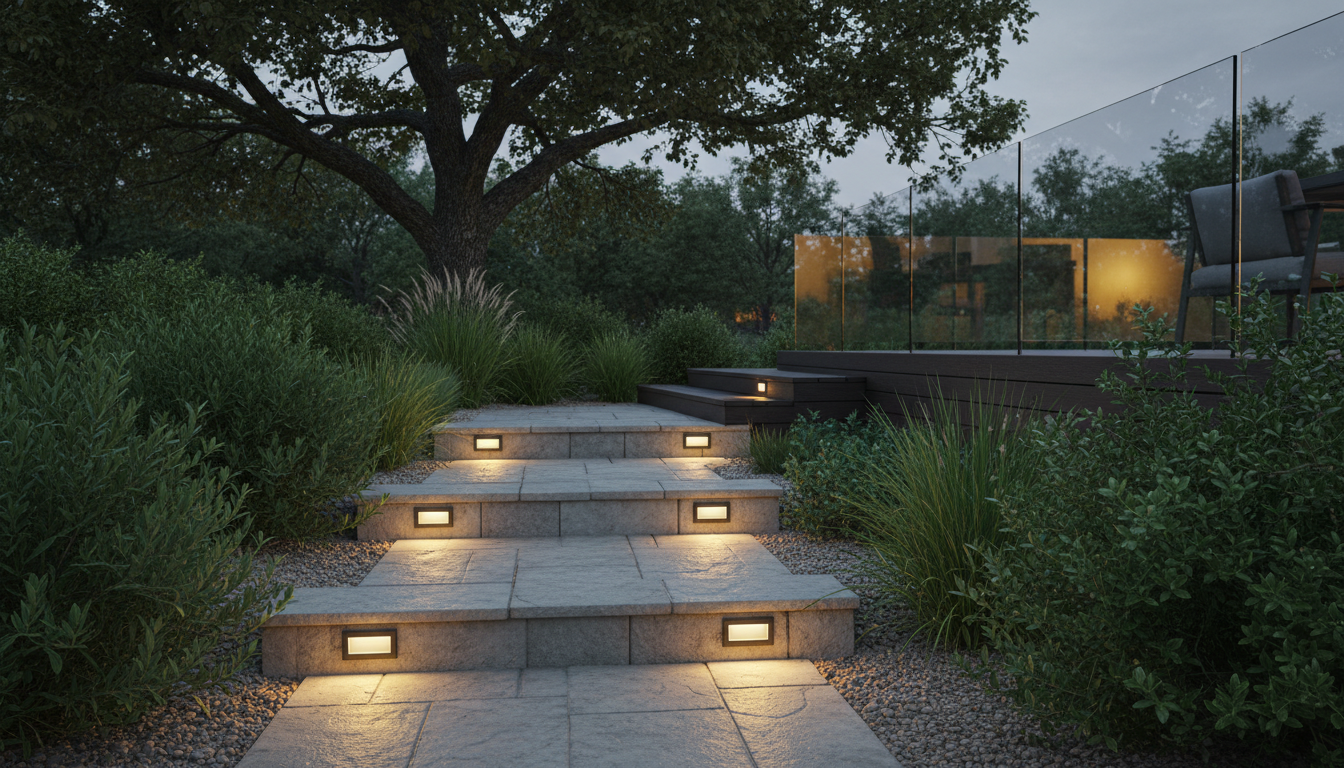
Recessed Step Lights
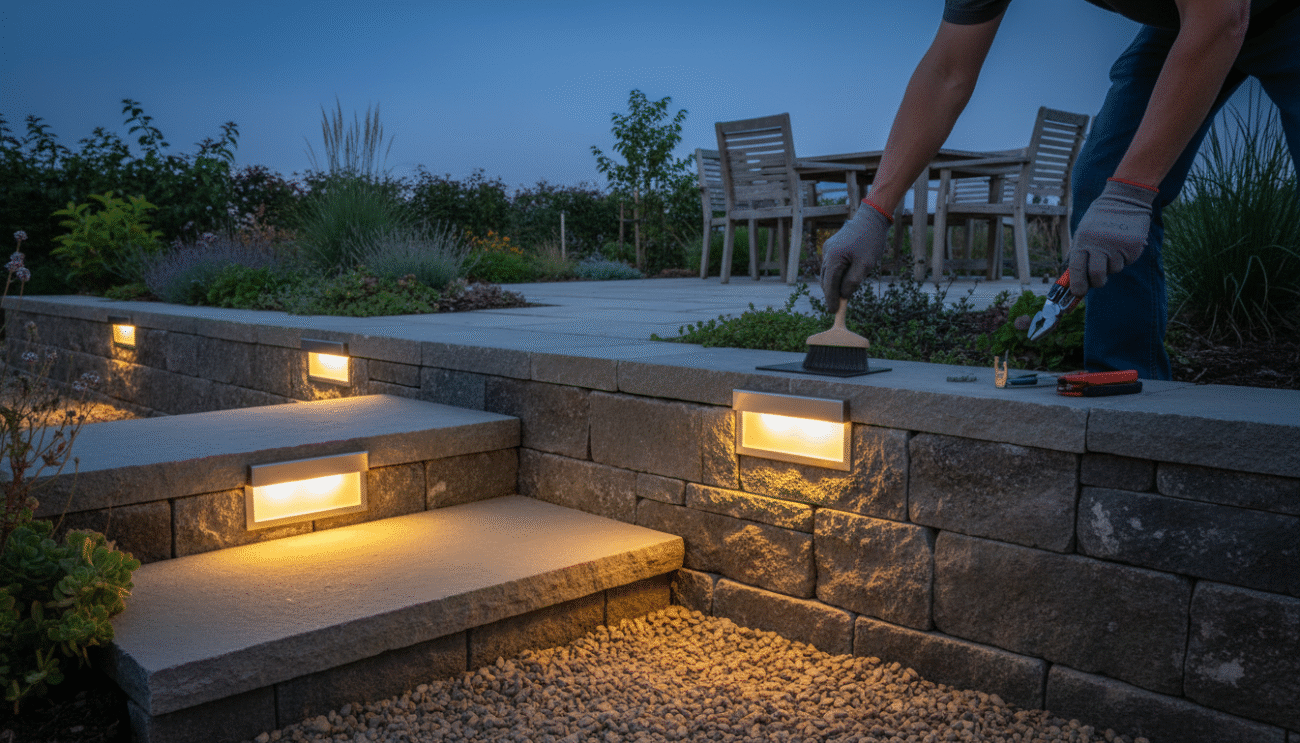
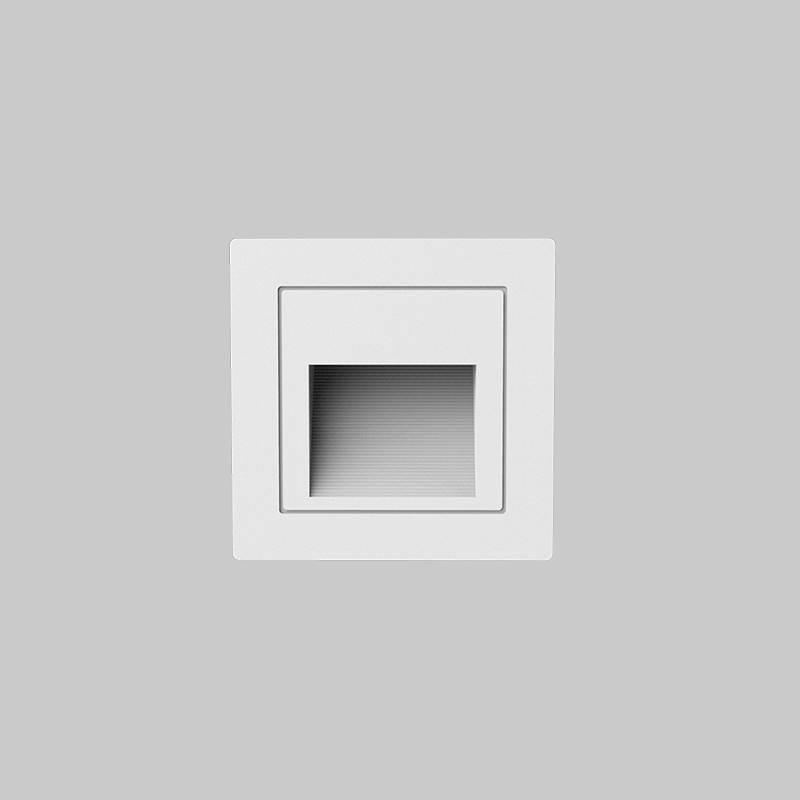
Recessed step lights sit flush with your stone steps. You install them right into the stone, so they don’t stick out or get in the way. These step lights give you a sleek, built-in look and keep your steps safe and easy to use.
Check out how recessed step lights perform:
|
Light Type |
Lifespan |
Installation Type |
|---|---|---|
|
LED Recessed |
25,000–50,000 hrs |
Hardwired/Low-voltage |
|
Solar Powered |
10,000–20,000 hrs |
No wiring needed |
|
Low-voltage LED |
25,000–50,000 hrs |
Transformer required |
You get a long lifespan and strong weather resistance. Most recessed step lights use tough materials like aluminum or stainless steel. They have high IP ratings, so they stand up to rain, dust, and sun. You won’t need to replace them often, which makes them a smart choice for busy families.
Tip: Outdoor LED recessed step lights are built to handle tough weather. They use strong housings and corrosion-resistant materials, so you don’t have to worry about rust or fading.
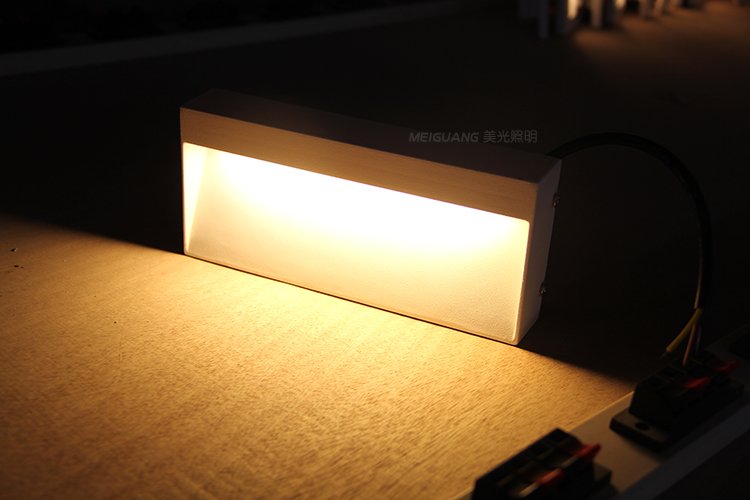
Wall Sconces
Wall sconces mount on the side walls right next to your steps. These lighting fixtures add a decorative touch while spreading light across your stairs and the area around them. You’ll find wall sconces in tons of shapes, finishes, and sizes, so it’s easy to match your home’s style.
Wall sconces give you plenty of room to customize:
- Choose from stainless steel, copper, or custom materials.
- Pick different panel designs like full, open, or perforated.
- Select finishes such as antique green, matte black, or dark bronze.
- Some models let you blend the fixture with your stone or stucco for a seamless look.
These work great for wide steps or entryways. They add both safety and style, but you’ve gotta make sure they don’t create glare. Position them so the light shines down and not right into your eyes.
Engineered Wall Lights
Engineered wall lights are built for tough outdoor use. You install them under capstones, railings, or along the sides of your steps. These step lights use solid bronze or other strong materials, so they’ll last for years.
Here’s what you can customize with engineered wall lights:
|
Feature |
Details |
|---|---|
|
Materials |
Stainless steel, copper, or custom materials. |
|
Design Options |
Full panel, open panel, 4-square panel, perforated panel, triangle/wedge, rounded edge, etc. |
|
Finish Options |
Antique green, black, matte black, corten, dark bronze, and many more. |
|
Special Features |
‘Ghost Fascia’ version lets you blend the light with your stone or stucco for a hidden effect. |
You can pick the look, finish, and even how the light blends with your steps. Engineered wall lights often come with integrated LEDs, so you get a long lifespan and low maintenance. They work well for both modern and classic homes.
Comparing Lighting Solutions
Let’s sum up the main features of these lighting solutions for your stone steps:
- Paver stair lights blend in and give you even, bright light.
- LED strip lights let you get creative with design and highlight every step.
- Recessed step lights offer a sleek look and last a long time.
- Wall sconces add style and can light up wide areas.
- Engineered wall lights give you durability and lots of ways to customize.
When you choose step lights, always think about safety. Check your local codes before you start. Place your lighting solutions to avoid glare and use dimmers if you want to control the brightness. That way, you get steps that are safe, stylish, and easy to use every night.
Choosing and Placing Step Lights
Durability and Weather Resistance
When you’re picking step lights for your stone steps, you want ’em to last through every season. Some materials handle rain, snow, and sun way better than others. Here’s a quick look at what works best:
|
Material |
Features |
Durability and Weather Resistance |
|---|---|---|
|
Stainless Steel |
Shiny finish, rust-resistant |
Handles extreme temperatures |
|
Brass |
Premium look, resists corrosion |
Protects LEDs for up to 50,000 hours |
|
Plastic/Composite |
Lightweight, UV resistant |
No warping up to 80°C |
|
Tempered Glass |
Strong, treated for safety |
Handles big temperature shifts |
|
Acrylic |
Flexible, high clarity, UV resistant |
Keeps dust and moisture away from LEDs |
You want your step lights to shine bright year after year. Stainless steel and brass are solid picks for most outdoor steps. Tempered glass and acrylic covers help protect the lights from weather and dirt.
Power Source Choices
You’ve got two main options for powering your step lights: solar or wired. Each one has its own perks.
|
Feature |
Solar Lighting |
Wired Lighting |
|---|---|---|
|
Installation |
Easy, DIY-friendly |
More complex, may need a pro |
|
Wiring |
None |
Needs digging/trenching |
|
Power Source |
Sunlight |
Home electrical system |
|
Moving Lights |
Simple |
Hard to move |
|
Setup Time |
Fast |
Takes longer |
|
Brightness |
Depends on sunlight |
Always reliable |
Solar step lights are great if you want a quick setup. Wired step lights give you steady light, even on cloudy days. Think about your steps and how much light you really need before you decide.
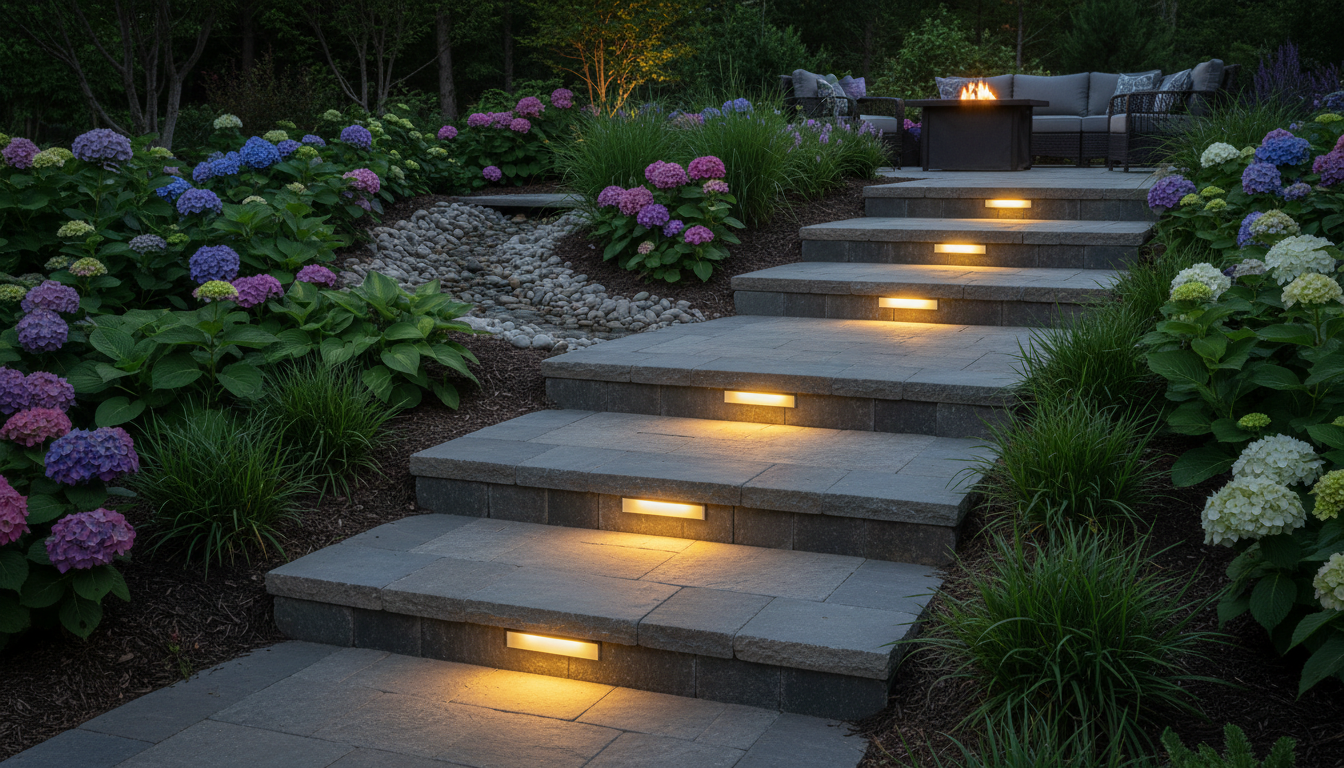
Placement and Spacing
Where you put your step lights matters for both safety and style. You want to see every step clearly, but you also want your steps to look great at night.
- Place step lights every 8 to 10 feet for a balanced look.
- For a set of 12 to 14 steps, use 6 to 7 step lights, spacing ’em every 2 steps.
- Adjust the distance if your steps are wider or if you want a brighter effect.
Tip: Even spacing creates a smooth pool of light and helps everyone see each step. Try to avoid placing step lights too close together, or you might get glare.
Matching Lights to Stone Style
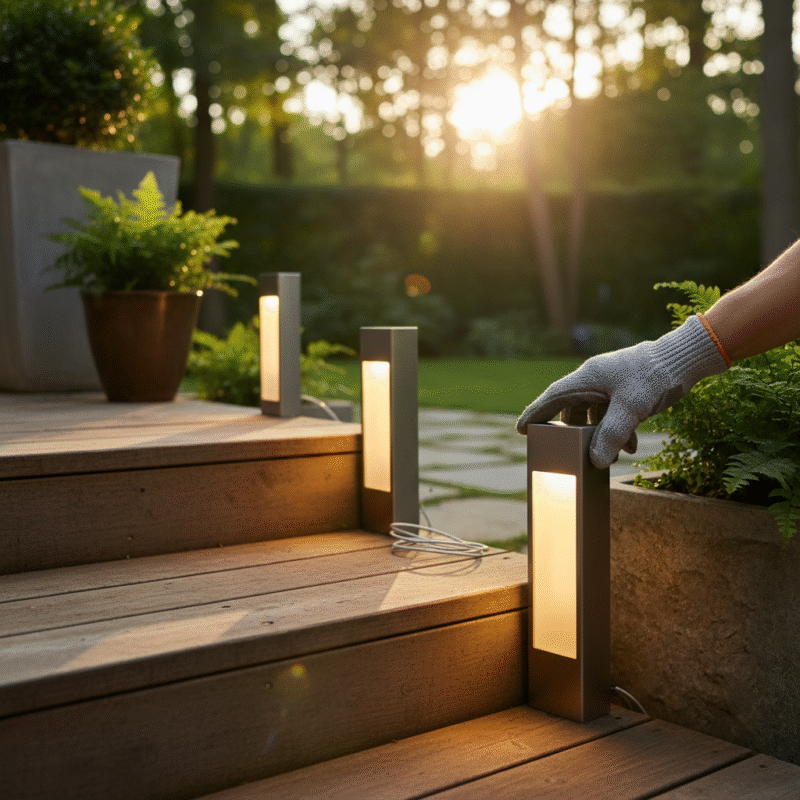
You can make your step lights blend in or stand out, depending on your stone steps. For modern steps with clean lines and gray tones, try dot lights or undercap step lights. These keep the focus on your steps and add a soft glow. If you have granite or limestone steps, classic lanterns or stone light posts add a timeless touch. Travertine steps look great with sleek bollard step lights.
- Stone light posts add character and curb appeal.
- Hardscape step lights fit right into your steps for a seamless look.
- Dot step lights work well for modern homes and highlight each step.
- Choose finishes and shapes that match your stone for a unified design.
With the right step lights, your steps will look amazing and stay safe all night.
Installing Paver Stair Lights
 Adding paver stair lights to your stone steps can make your outdoor space safer and a lot more attractive. You don’t need to be a pro to get solid results. With a bit of planning and the right tools, you can handle the installation yourself. Let’s walk through each part of the process so you can light up your steps with confidence.
Planning and Measuring Steps
Before you start, you need a solid plan. Good planning helps you avoid mistakes and makes the whole installation go smoothly. Here’s how to get going:
-
Plan Your Layout and Design:
Measure the elevation difference from the bottom to the top. This tells you how many steps you need and how high each one should be. -
Understand the Installation Process:
Think about the main phases. You’ll need to excavate, prepare the base, and stack the stones. Decide where you want to place your step lights for the best effect. -
Add Lighting or Decorative Touches:
Choose where each step light will go. Try to space them evenly so every step is easy to see at night.
When you measure, keep these points in mind:
- Risers should be about 6–8 inches high. This makes each step comfortable and safe.
- Tread depth should be around 12 inches. This gives you a natural walking rhythm.
- Leave at least 3 feet of flat landing space at the top and bottom of your steps.
You also want to:
- Check the location and purpose of your steps. Are they for a main entrance or a garden path?
- Measure the rise and run for each step. This helps you get the right size.
- Look up local building codes. Some areas have rules about outdoor steps and lighting.
Tip: Take your time with planning. A good layout makes your paver stair lights look better and keeps everyone safe.
Tools & Materials
You don’t need a ton of fancy gear to install step lights, but having the right stuff makes all the difference. Here’s what you’ll want to grab before getting started:
- Tape measure and pencil for marking your steps
- Level to keep everything straight
- Masonry saw or angle grinder for cutting stone
- Drill with masonry bits for making holes
- Screwdriver and wire strippers
- Low-voltage transformer (if you’re going with wired step lights)
- Outdoor-rated wire and connectors
- Paver stair lights (go with LED to save on energy)
- Gravel and sand for the base
- Safety gear: gloves, goggles, and a dust mask
Get all your materials lined up before you dive in. It’ll save you time and help you dodge mistakes during the install.
Installation Steps
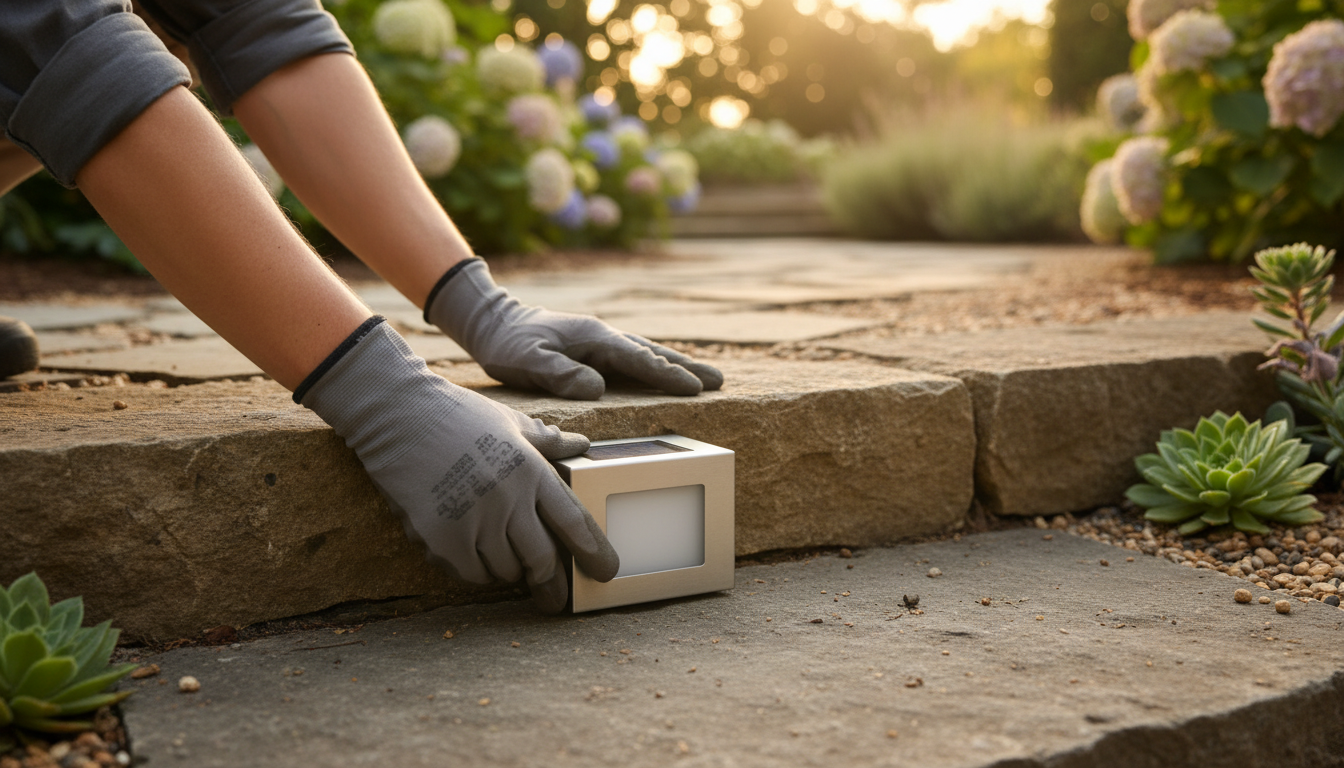 Alright, you’re ready to get those step lights in place. Just follow these steps and it’ll go pretty smoothly:
-
Mark the Light Locations:
Grab your plan and mark where each step light will go. Keep the spacing even so each step gets lit up right. -
Prepare the Steps:
If you’re building new steps, lay down a base with gravel and sand. Stack the stones and check they’re all level. -
Cut Openings for the Lights:
Use a masonry saw or grinder to cut out space for each step light. Don’t forget your safety gear—dust and debris are no joke. -
Run the Wiring:
Lay out the wires before you set the lights in. If you’re using low-voltage step lights, hook them up to a transformer. For solar ones, just skip this part. -
Install the Step Lights:
Pop each light into its opening. Secure it with screws or clips, and follow the manufacturer’s guide. -
Connect the Wiring:
Use outdoor-rated connectors to join the wires. Double-check every connection to be safe. -
Test the Lights:
Flip the power on or check the solar charge. Make sure each step light works and points where you want. -
Finish the Steps:
Put back any stones or pavers you moved. Clean up the area and enjoy your new setup.
Note: Always stick with the instructions that come with your step lights. Different brands might have small tweaks here and there.
Common Mistakes
Even with a solid plan, things can go wrong. Here are a few common issues and how to steer clear of them:
- Putting step lights too close together. That can create glare and make the stairs way too bright.
- Forgetting to check local codes. Some towns have specific rules about outdoor lighting and wiring.
- Not sealing wire connections. Moisture gets in, and before you know it, your step lights stop working.
- Skipping regular maintenance. Dirt and leaves pile up, blocking the light and making your steps a hazard.
|
Safety Tip |
Description |
|---|---|
|
Proper Planning |
Make sure your lighting design matches your steps and helps people see clearly. |
|
Installation Techniques |
Use LED brick lights in the risers or hardscape lights under the caps for the best results. |
|
Maintenance |
Check your step lights often to keep them working and safe. |
Safety Tip: Go with solar or low-voltage step lights to save energy and make your stairs safer at night. Always double-check that your lighting looks good and helps people see each step clearly.
With a little planning and the right gear, you can totally handle installing paver stair lights. You’ll boost safety on your steps and add a sleek touch to your home.
Maintenance and Design Ideas
Cleaning and Upkeep
You want your step lights to look awesome and last for years. Start by sweeping away dirt and leaves with a soft broom. That keeps scratches and stains off your stone steps. Use a mild detergent or stone soap with a soft-bristled brush to clean spills and grime. Stay away from harsh chemicals and rough tools—they can damage both the stone and your lights. Rinse everything well so you don’t leave any slippery residue behind. Regular cleaning keeps your step lights shining bright and your steps safe.
Seasonal Adjustments
Your step lights need a little love as the seasons change. Here’s how to keep them working great all year:
- Spring: Push back your lighting schedule as evenings get longer. You might want to dim your step lights later in the day.
- Summer: Set your step lights to turn on later. Use brighter, cooler tones for outdoor get-togethers.
- Fall: Move your schedule forward as days get shorter. Softer glows and amber tones add warmth to your steps.
- Winter: Turn on your step lights earlier. Brighten paths and entryways for extra safety.
Tip: Adjust your step lights every season to match the weather and daylight. This keeps your outdoor space comfortable and safe.
Creative Lighting Patterns
You can really make your stone steps stand out with some creative lighting patterns. Try a warm ambient glow from Edison-style bulbs or warm-toned LEDs to get that cozy vibe going. Cooler white light works great for modern designs, but don’t go overboard—otherwise your steps might end up looking a bit harsh. Low-voltage step lights give you a gentle glow and save on energy, too. Add timers or smart controls to automate things, making your space safer and way more inviting.
- Warm ambient glow creates a welcoming vibe.
- Cooler white light suits modern steps.
- Low-voltage step lights are easy to install and energy efficient.
- Timers and smart controls boost safety and style.
Integrating with Landscaping
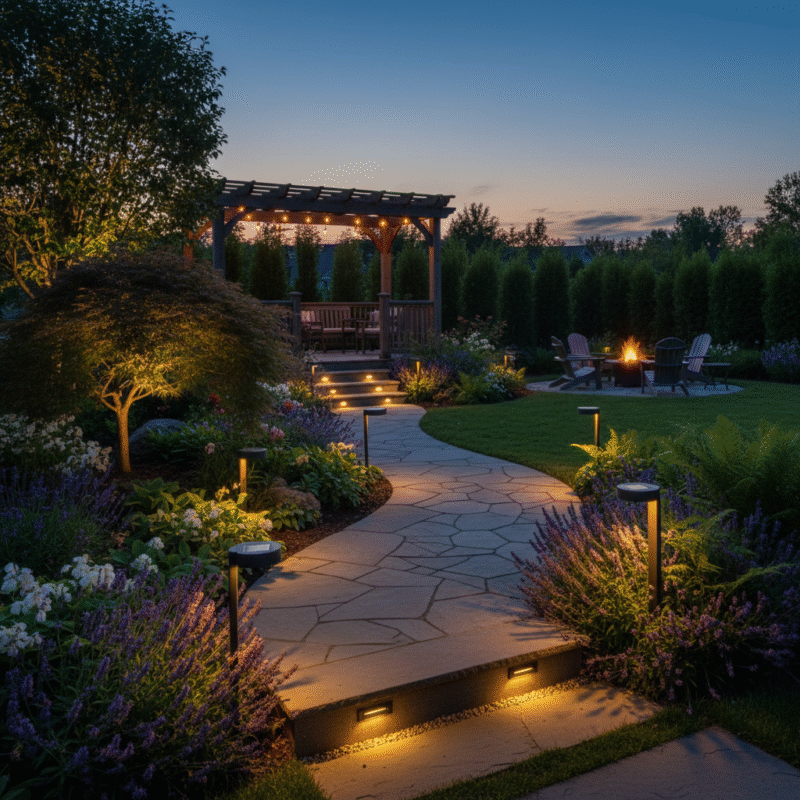
Step lights can blend beautifully with your landscaping. Pick finishes and styles that match your home’s exterior for a seamless look. Well-placed step lights reveal the texture and shape of your stone steps, making your yard pop at night. Plan your lighting during the design phase so every fixture feels intentional. Thoughtful placement of step lights along paths and entryways improves safety and visual flow.
- Step lights highlight landscaping features.
- Decorative finishes add curb appeal.
- Smart placement enhances safety and beauty.
Your step lights do more than just light the way—they help create a stunning outdoor space you’ll love.
You can transform your stone steps with step lights. These fixtures boost safety, improve nighttime visibility, and add style to your home. When you use step lights, you help everyone see each step clearly, making your stairs safer for kids and older adults. Step lights also create a cozy or modern mood, depending on your design. If you plan to install post-rail or tread lighting, you should call a professional to avoid mistakes. Check out the long-term savings from energy-efficient step lights:
|
Aspect |
Details |
|---|---|
|
Energy Savings |
LED step lights use up to 80% less power than old bulbs. |
|
Durability |
Step lights last longer, so you replace them less often. |
|
Maintenance |
Step lights need only simple cleaning and battery checks. |
Step lights make your outdoor space shine. You can enjoy safer, brighter steps every night.
FAQ
How do you choose the best lights for outdoor steps?
You want lights that fit your style and can handle the weather. Look for tough materials like stainless steel or brass. Solar step lights are a solid choice if you want easy setup. Wired lights give you consistent brightness for your outdoor steps.
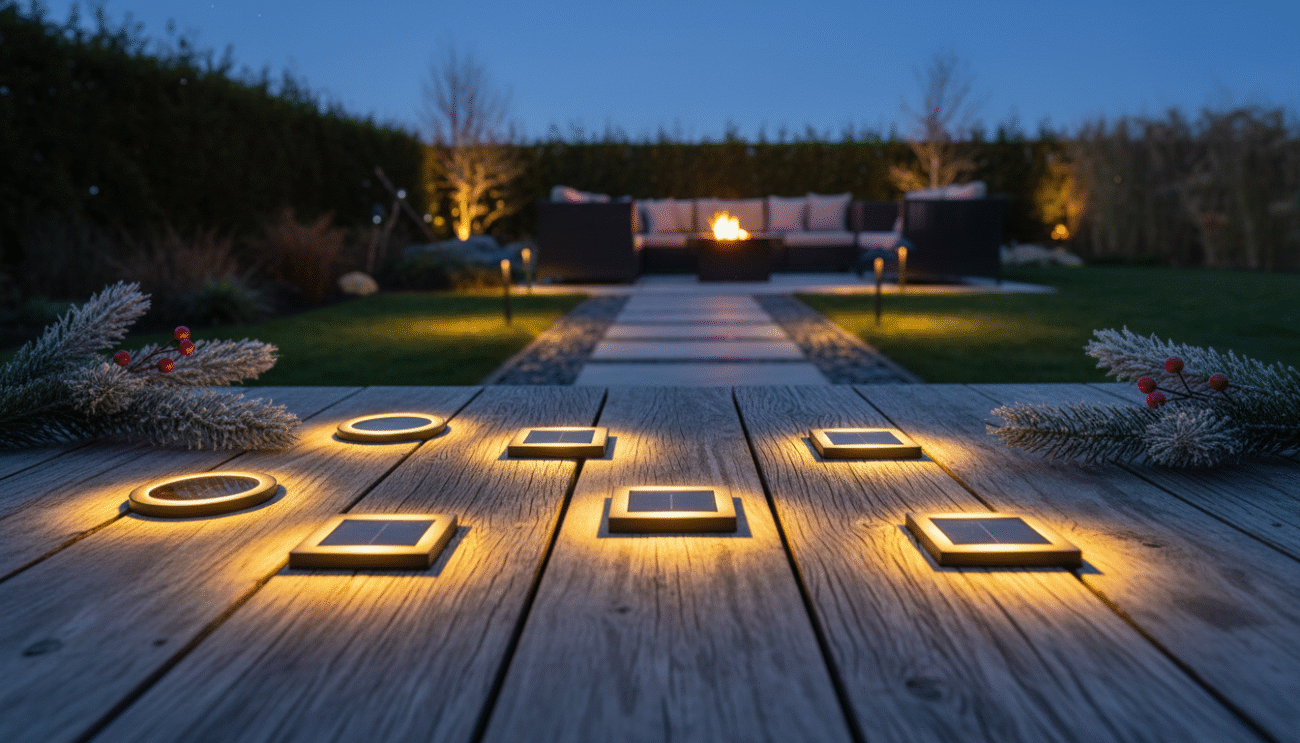
Can you install solar step lights yourself?
Yeah, you totally can! Solar step lights are super simple to put in. Just set them on your steps and let the sun do the rest. No wires or special tools needed. You’ll save both time and cash going this route.
How long do solar step lights last on outdoor steps?
Most solar step lights stay lit for 8 to 10 hours after a full day of sun. That’s enough light for your outdoor steps all night long. Swap out the batteries once a year to keep ’em working like new.
Do solar step lights work in winter?
Solar step lights still work during winter, but they might not shine as long. Shorter days and less sun mean less charging time. Just clean the panels and put ’em where they get the most light on your outdoor steps.
What is the safest way to light outdoor steps?
Go with step lights that spread light evenly. Place solar step lights along each step so everyone can see clearly. Space ’em out to avoid harsh glare. Well-lit outdoor steps keep your family and guests safe.