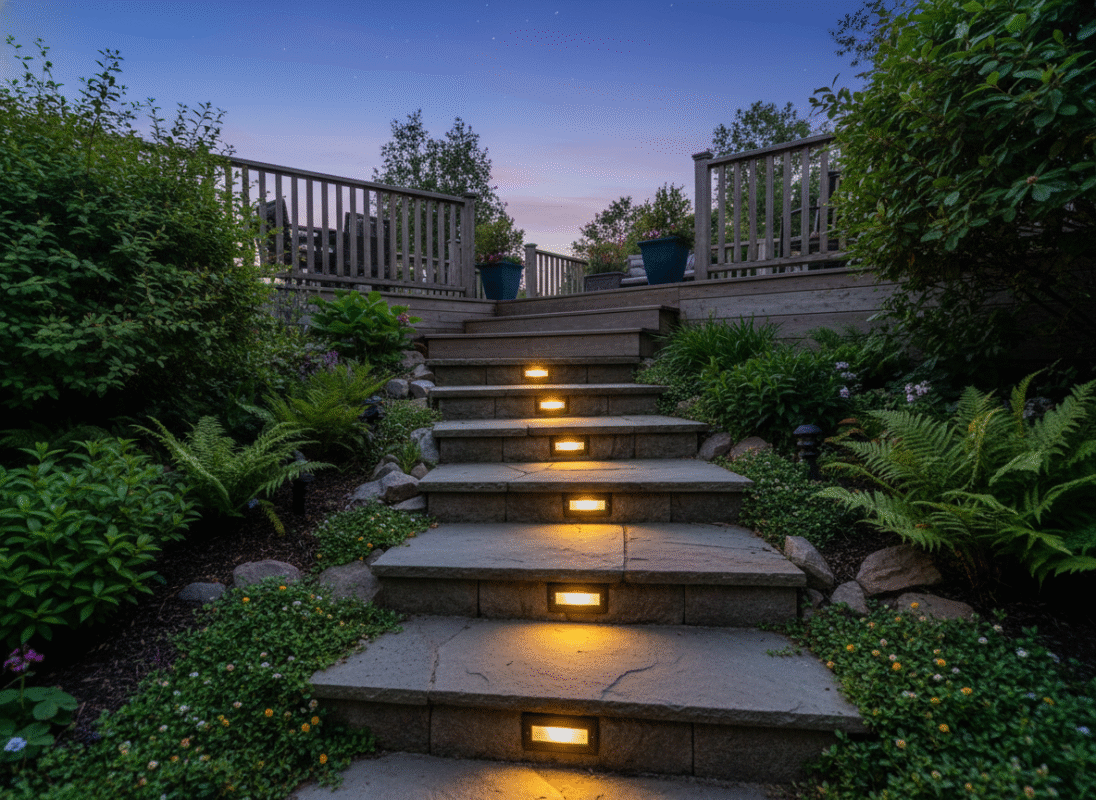
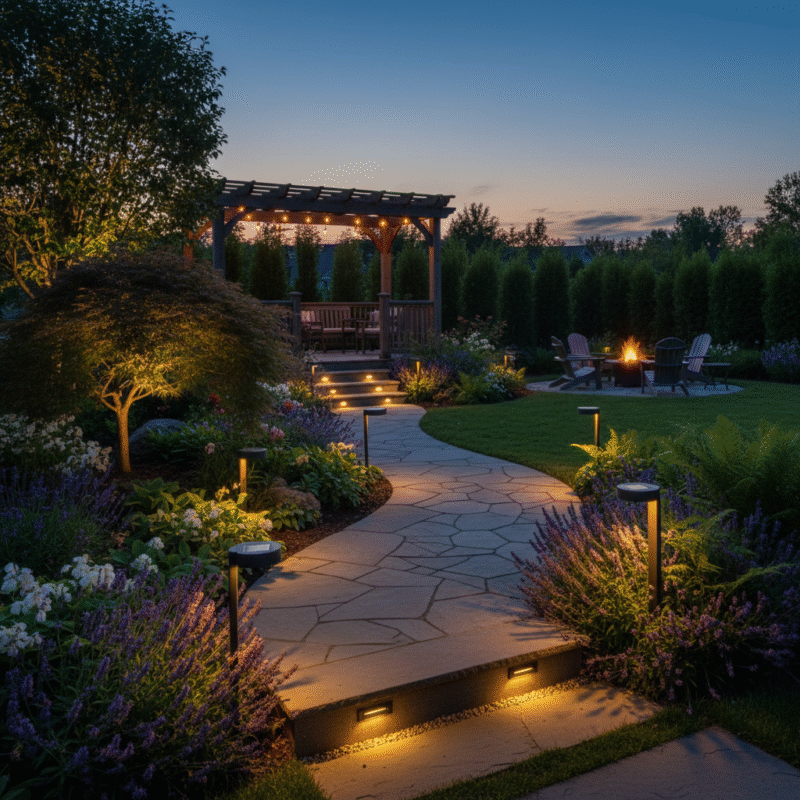
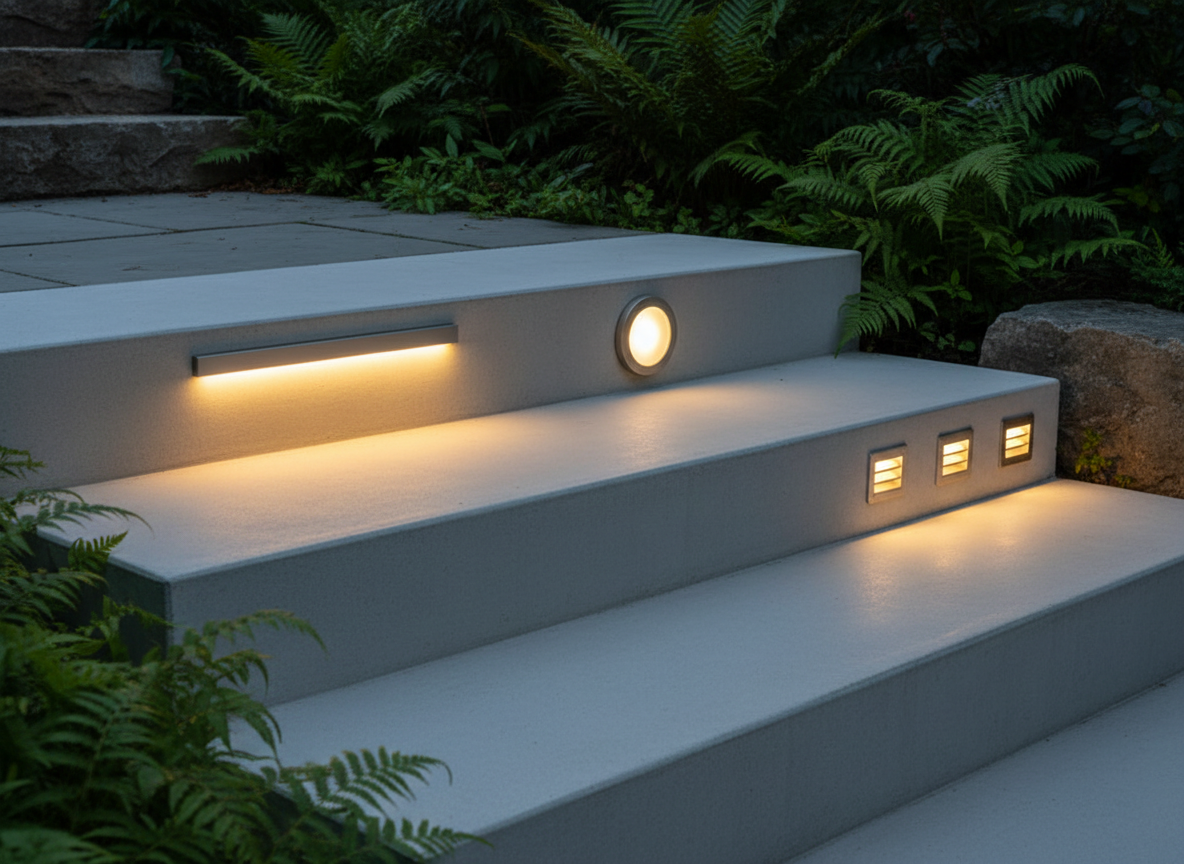
You want to light up your outdoor steps in a way that keeps everyone safe while adding a little style. Outdoor solar step lights give you an easy, energy-efficient fix. They light up each step clearly, so you can avoid trips and falls. Dim or missing lights make it tough to spot cracks or obstacles—and that’s when accidents happen. With good lighting, you can see the height and depth of every step, making your walkway safer for family and guests.
Key Takeaways
- Outdoor solar step lights make steps safer by lighting each one up. That helps stop trips and falls. These lights use less energy and are good for the planet. They also help you save on your electric bill.
- Put the lights in the right spots and space them evenly. That gets rid of dark areas and helps you see better.
- Clean the solar panels and check the batteries now and then. This keeps your lights working well for a long time.
- Pick designs that match your house. It makes your outdoor space look nice and feel welcoming.
Outdoor Solar Step Lights Overview
<h
Key Features to Look For
When you’re shopping for outdoor step lights, you want ones that actually last and do the job right. Here’s what to keep an eye on:
|
Feature |
Description |
|---|---|
|
Power Sources |
Solar-powered, electric-powered, and battery-powered options suit different needs. |
|
Weatherproof Rating |
A high rating (IP65 or higher) keeps lights safe from rain and dust. |
|
Anti-Slip Designs |
Non-slip surfaces help prevent falls on wet steps. |
|
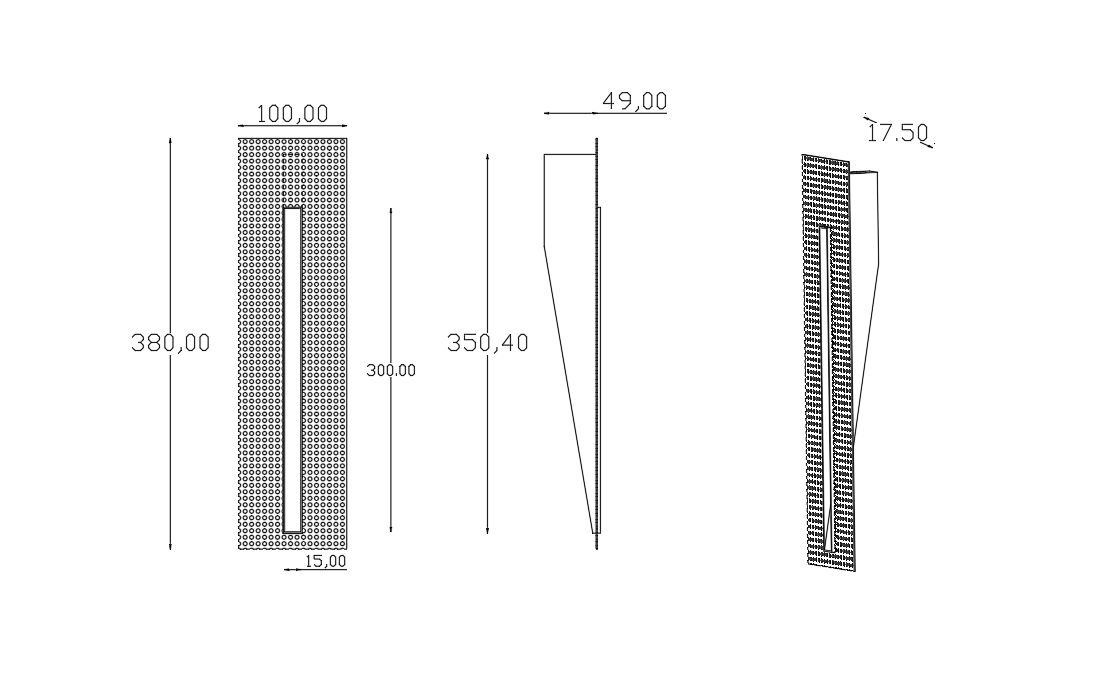
Proper Height and Placement |
Install lights 2 to 4 inches above ground to avoid tripping hazards. |
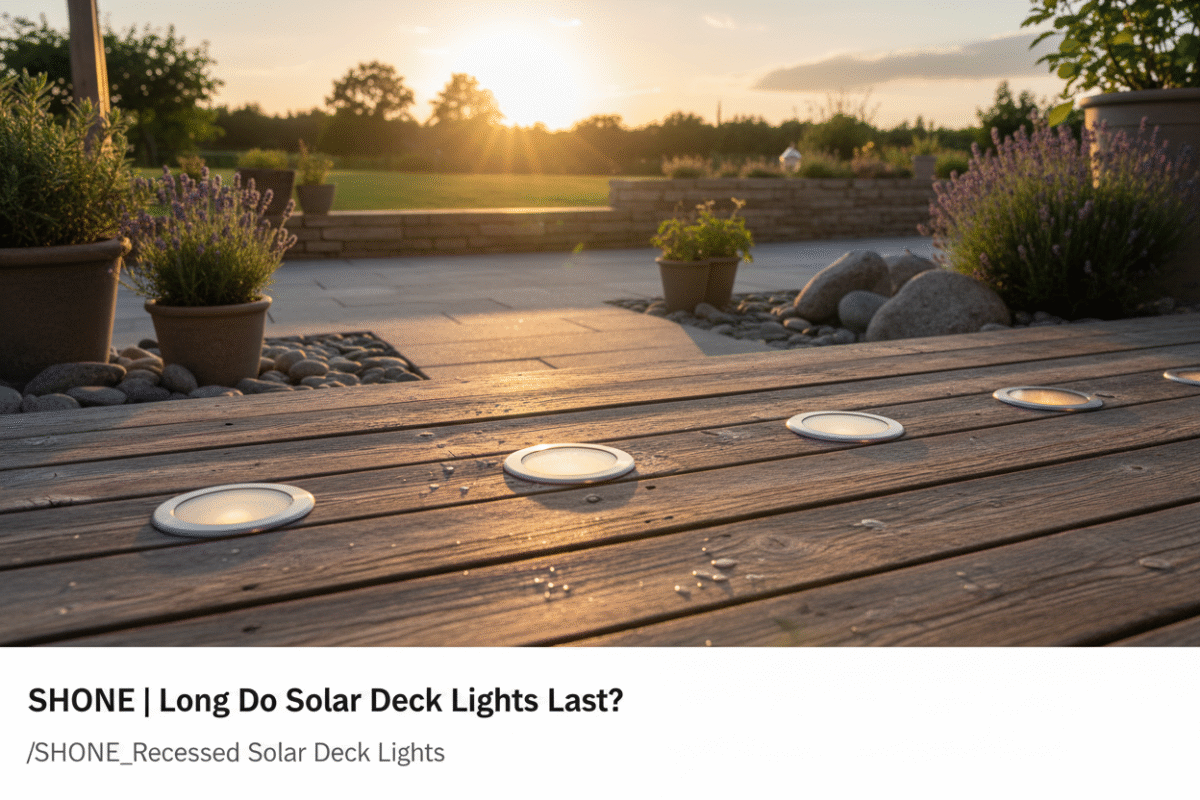
You’ll also wanna check how long these lights hold up. Most outdoor solar step lights keep going for years, even through some nasty weather. Here’s a quick look at typical lifespans:
|
Type of Solar Light |
Average Lifespan |
|---|---|
|
Solar Pathway Lights |
2-4 years |
|
Solar Spotlights |
3-5 years |
|
Solar Wall Lights |
3-5 years |
|
Solar Floodlights |
5-7 years |
Weather can mess with performance. Sunlight, rain, and cold temps all play a part. Make sure you put your lights where they’ll get direct sun most of the day. And don’t forget to clean the solar panels regularly so they keep charging right. If you deal with harsh winters, it’s smart to bring your lights inside during the coldest months.
Note: Sticking with outdoor step lights made from stainless steel or high-grade plastic helps ’em last way longer.
You’ll save money too. The upfront cost is lower, and you’re not paying for electricity. Maintenance is a breeze, and you might even find rebates for using solar stuff.
|
Aspect |
Traditional Lighting |
Solar Step Lights |
|---|---|---|
|
Initial Investment |
Higher |
Lower |
|
Operational Costs |
Ongoing electricity |
Minimal maintenance |
|
Long-term Savings |
Limited |
Significant savings |
|
Incentives and Rebates |
Rare |
Common |
If you’re after better visibility, a nice look, and some savings, outdoor solar step lights are a solid pick. You get a safer walkway, a better-looking yard, and you’re doing the planet a favor.
Choosing the Right Step Lights
When you’re picking out outdoor step lights, there’s no shortage of options. Solar, LED, and recessed models all bring something different to the table. Here’s a quick look at what sets each one apart:
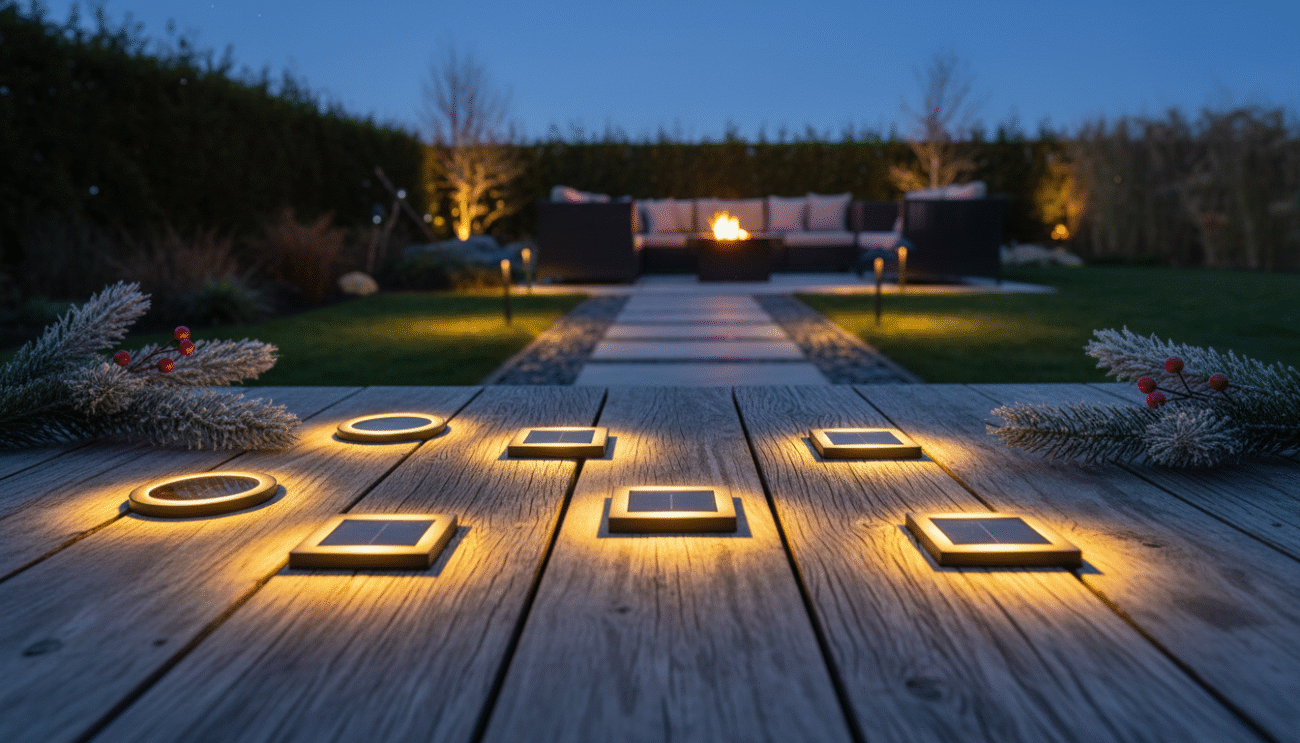
- Solar step lights run on sunlight. No need for wires or outlets, so setup is super simple. They’re budget-friendly and eco-friendly. Solar LED path lights are especially good at turning the sun’s energy into light, so you save cash and help the planet at the same time.
- LED step lights sip electricity. They last forever and put out a nice, bright glow. You can wire them into your home’s system or grab battery-powered versions.
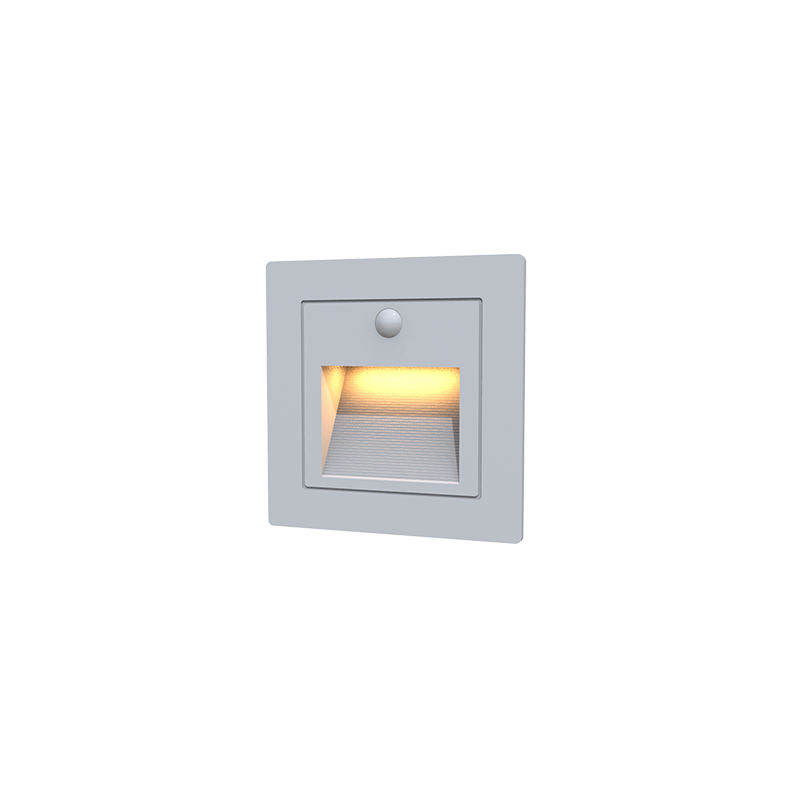
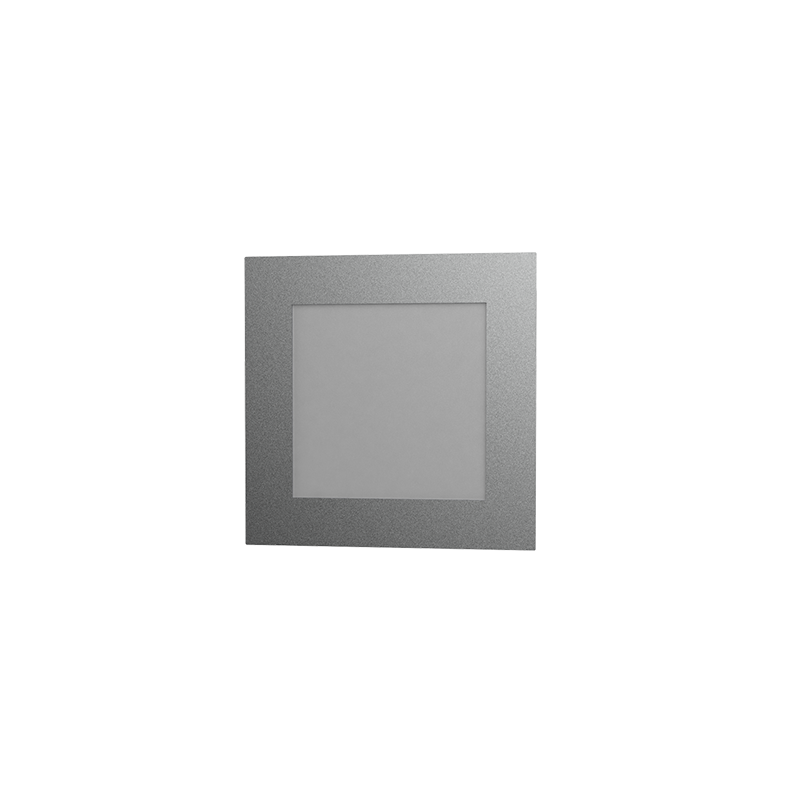
- Recessed step lights sit flush with the surface for a clean, modern look. Just keep in mind, they usually need pro installation and wiring.
Here’s a quick breakdown of what installation might cost you for each type:
|
Expense Type |
Cost Range |
|---|---|
|
Building permits |
$140–$3,000 |
|
Electrical permits |
$40–$500 |
|
Excavation permits |
$25–$300 |
|
Right-of-way access |
$60–$300+ |
|
Electrical connection |
$200–$500/fixture |
|
Transporting equipment |
$300–$500/pole |
|
Dismantling and hauling |
$200–$500/fixture |
|
Hazardous disposal |
$50–$100/light |
Solar outdoor step lights are usually the cheapest to install since you skip all the trenching and wiring. Just mount ’em and let the sun do its thing.
Tip: If you want better visibility and lower energy bills, solar LED step lights are a solid choice.
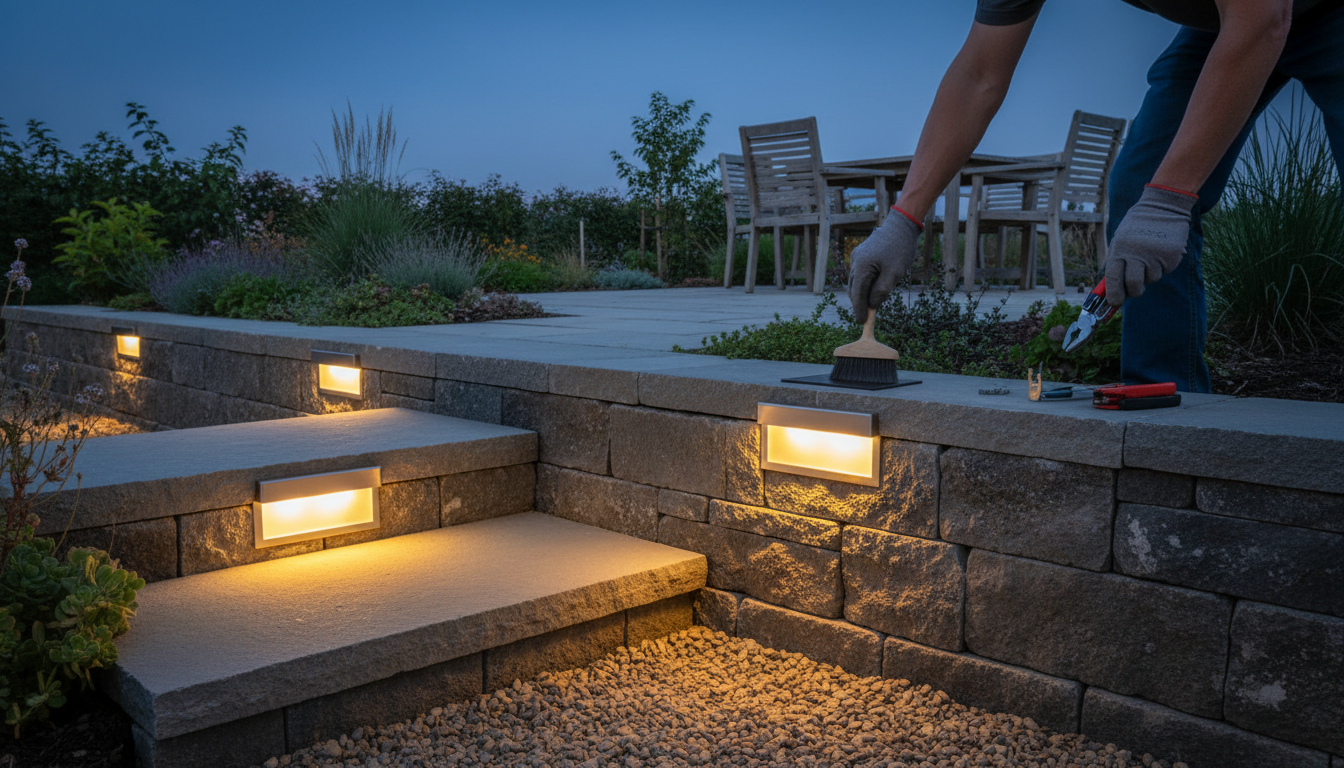
Placement and Spacing Tips
Getting your lights in the right spot makes your steps safer and your yard look way better. You want light covering the whole step surface so everyone can see where they’re going. That cuts down on trips and falls big time.
- Space outdoor step lights every 6 to 8 feet for even coverage. This keeps dark spots away and the glow nice and smooth.
- Got a long staircase? Stick with regular intervals. Overlapping beams stop shadows from popping up.
- For paths, try spacing lights every 8 to 10 feet. It’s a good balance between safety and saving energy.
Getting the spacing right matters for both safety and looks. Lights too far apart leave dark spots that can trip someone up. Too close together, and you’re dealing with glare. Find that sweet spot for clear, steady lighting.
Note: Good placement of outdoor step lights gives your home a warm, welcoming feel and helps everyone stay safe.
Installing Step Lights
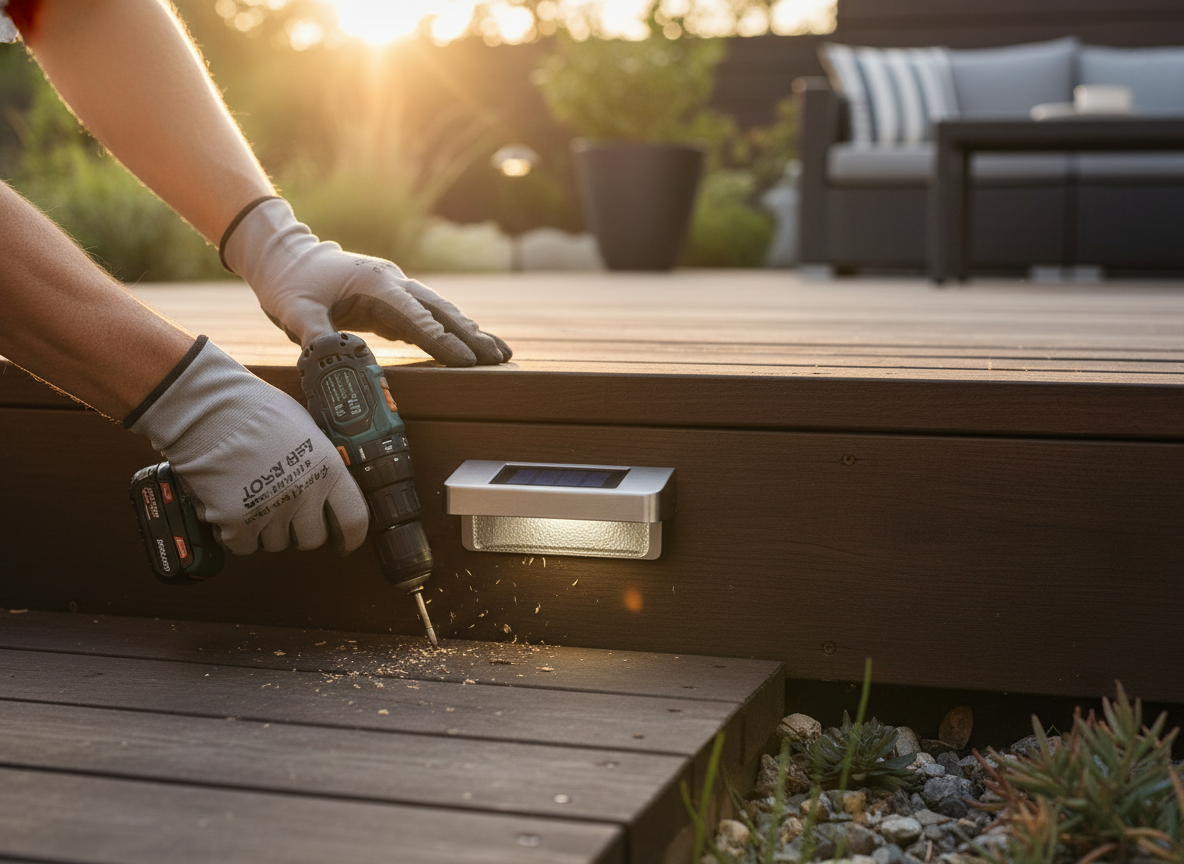
Step-by-Step Guide for Solar Lights
Ready to install outdoor solar step lights? You can knock this project out in an afternoon, and you don’t need any special skills. Here’s how to get started:
-
Gather Your Tools and Materials
You’ll need your outdoor solar step lights, a measuring tape, a screwdriver, cleaning supplies, and a level tool if you want everything perfectly straight. Some lights come with stakes, adhesive pads, or screws, so check your package first. -
Clean the Area
Wipe down the steps or surfaces where you plan to install the lights. Dust and dirt can keep adhesive pads from sticking or make screws loose over time. -
Measure and Mark Placement
Use your measuring tape to space the lights evenly. Most people like 6 to 12 inches between each light for outdoor solar step lights. Mark the spots with chalk or tape so you know where each light will go. -
Check the Level
If you’re mounting lights on a wall or vertical surface, grab your level tool. Make sure each light lines up straight. Crooked lights can look messy and may not shine where you want. -
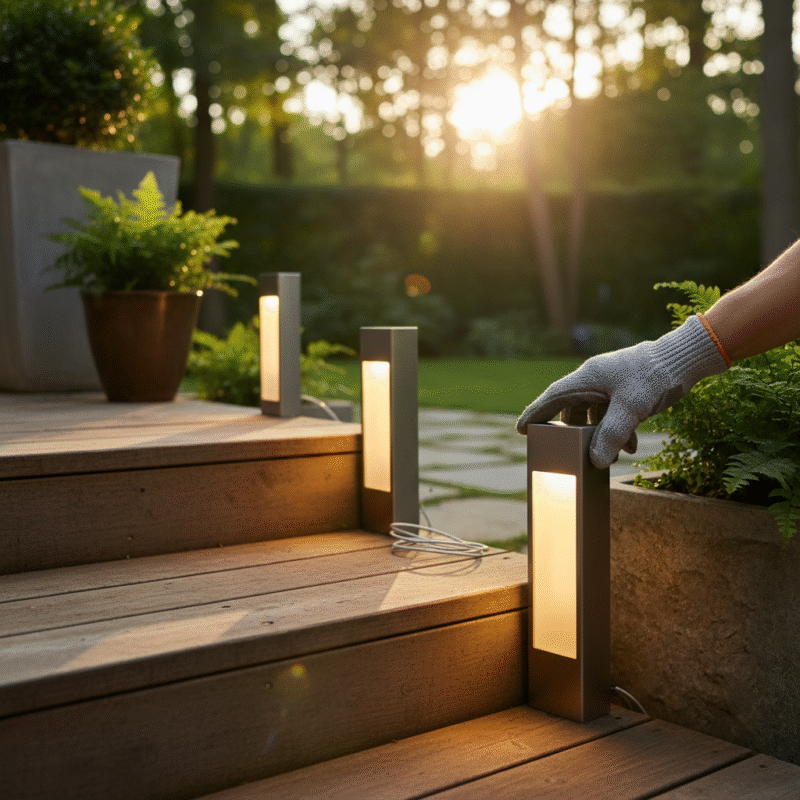
Install the Lights
- For ground-mounted lights with stakes, push the stakes into the ground at your marked spots. Make sure they’re secure so they don’t tip over.
- For wall-mounted lights, use a screwdriver to attach the mounting brackets. If your lights have adhesive pads, peel off the backing and press them firmly onto the clean surface.
- For surface-mounted lights, drill small holes and use screws to fasten them tightly.
-
Charge Before Use
Let your outdoor solar step lights soak up sunlight for a full day before you turn them on. This helps the batteries charge up and gives you the brightest light.
Tip: Place your lights where they get direct sunlight most of the day. Avoid shaded spots or areas blocked by plants or railings. Good sunlight means better charging and improved visibility at night.
Common Mistakes to Avoid:
- Don’t put lights in shady areas. They won’t charge well and may not turn on at night.
- Avoid placing lights too close together or too far apart. You want even lighting, not clutter or dark patches.
- Don’t skip cleaning the area before installation. Dirt can make your lights fall off or shift over time.
Want your outdoor step lights to last for years and keep your steps safe? A little regular care goes a long way. Here’s what you need to do:
- Clean the Solar Panels
Every few months, give the panels a wipe with a soft cloth and mild soap. Dust and debris block sunlight and cut down on the power your lights get. If you’re in a dusty area, clean ’em more often. - Check and Replace Batteries
Batteries are what keep your lights shining bright. Give ’em a look once a year for any corrosion or weak power. Swap them out every 2 to 3 years so your outdoor solar step lights keep working at their best. - Inspect for Damage
Keep an eye out for loose screws, cracked casings, or exposed wires. Fix any issues right away so your lights stay safe and reliable. - Seasonal Checks
Before winter hits or after a big storm, make sure snow, leaves, or dirt aren’t blocking the panels. Clear away anything that might stop your lights from charging.
Here’s a quick table to help you remember your maintenance routine:
|
Maintenance Task |
How Often |
What to Do |
|---|---|---|
|
Clean solar panels |
Every 2-3 months |
Wipe with soft cloth and mild soap |
|
Check batteries |
Yearly |
Inspect for corrosion, replace every 2-3 years |
|
Inspect for damage |
Seasonally |
Tighten screws, check for cracks or exposed wires |
|
Clear obstructions |
As needed |
Remove snow, leaves, or dirt from panels |
Note: Good battery care helps your outdoor step lights last longer. Store spare batteries in a cool, dry spot. If you see corrosion, clean the terminals before putting in new batteries.
Outdoor stair lighting needs a little regular attention to keep your steps safe and looking good. Stick with these simple routines, and you’ll get better visibility and a welcoming vibe every night.
Step Lighting Design Ideas

Creative Placement for Visual Impact
You can make your steps look amazing with smart lighting. Lighting outdoor steps helps your home feel safer and more welcoming. Try these fun ideas to make your steps stand out:
- Put LED strip lights under the edges of stairs for a cool, modern style.
- Use recessed stair lights for a gentle glow on each step.
- Aim lights right at the steps to cut down on shadows.
- Place lights every 6 to 8 feet along paths or at each step for even light.
- Pick lower fixtures for a cozy look or higher ones for more light spread.
- Mix step lights with landscape lights for a matching design.
- Use smart lighting to set timers or change brightness for safety and saving energy.
Different ways to arrange lights can change how your yard feels. Path lights give soft light along the sides and help guide you. Step lights shine on each step, making them easy to see and safe. Downlights make a moonlight effect and add a magical touch. Tread lights point light down, so you get safety without glare. LED accent lights give a gentle glow for extra style.
Tip: Putting lights in the right spots makes your steps look fancy and dramatic. Your steps will be safe and pretty after dark.
Here’s a quick look at popular design trends:
|
Lighting Type |
Description |
|---|---|
|
Ambient Lighting |
Gives a soft glow, sets a calm mood, and helps you walk safely. |
|
Accent Lighting |
Highlights features and adds interest, making your steps pop. |
|
Task Lighting |
Focuses on stair risers for safety and easy use. |
Blending with Landscaping
You can match step lights with your landscaping for a smooth look. Put lights near garden beds or water features to show off nature. Outdoor seating areas look nicer with gentle light. Themed solar pathlights, like lanterns or tiki torches, add fun style. Lighted paths connect your steps to the rest of your yard and make everything feel together.
- Garden beds
- Water features
- Outdoor seating areas
- Themed solar pathlights
- Lighted pathways
When you mix step lighting with landscaping, your space feels safe, stylish, and friendly. Guests will notice your great design every time they visit.
Lighting your outdoor steps is easy when you follow a few simple steps. First, pick sunny spots for your lights. Next, mount them using stakes, screws, or adhesive. Test each light and adjust if needed. Solar-powered path lights help you save energy and lower your carbon footprint. You get reliable lighting with less maintenance. Try different designs to match your style. If you have questions, check the FAQs for tips on placement and spacing.
Safe steps and a stylish yard start with the right lighting!
FAQ
How do I install solar step lights if my steps are shaded?
You can place the lights where they get the most sun during the day. If your steps stay shaded, try using battery-powered or wired LED step lights instead.
Will solar step lights work in winter or rainy weather?
Most solar step lights have weatherproof ratings like IP65. They keep working in rain and snow. You should clean the panels often so they charge better, even on cloudy days.
How bright are outdoor solar step lights?
Solar step lights usually shine between 20 and 100 lumens. That’s enough to see each step clearly at night. You can pick brighter models if you want more light.
How long do the batteries last in solar step lights?
Most solar step lights run for 6 to 10 hours after a full day of charging. You should replace the batteries every 2 to 3 years to keep your lights working well.