Key Takeaways
- Outdoor solar step lights make steps safer by lighting them up, which helps stop trips and falls.
- Pick lights that are very waterproof and made from strong materials so they last through bad weather.
- Start by cleaning the concrete steps before putting on the lights — this helps them stick better and last longer.
- Clean the solar panels often and check for anything blocking them to keep your solar step lights working their best.
- These lights make your home safer, look nicer, and feel more welcoming at night.
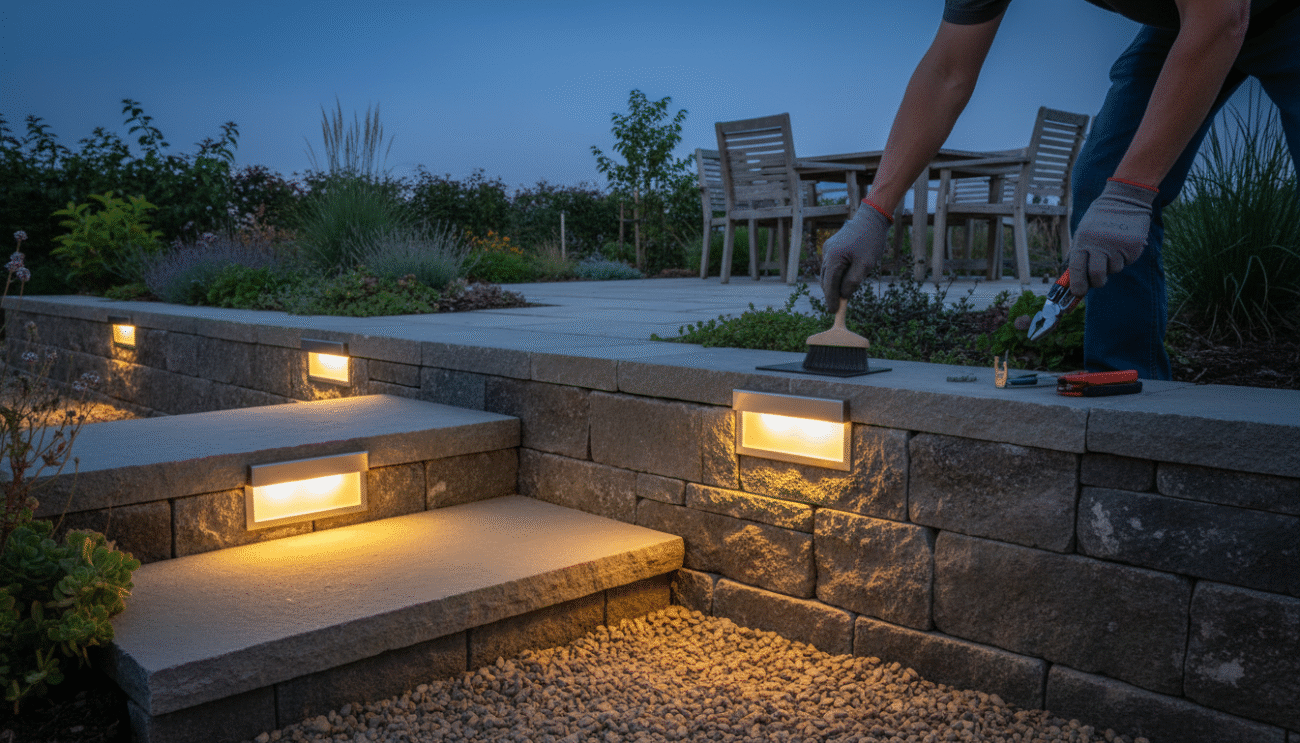
Why Use Outdoor Solar Step Lights?
Safety and Visibility
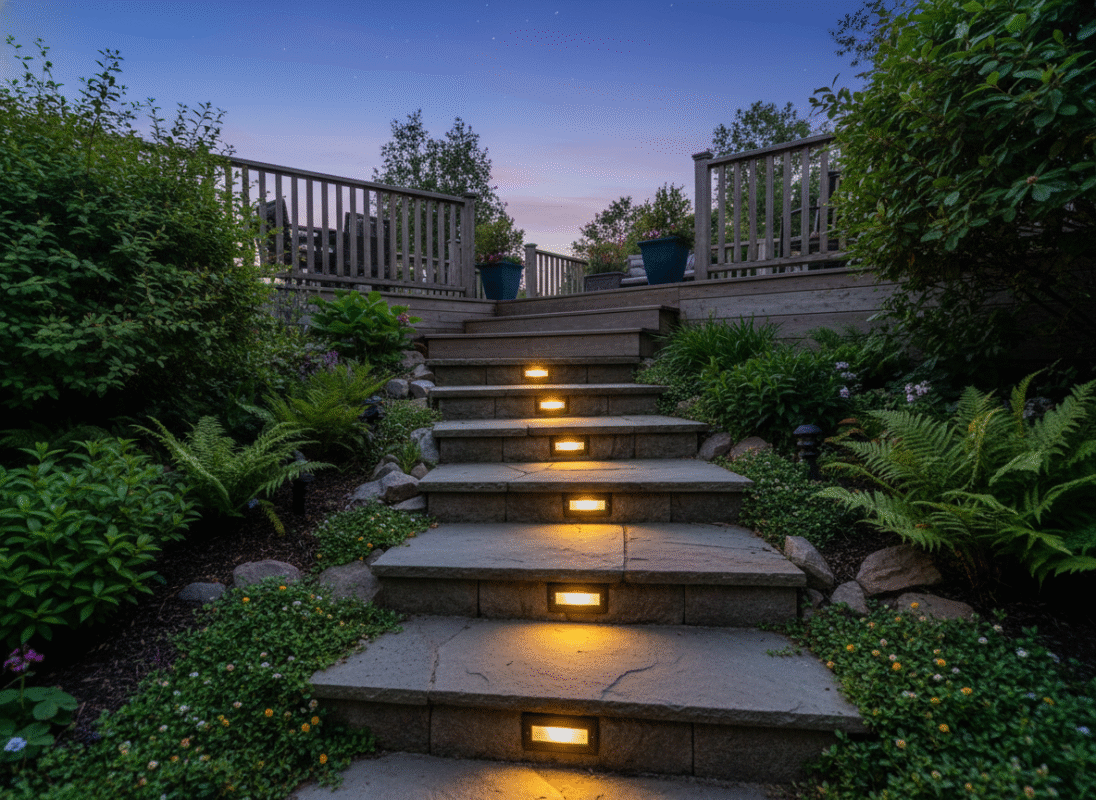
You want your house to feel safe after dark. Outdoor solar step lights help you see each step clearly, so you’re less likely to trip or fall. These lights work great for everyone — kids, older folks, and even guests who aren’t familiar with your home. Adding them makes your steps a whole lot safer.
Here are a few things that help keep you safe:
- A good weatherproof rating means the lights handle rain or snow without a problem.
- Anti-slip designs keep the lights from getting slippery when wet.
- The right height and placement help prevent tripping.
Let’s see how solar step lights stack up against regular lights:
|
Feature |
Solar Step Lights |
Traditional Lighting |
|---|---|---|
|
Brightness |
Bright enough for outside use |
Very bright right away |
|
Lifespan |
Lasts a long time because of LED |
May not last as long |
|
Weather Resistance |
Made to handle tough weather |
Might need extra protection |
|
Installation |
Easy to put in, no wires needed |
May need a pro to install |
|
Maintenance |
Needs little care |
Needs more care often |
These lights are simple to use and built to last. No wires, no electrician needed.
Tip: Place your outdoor solar step lights at the edge of each step for the best light and safety.
Curb Appeal and Ambiance
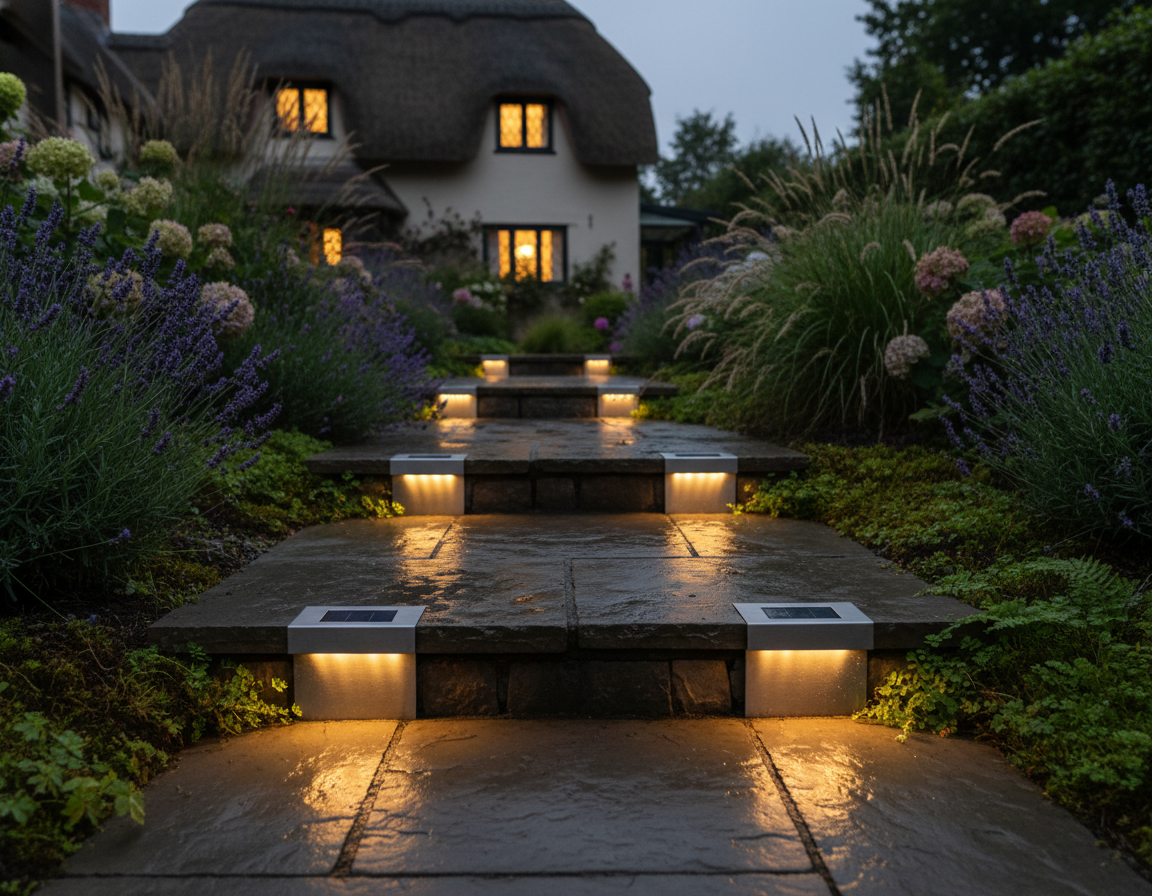
Outdoor solar step lights don’t just keep you from tripping. They also make your house look great. Light up your walkway, and your home really stands out after dark. Visitors see that warm glow and instantly feel welcome.
Here’s how these lights boost your home’s look:
- Outdoor lighting highlights your paths and yard.
- Good lighting makes your whole place feel cozier.
- Step lights add a nice style and show off your outdoor space.
- Solar lights make your home easy to spot at night—and it looks good doing it.
You get both safety and beauty with outdoor solar step lights. Your home feels more inviting, and you feel secure every time you hit the steps.
Choosing Solar Lights for Concrete Steps
 When you pick solar lights for concrete steps, you want something that lasts and works well outside. Not every light can handle rain, snow, or harsh sun. Some break or stop working after just a few months. You need lights built for the outdoors—tough materials, solid waterproofing. Look for ones labeled “concrete step lights” or “tread lights.” These shine light downward so you see each step clearly and avoid tripping.
Features to Look For
You want your solar lights to do more than just look nice. They should work every night and stand up to the weather. Here’s what to check before you buy:
- Battery capacity: Bigger batteries keep the lights on longer.
- Installation ease: Go with lights that are simple to attach to concrete.
- Maintenance: Pick lights that are easy to clean and check.
- Brightness and light quality: Look for high lumens (300-600) and good color.
- Waterproofing: Make sure the rating is at least IP65.
- Durability: ABS plastic or aluminum lasts longer outside.
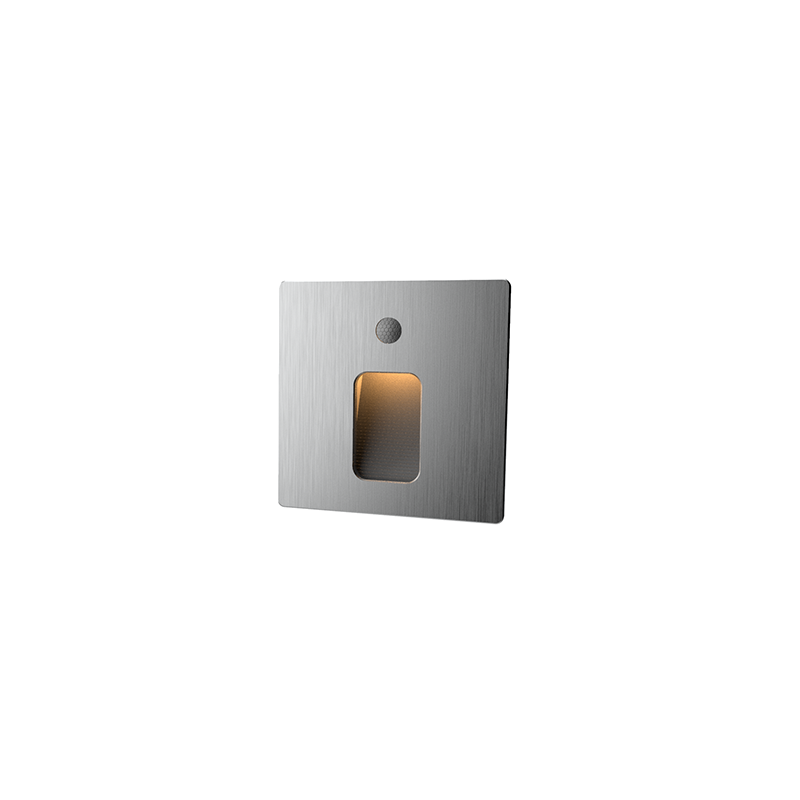
- Motion sensors: These save energy and add an extra layer of safety.
Tip: Clean the area before you install your lights. It helps them stick better and last longer.
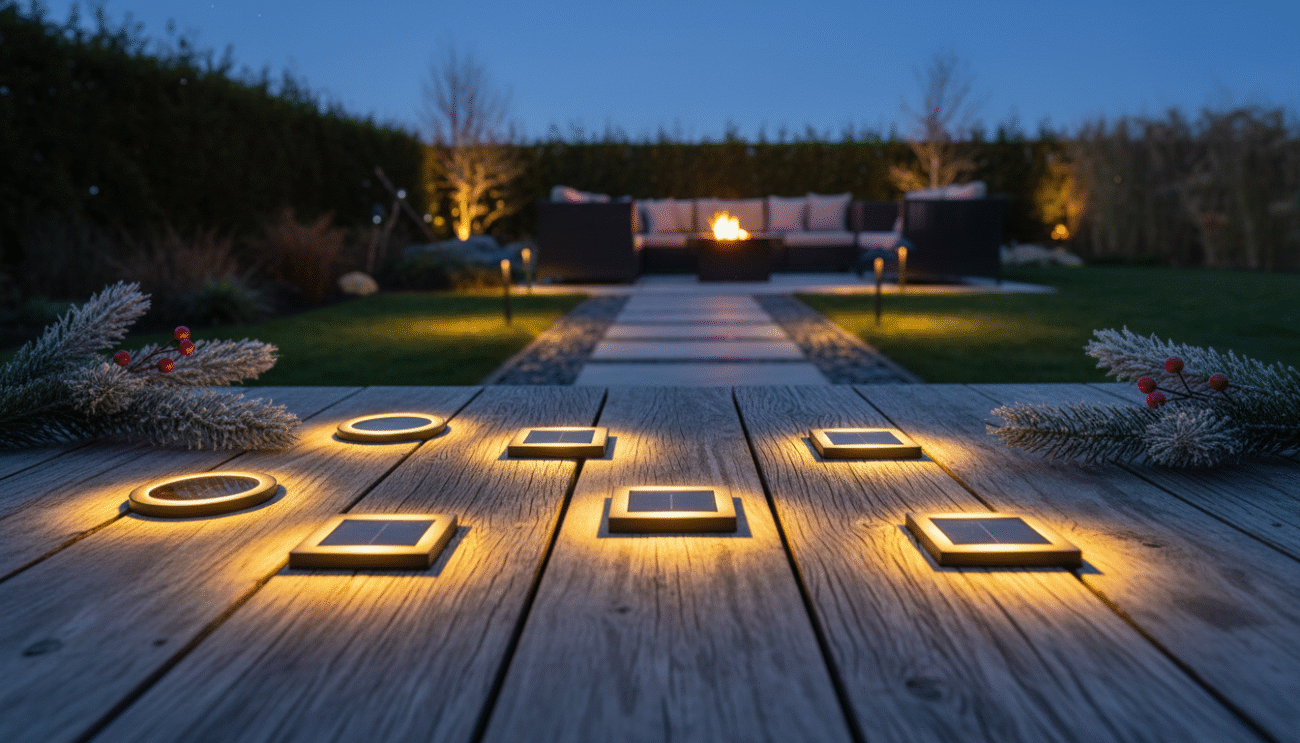
Types of Step Lights
You’ve got a few options when it comes to solar lights for steps. Some types work better on concrete than others. Here are the most popular ones:
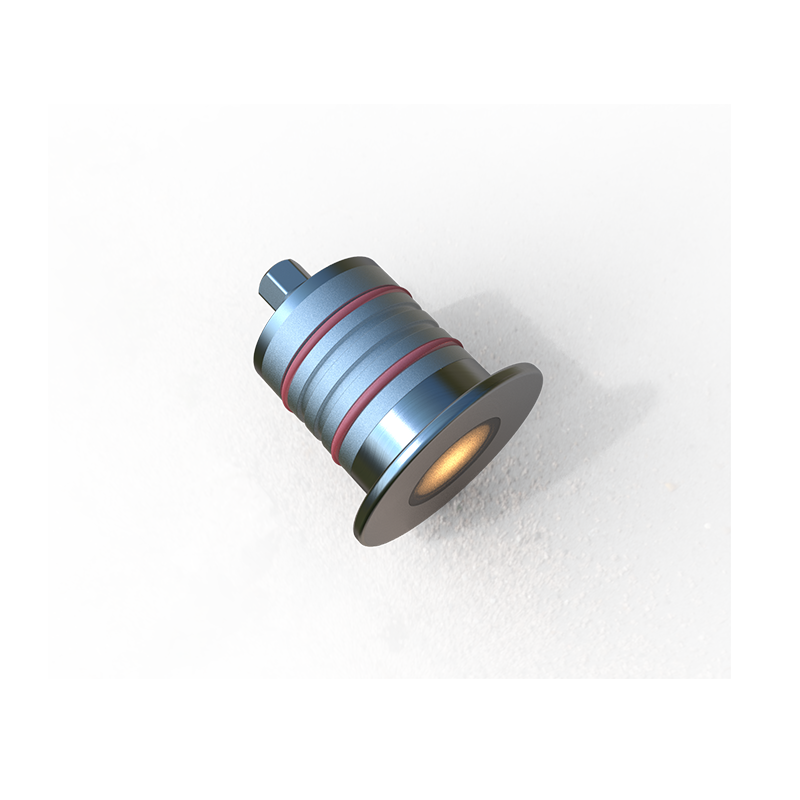
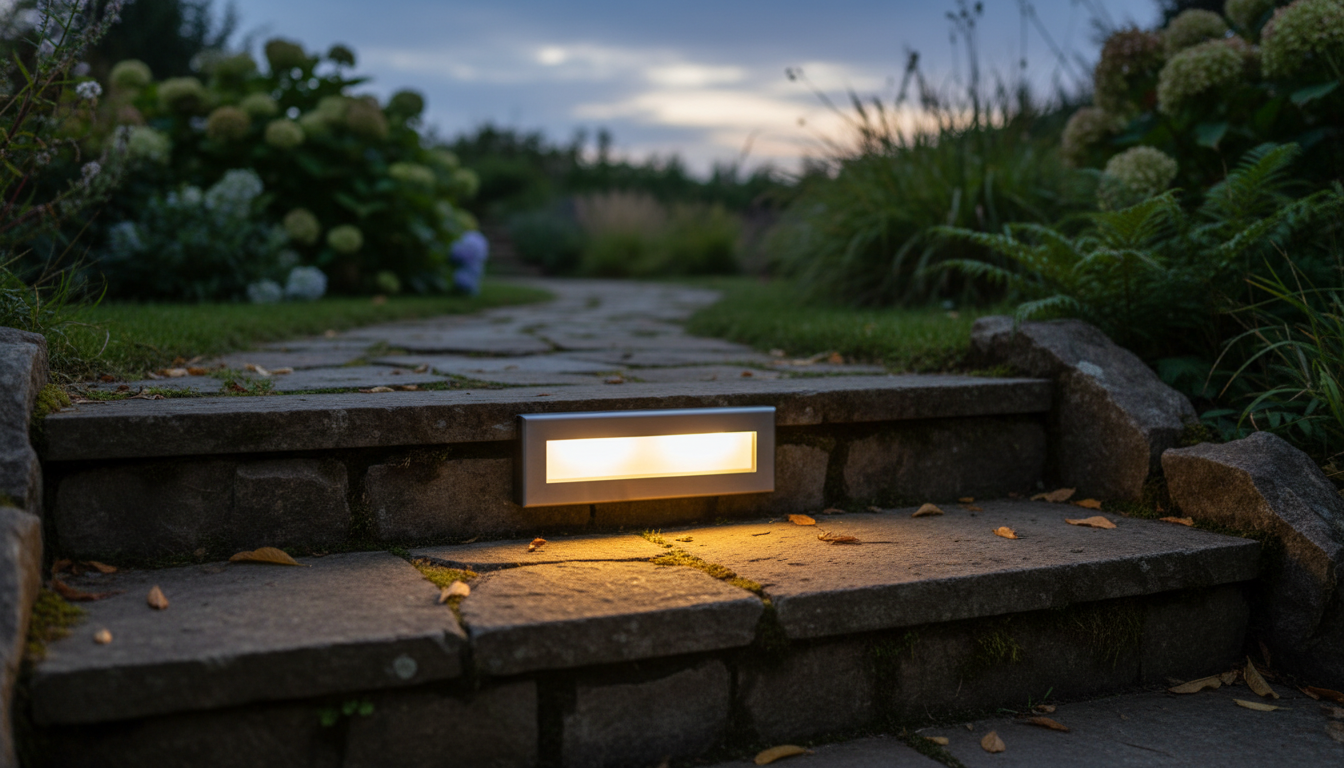
- Tread lights: These mount right on the step and shine down.
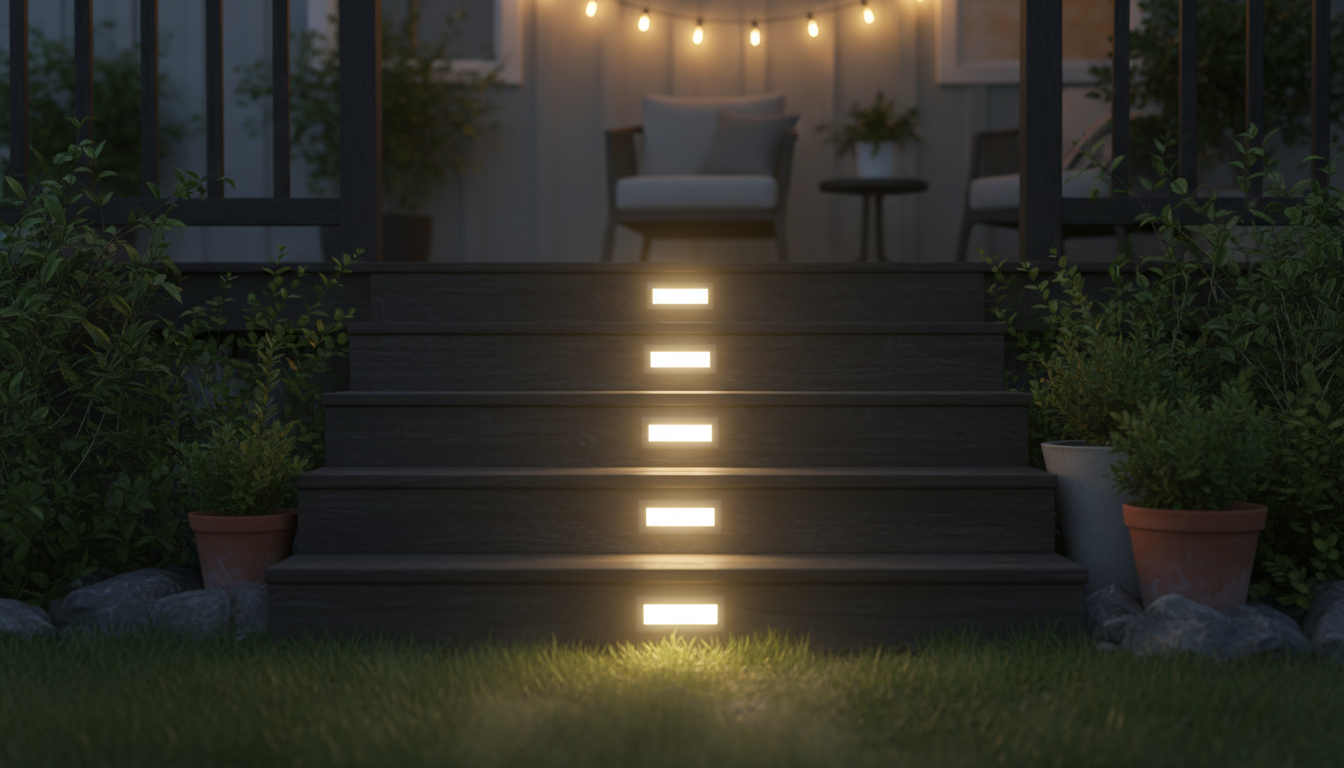
- Riser lights: You put these on the vertical part of the step.
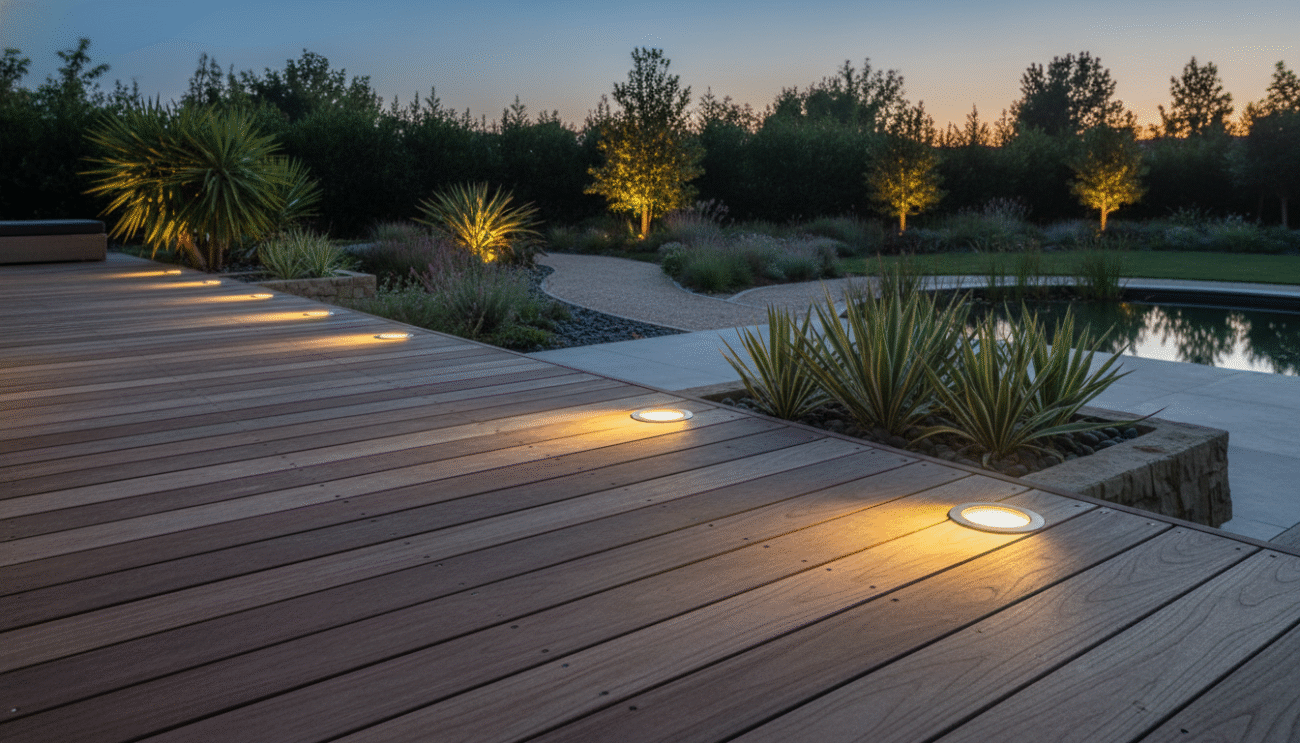
- Deck or pathway lights: These sit beside the steps and light up the whole area.
- True Lumens lights: These are tough, waterproof, and built for harsh weather.
Pick lights with a waterproof rating of IP65 or higher. Choose ones made from strong materials like ABS plastic or aluminum. That way, your lights will keep working, even in rain or snow.
Materials and Tools Needed
Before you start installing solar lights on your concrete steps, you need to grab a few supplies. Having the right stuff makes the job easier and helps your lights stay put for the long haul.
Cleaning Supplies
You want your lights to stick well, so cleaning the steps is the first step. Dirt, dust, and grime can stop tape or adhesive from working. Use a strong cleaner that’s safe for concrete. Look for one that’s powerful, rinses clean, and is safe for the environment.
Here’s a quick look at what a good cleaner should offer:
|
Feature |
Description |
|---|---|
|
Powerful Cleaning Action |
Removes deep dirt, grime, and stains. |
|
Safe for Most Surfaces |
Won’t damage concrete if you follow directions. |
|
Environmentally Friendly |
Biodegradable and phosphate-free. |
|
Super Concentrated |
A little goes a long way. |
|
Clean Rinse Technology |
Makes rinsing easy and leaves no residue. |
|
Prepares for Adhesion |
Gets the surface ready for tape or adhesive. |
Tip: Always let the steps dry fully before you move on to mounting the lights.
Mounting Materials (Tape, Adhesive)
You’ve got a few options for sticking your solar lights to concrete. Double-sided outdoor tape is a favorite because it’s strong and easy to use. Some tapes can hold up to 30 pounds and work in all kinds of weather. You can also use weather-resistant adhesives made for outdoor use. These options don’t need nails or screws, so you won’t damage your steps.
Check out these features when picking your mounting material:
|
Feature |
Description |
|---|---|
|
Maximum Strength |
Holds heavy lights and stands up to foot traffic. |
|
Superior Bond |
Sticks well to smooth, clean concrete. |
|
Indoor/Outdoor Use |
Works in hot or cold weather. |
|
No Mess or Tools |
Easy to apply—just peel and stick. |
|
No Drilling |
Perfect for renters or anyone who wants a clean look. |
Tools Checklist
You don’t need a ton of stuff for this project. Here’s a quick checklist:
- Bucket and scrub brush for cleaning
- Clean rags or towels for drying
- Measuring tape or ruler for spacing
- Pencil or chalk for marking spots
- Scissors or utility knife for cutting tape
- Optional: Drill and masonry screws (if you want a permanent install)
If you use tape or adhesive, you can skip the drill and screws. Most people find tape much easier and faster.
Now you’re ready to prep your steps and start installing your solar lights!
Preparing Concrete Steps
Before you install your solar lights, you need to get your concrete ready. This part is important if you want your lights to stick and stay in place for a long time. Let’s break it down into two simple tasks.
Cleaning for Adhesion
You want your lights to stay put, right? Dirt, dust, and even a little bit of grease can stop tape or glue from working. Start by sweeping your steps with a broom. Get rid of leaves, sand, and anything loose. Next, grab a bucket of warm water and a strong cleaner that is safe for concrete. Scrub the surface with a brush. Make sure you reach every corner and edge.
After you scrub, rinse the steps with clean water. Use a towel or let them air dry. The surface must be totally dry before you move on. If you rush this part, your solar lights might not stick well.
Tip: If you see any sticky spots or stains, use a little extra cleaner and scrub again. Clean concrete helps your lights last longer.
Inspecting Step Condition
Now, take a close look at your steps. Check for cracks, chips, or loose pieces. If you find any big cracks, you might want to fill them with concrete filler. Small chips are usually okay, but large holes can make it hard for your lights to stick.
Run your hand over the surface. It should feel smooth and solid. If you feel rough spots, sand them down a little. This gives your tape or adhesive a better grip.
- Look for:
-
- Cracks or holes
- Loose concrete
- Uneven surfaces
If everything looks good, you’re ready for the next step. Clean, solid steps help your solar lights stay bright and secure, even in bad weather.
Mounting Methods for Solar Lights
You’ve got a few ways to attach solar lights to your concrete steps. Each method has its own strengths. Let’s check out your main options so you can pick what works best for you.
Double-Sided Outdoor Tape
Double-sided outdoor tape is a go-to for a lot of DIYers. You just peel and stick. It’s quick and mess-free. Some tapes, like VELCRO® Brand Extreme Outdoor Mounting Tape, hold up in rain, snow, and heat. You don’t need tools or special skills.
Pros:
- Fast and easy to use
- No drilling or mess
- Works well on smooth, clean concrete
- Removable if you want to change the lights
Cons:
- May not stick well on rough or dirty surfaces
- Extreme cold or heat can weaken the bond over time
Tip: Always clean and dry your steps before using tape. This helps the tape grip better and last longer.
Weather-Resistant Adhesives
Weather-resistant adhesives give you a strong, lasting hold. You squeeze the glue onto the back of the solar light, press it in place, and let it dry. Brands like Gorilla Heavy Duty Construction Adhesive work well outdoors.
Pros:
- Very strong hold, even in bad weather
- Good for uneven or rough surfaces
- No screws or holes needed
Cons:
- Harder to remove if you want to move the lights
- Takes longer to set and dry
Note: Use gloves when handling adhesives. Some glues can irritate your skin.
Drilling and Anchors (Optional)
If you want a permanent solution, you can drill holes and use anchors or screws. This method works best for heavy lights or high-traffic steps.
Pros:
- Super secure, even for large lights
- Lasts for years
Cons:
- Needs a drill and masonry bit
- Leaves holes in your concrete
- Takes more time and effort
|
Mounting Method |
Best For |
Tools Needed |
Removability |
|---|---|---|---|
|
Double-Sided Tape |
Quick, easy installs |
None |
Easy |
|
Adhesive |
Strong, rough surfaces |
Gloves |
Hard |
|
Drilling & Anchors |
Permanent, heavy lights |
Drill, screws |
Very hard |
Pick the method that fits your needs and comfort level. You can always start with tape and switch to a stronger method later if needed.
Installing Solar Lights on Steps
Planning Placement
You want your solar lights to shine where it really counts. Start by checking out your steps during the day. Notice where people walk and where shadows fall at night. Think about where you need the most light. You can use a pencil or chalk to mark the best spots for each light.
Here are some tips for planning:
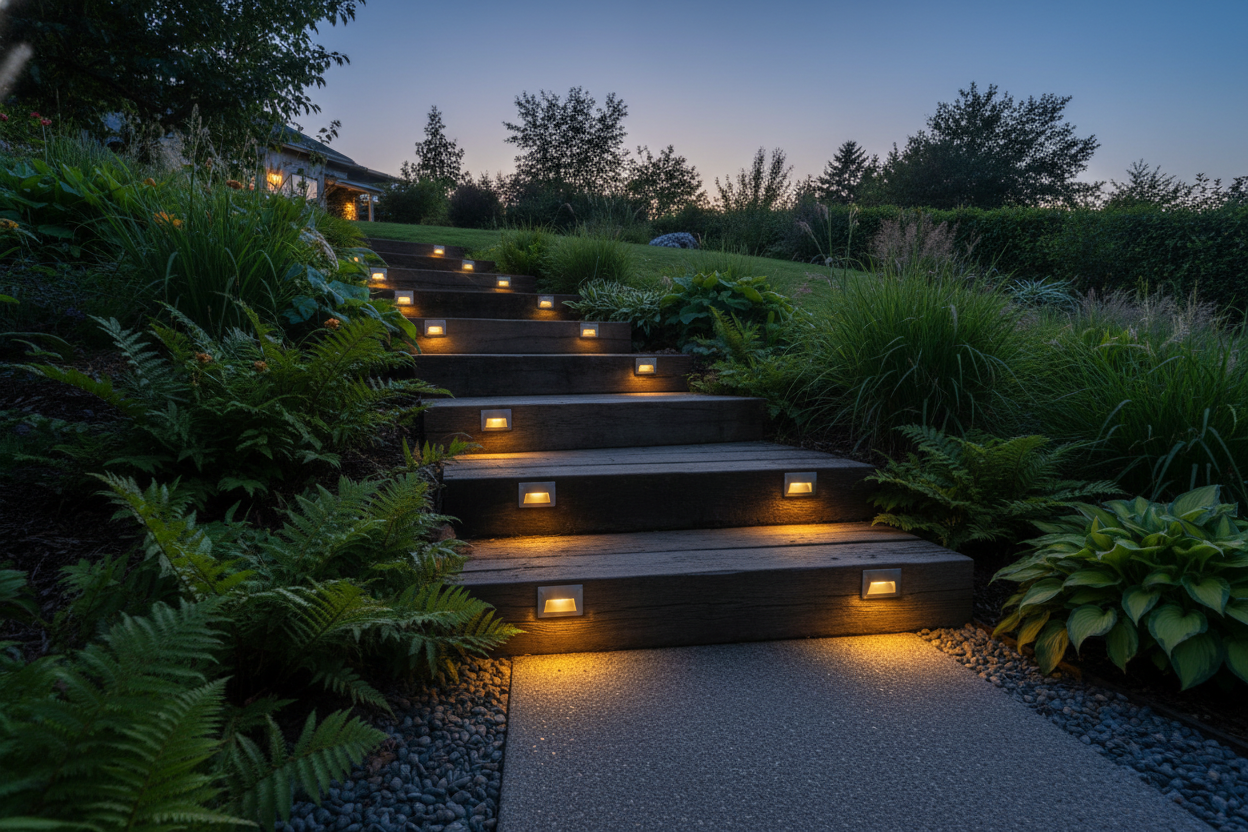
- Place one light on each step edge for even lighting.
- Space the lights evenly so you don’t miss any dark spots.
- Avoid putting lights where people might kick them.
- Make sure nothing blocks the sunlight during the day.
Tip: Walk up and down your steps at night with a flashlight. This helps you see where extra light will help the most.
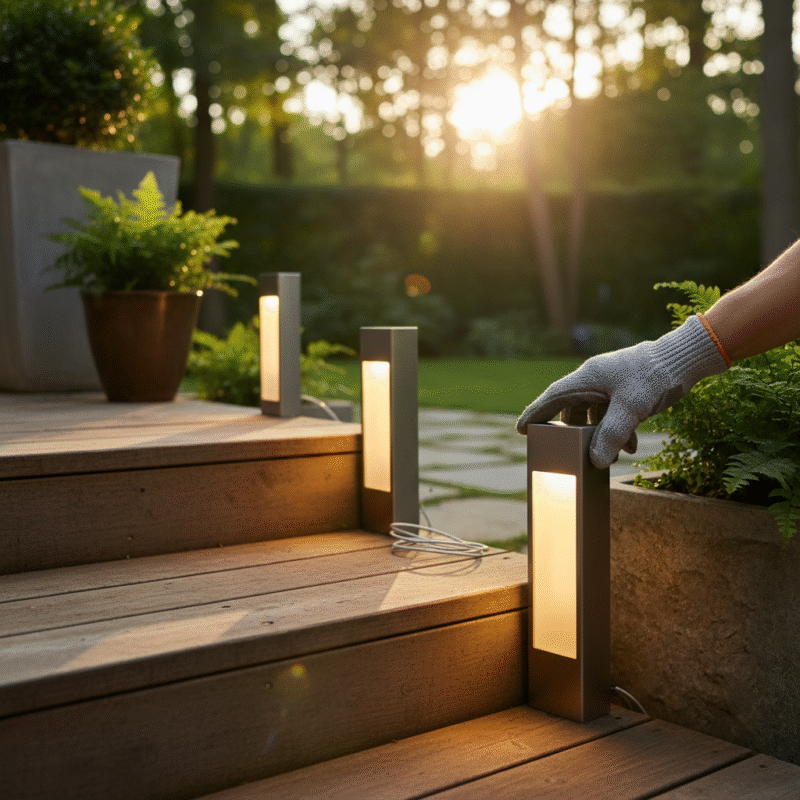
Attaching the Lights
Now you’re ready to stick your solar lights in place. If you use double-sided outdoor tape, cut the tape to fit the back of each light. Press the light firmly onto the clean, dry concrete. Hold it for a few seconds so the tape sticks well.
If you use weather-resistant adhesive, squeeze a small amount onto the back of the light. Press the light onto the step and hold it for a minute. Wait for the glue to set before you move on.
Some people like to use screws and anchors for a permanent hold. If you choose this method, use a drill with a masonry bit. Drill small holes where you marked, then screw the lights in place.
Here’s a quick checklist for attaching:
- Clean and dry the surface first.
- Use the right mounting method for your lights.
- Press each light firmly so it sticks well.
- Double-check your placement before the adhesive dries.
Testing and Adjusting
After you attach your solar lights, you need to test them. Wait until it gets dark. Walk up and down your steps to see how well the lights work. Check if every step is bright enough. If you see dark spots, move the lights a little before the adhesive sets.
You can also check if the solar panels get enough sunlight during the day. If a light doesn’t turn on, make sure nothing blocks the sun. Sometimes you need to adjust the angle or move a plant out of the way.
Note: Most solar lights need a full day of sunlight to charge before they work their best. Give them time to soak up the sun.
You did it! Your steps now look great and feel safer at night.
Tips for Durability and Performance
Weatherproofing
You want your solar step lights to hold up through rain, snow, and blazing sun. Make sure they come with a solid waterproof rating—IP65 or higher is your best bet. That rating means water and dust can’t sneak in easily. After a storm, just wipe off any dirt or leaves. If you spot water droplets or fog inside the lens, dry them out fast. For a little extra insurance, run a bead of clear silicone around the edges. It keeps moisture out and helps your lights stay bright all year long.
Tip: If you live somewhere with brutal winters, store extra lights indoors during the coldest months.
Maximizing Sunlight
Solar lights need direct sun to charge up. Put each light where it’ll catch the most rays during the day. Skip shady spots under trees or near big bushes. Point the solar panel toward the sky—not sideways. Give the panels a quick wipe with a damp cloth every few weeks. Dust and pollen can block the sun and leave your lights looking dim. If a light isn’t as bright as it used to be, check for anything blocking the sun and move it if you need to.
Here’s a simple table to keep things straight:
|
Task |
How Often |
|---|---|
|
Clean solar panels |
Every 2 weeks |
|
Check for shade |
Once a month |
|
Adjust placement |
As needed |
Avoiding Obstructions
Obstructions can mess with your solar step lights and make them less effective. You want your steps to stay bright and safe. Watch out for these common issues:
- Putting lights too close together or too far apart
- Not spacing them evenly (aim for every 6 to 8 feet)
- Setting them at the wrong height or angle, which creates shadows
- Letting plants or decorations block the light
You can fix these by spacing your lights evenly and double-checking their angle. Walk up and down your steps at night to see if you missed any dark spots. Keep moving the lights until you get the coverage you want.
Note: A little attention to placement and regular checks go a long way in keeping your solar lights working their best.
Troubleshooting Solar Step Lights
Charging Issues
Sometimes your solar lights won’t turn on at night. That usually means they didn’t get enough sun during the day. Check if anything’s blocking the light—things like leaves or decorations. Wipe the solar panels with a soft cloth to clean off dirt or dust. Dirty panels just can’t soak up sunlight well. If the lights still aren’t working, take a look at the batteries. Old or weak batteries won’t hold a charge. Pop in new ones to get your solar lights working again.
Tip: Make sure your solar lights get at least six hours of direct sunlight every day. That helps them stay bright all night long.
Adhesion Problems
Your lights might fall off or shift out of place. This usually happens when the adhesive doesn’t stick well to concrete. Lots of things can cause this. Check the table below to see what might be going wrong:
|
Environmental Factor |
How It Causes Failure |
Common Problem Areas |
|---|---|---|
|
Heat |
Makes adhesives soft and weakens the hold |
Steps in direct sunlight |
|
Humidity & Moisture |
Breaks down glue, especially when wet |
Outdoor areas, rainy spots |
|
Temperature Fluctuations |
Expands and shrinks, which stresses the adhesive |
Places with big temperature changes |
Other common mistakes? Stretching the tape, touching the sticky side, or peeling it off and sticking it back on. All of that makes the adhesive weaker. For the best results, use strong adhesives made for outdoor use. Always clean and dry the steps before you put on your lights.
Weather Damage
Bad weather can mess with your solar lights. Sun, rain, snow, and wind all cause problems. Here’s a table showing what can happen and how to protect your lights:
|
Weather Factor |
Impact |
Preventive Measures |
|---|---|---|
|
Ultraviolet (UV) Radiation |
Fades color and cracks the outside |
Use UV-resistant coatings or add sunshades |
|
Extreme Temperatures |
Cracks or bends the light’s outside |
Pick lights made for hot and cold weather |
|
Rain, Snow, and Humidity |
Can cause short circuits or rust |
Use waterproof seals, covers, and high IP ratings |
|
Strong Winds and Dust/Sand |
Scratches or damages the outside |
Use sturdy brackets and clean the lights often |
You can use concrete bases to hold your lights in stormy spots. Clean the solar panels often and check the batteries every few months. Keep your lights spaced apart and away from plants. That helps everything work better and last longer.
You can easily install solar lights on your concrete steps and see a big difference right away. These lights boost safety, help everyone see where they’re walking, and make your home look great at night. No wires or special tools needed—just follow the simple tips for the best results.
For more answers and troubleshooting, check out the FAQs and guides linked in this post.
FAQ
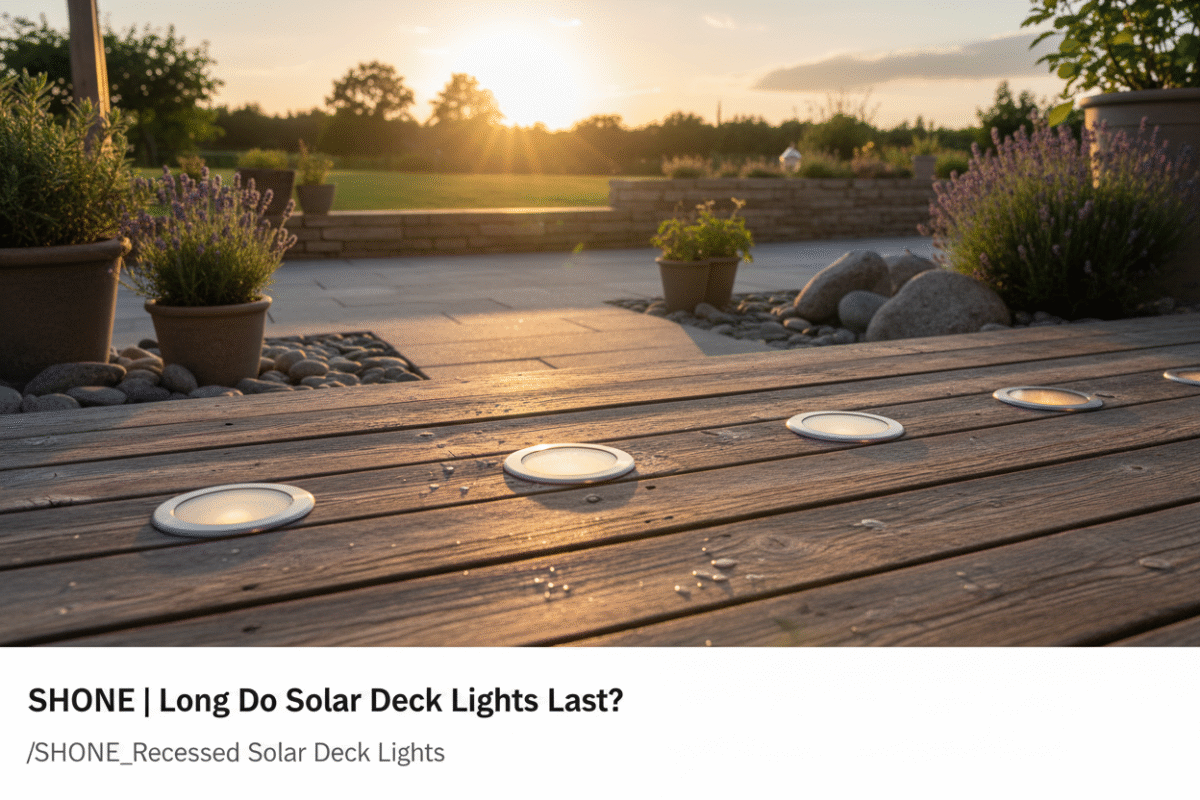
Solar step lights usually last between 2 and 5 years. To get the most out of them, just keep the panels clean and swap out the batteries when they start to fade. It’s also smart to pick lights built with tough materials and a solid weatherproof rating.
Can you install solar lights on rough concrete?
Absolutely, you can. Start by cleaning the surface really well. You’ll want a weather-resistant adhesive made for rough concrete—tape works best on smooth stuff. Once you’ve applied it, press the light down firmly to make sure you get a strong bond.
Do solar step lights work in winter?
They do work in winter, as long as they’re getting enough sunlight. Shorter days mean less time to charge, so place your lights where they’ll soak up the most sun. And don’t forget to wipe off any snow or ice to keep them shining bright.
What if my solar lights are not bright enough?
First, check if anything’s blocking the sun during the day. Give the solar panels a good clean, and try moving the lights to a spot that gets more direct sun. If that doesn’t do the trick, old batteries might be the issue—replace them and you’ll usually see a big improvement.
Can I remove solar lights without damaging my steps?
Most solar lights can be removed without causing any damage. Just peel off the tape or adhesive slowly. If it’s stubborn, a plastic scraper can help. Once they’re off, clean up any leftover residue with warm, soapy water.