Key Takeaways
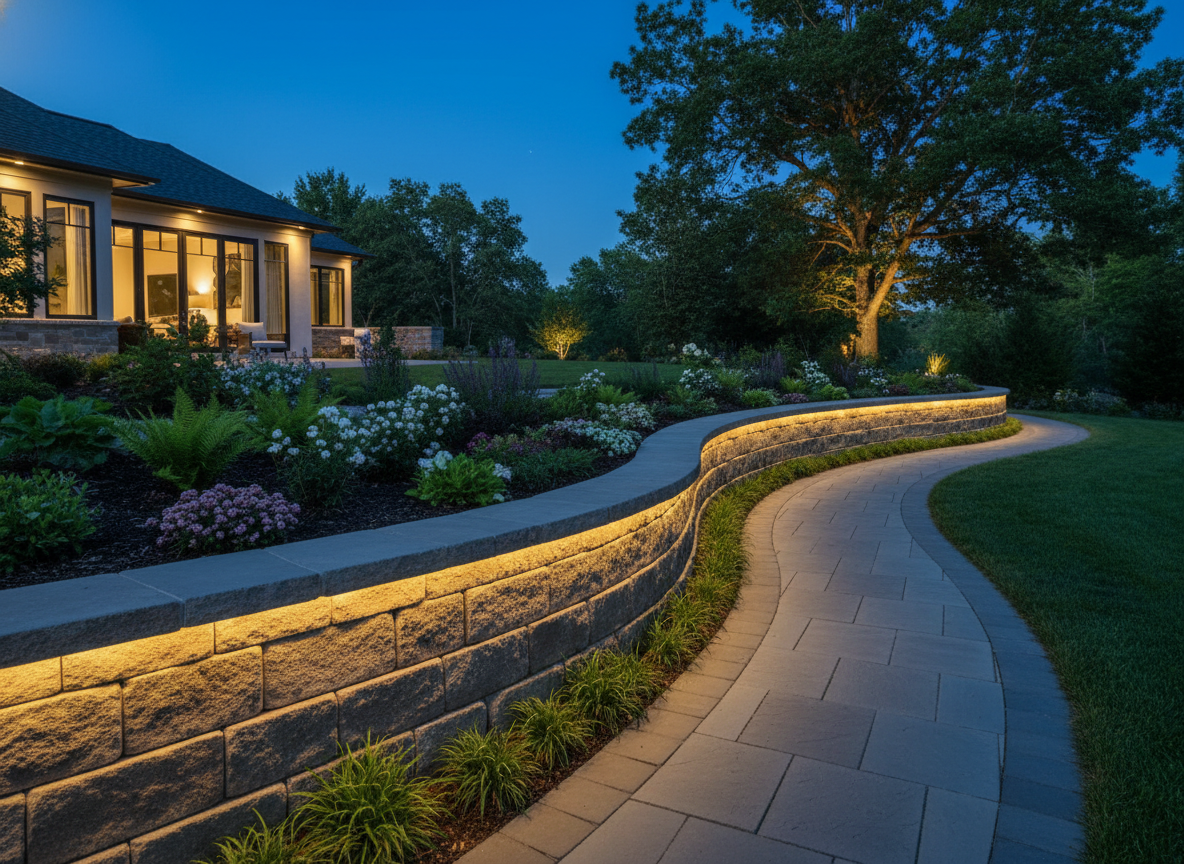
- You can totally add solar lights to your retaining wall. Just pick the right lights, grab some basic tools, plan where each one goes, and install them securely. It’s super easy—no messy wiring or complicated steps. These lights boost safety, add curb appeal, and come in styles that fit any outdoor space. Plus, you save energy and cut down your power bill while making your garden or patio shine at night.
- Pick solar lights that look good with your wall. Make sure they can handle your local weather. The lights need 6 to 8 hours of sunlight each day.
- Think about where to put your lights. Space them out so there are no dark spots. This stops glare and makes things safer and nicer to look at.
- You need to take care of your lights often. Clean the solar panels every few months. Check the batteries to keep your lights working well.
- Use a checklist when you install and take care of your lights. This helps you remember every step. It makes your project go well.
Tools and Materials
Essential Tools
You need some simple tools to start your retaining wall lighting project. Here is a checklist you can use:
- Drill with masonry bits for hardscape surfaces
- Screwdriver set
- Tape measure
- Level
- Safety goggles
- Work gloves
- Cleaning brush or cloth for hardscape dust
- Concrete nails or anchoring screws for hardscape blocks
- Adhesive suitable for outdoor hardscape use
These tools help you stay safe while you work. They also make sure your hardscape wall is ready for the lights. Clean the hardscape surface before you begin. This helps the lights stick better and last longer.
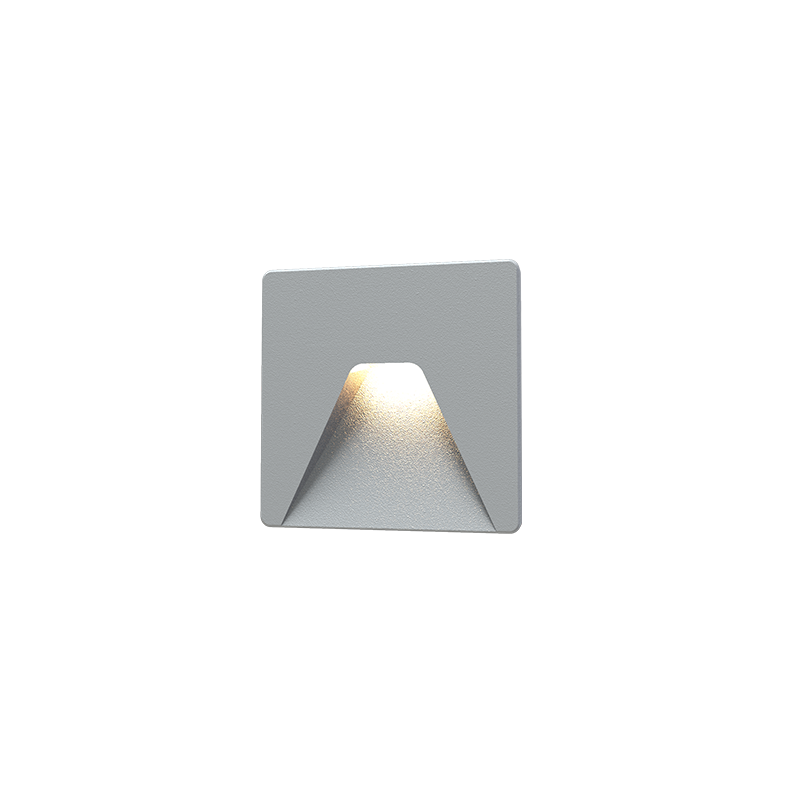
Solar Retaining Wall Lights Selection
Picking the right solar retaining wall lights matters. You want something that fits your hardscape style and can handle whatever your local weather throws at it. Weather plays a big role in how these lights perform. In really cold temps, the panels might actually work better if there’s sun, but the batteries can slow down. Hot weather? That makes batteries work harder and they won’t last as long. Rain helps keep the panels clean, but if the lights aren’t waterproof, too much moisture can mess with the electronics. Snow might block the sun for a bit, but it usually melts fast. Wind can cool things down and help panels run better—just make sure your lights are mounted securely.
|
Climate Condition |
Effect on Solar Lights |
Notes |
|---|---|---|
|
Extreme Cold |
Increased efficiency if sunlight is present |
Panels function well; batteries may slow |
|
Extreme Heat |
Decreased efficiency, battery stress |
Use heat-resistant materials |
|
Rain |
Cleans panels, but too much can cause damage |
Waterproofing is essential |
|
Snow |
Temporary blockage, usually melts quickly |
Flexible mounts help manage snow loads |
|
Wind |
Helps cool panels, can improve efficiency |
Secure installation is important |
Go with solar retaining wall lights that are waterproof and built for outdoor hardscape use. They need at least 6 to 8 hours of direct sunlight each day. Don’t be afraid to move them around on your hardscape wall as the seasons change.
Mounting Supplies
Good mounting supplies keep your solar retaining wall lights safe and steady on your hardscape wall. Here’s what you’ll probably need:
- Ground screws that go at least 10 inches deep into solid soil near your hardscape wall
- Anchoring screws, pegs, or rebar for extra stability in windy spots
- Concrete or expanding foam around the base of stakes for hardscape blocks
- Outdoor-rated adhesive for hardscape surfaces
- Flexible mounts to handle snow buildup on your hardscape wall
Tip: Tilt your solar panels slightly downward—about 15 degrees—on your hardscape wall. That helps reduce wind pressure and keeps snow from piling up.
Using the right mounting supplies means your hardscape lights will stay put, even when the weather gets rough. A solid installation keeps everything safe and your hardscape looking great.
Planning Your Installation
Assessing the Wall
Before you get started, take a good look at your retaining wall. You wanna make sure it’s ready for solar retaining wall lights. Brush off any dirt, leaves, or old gunk. That way you can really see the wall’s condition. Check for cracks, bulges, or leaning spots. Those signs usually mean the wall needs repairs before you add anything new. If you find a problem, try to figure out why it happened. Just fixing the surface might not solve the real issue. A solid wall gives your solar retaining wall lights a safe place to shine.
- Clear all debris and obstructions.
- Look for cracks, bulges, or leaning.
- Find and fix the root cause of any damage.
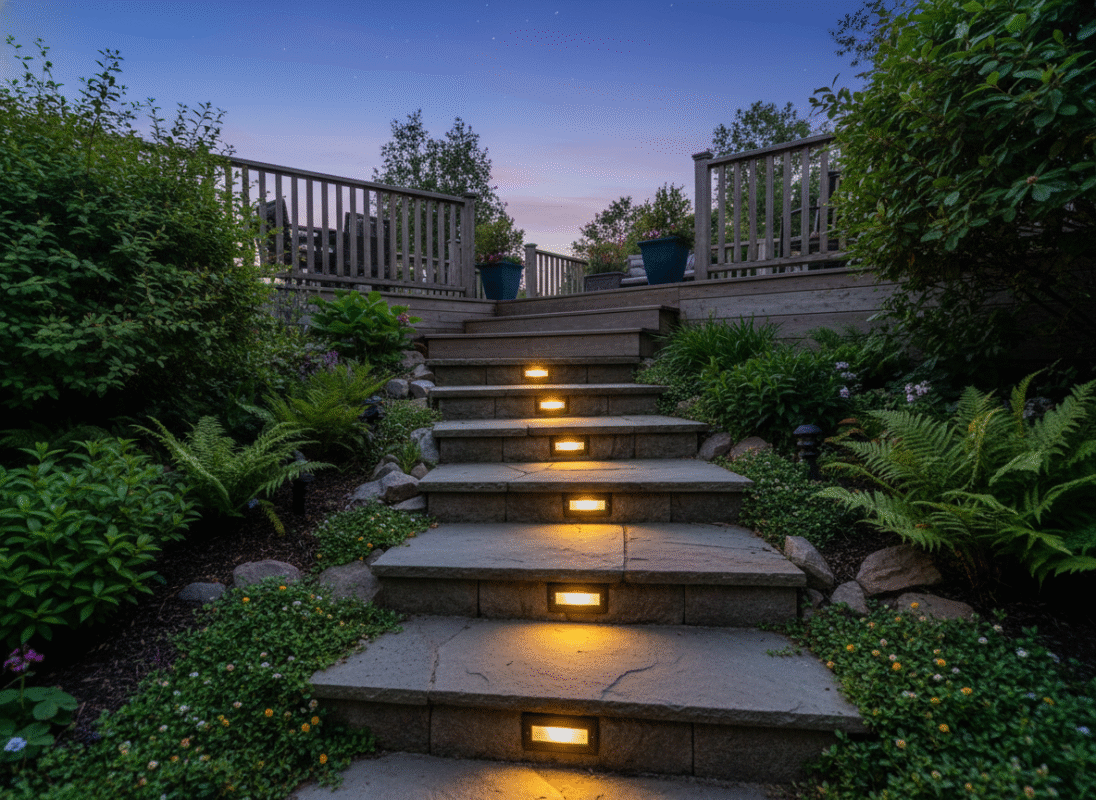
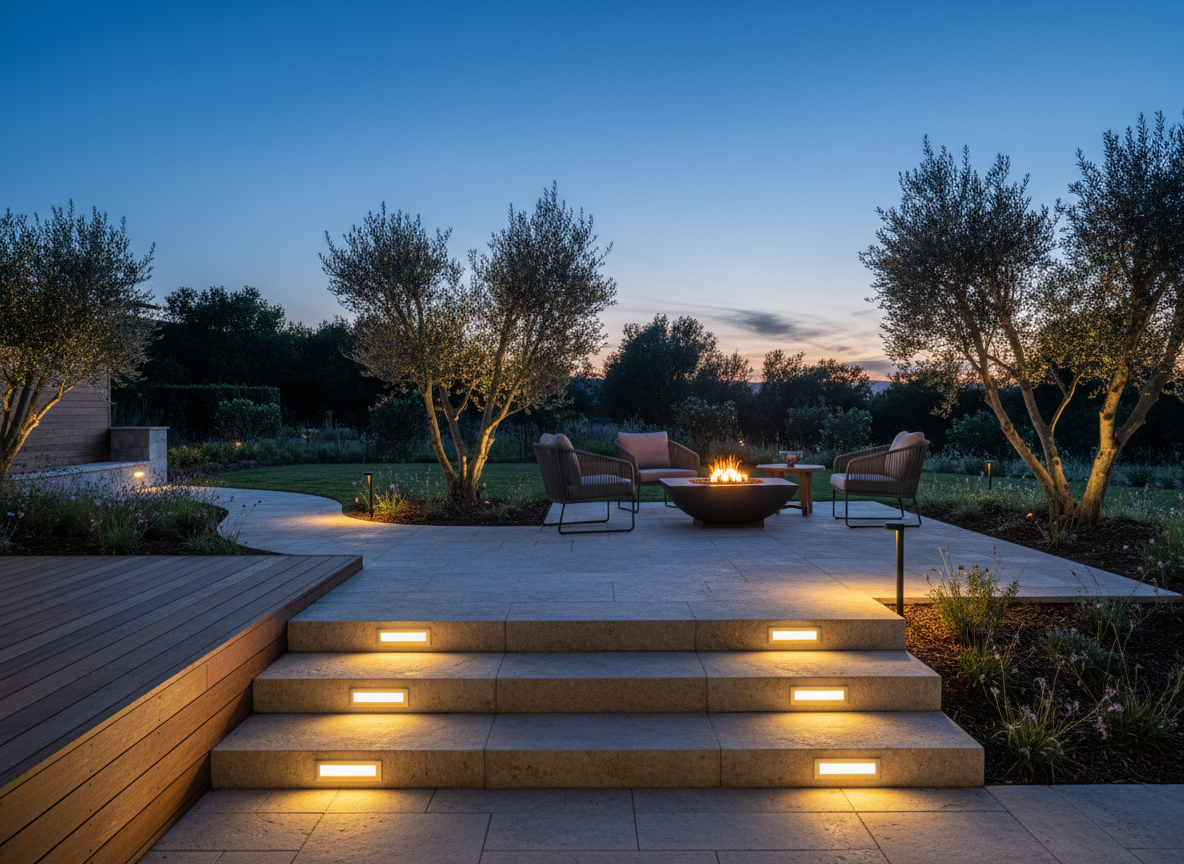
Choosing Light Placement
Now, think about where you want each light. Good placement makes your outdoor space safer and more welcoming. You’ll want to avoid dark spots and harsh glare. Start by measuring the length of your wall. Mark spots about every 6 to 8 feet for even coverage. That spacing gives you balanced light without making some areas too bright or too dim. Use a mix of spot and ambient lights if you want to highlight special features. After you measure and mark, step back and check your plan. Even spacing gives your wall a polished look.
Tip: Use fixtures that produce between 100 and 300 lumens. That’s enough light for safety without being too harsh.
Sunlight Exposure
Solar retaining wall lights need plenty of sunlight to work well. Place each light where it gets direct sun for most of the day. Stay away from shaded spots near trees, fences, or buildings. In the Northern hemisphere, face the solar panels south. In the Southern hemisphere, face them north. Adjust the tilt of each panel for your location and the season. Make sure nothing nearby casts shadows during peak sunlight hours. Space your lights so they don’t block each other’s sun. Mark each spot clearly before you install. Keep the panels clean so dust doesn’t block the light.
- Position lights for direct sunlight.
- Face panels the right way for your hemisphere.
- Tilt panels for best exposure.
- Mark and space lights to avoid shadows.
Always check the manufacturer’s instructions for mounting tips. Some lights need special brackets or adhesives. Following these steps helps your solar retaining wall lights work their best and last longer.
Installation Steps
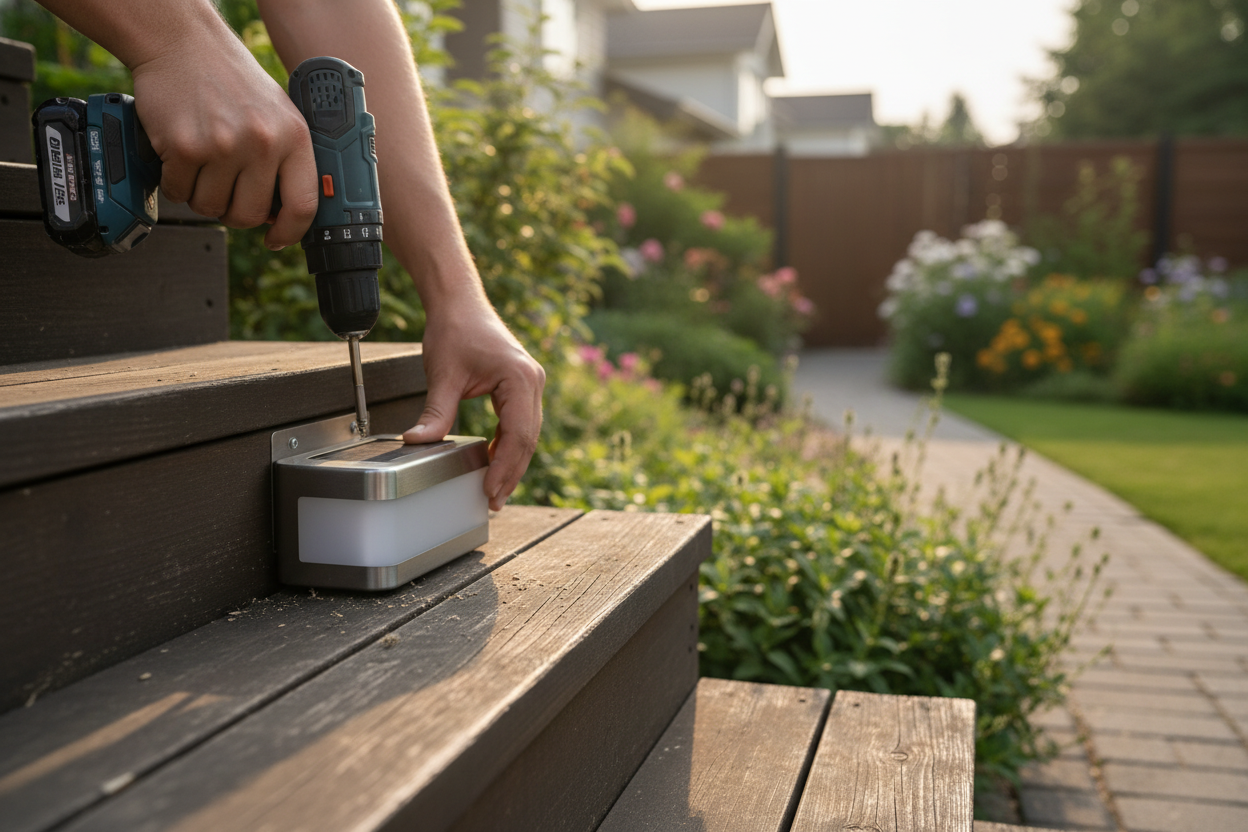
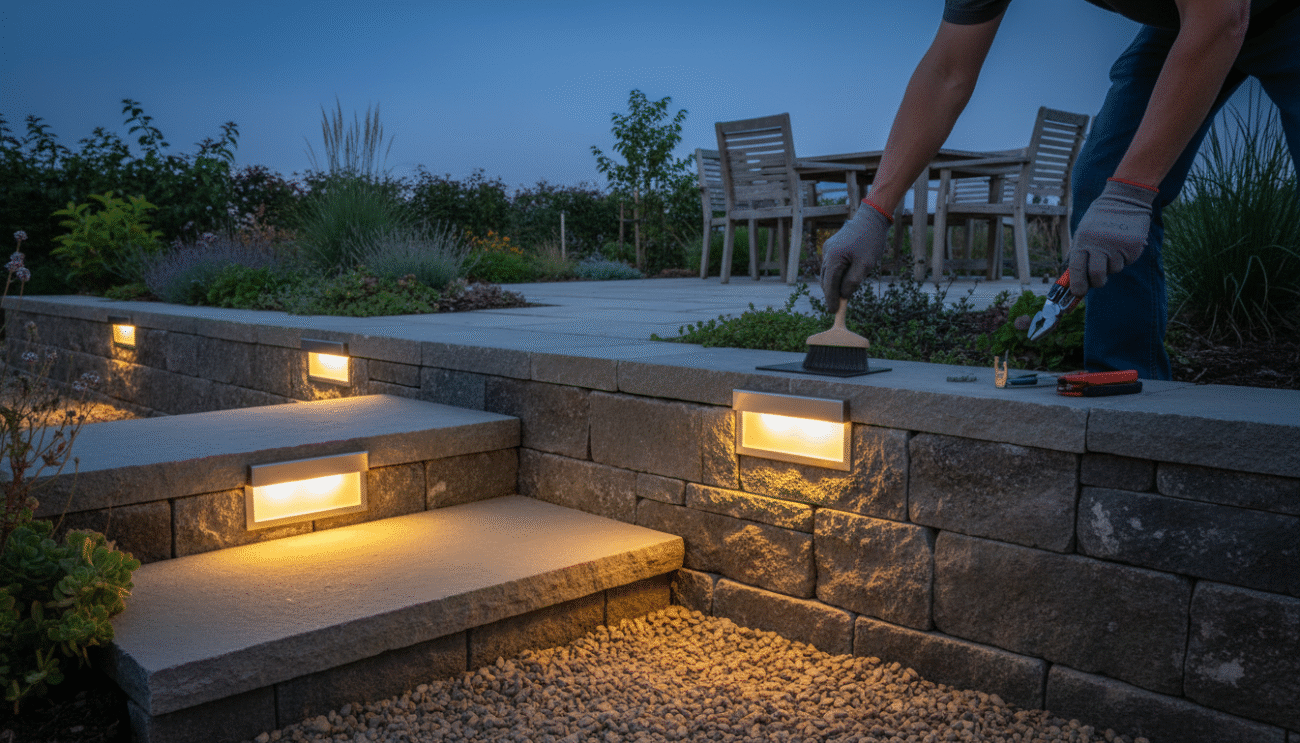
Preparing the Wall Surface
To kick things off, you’ll need to get the wall ready. Cleaning it up helps the lights stay put and last longer. Here’s what you should do:
- Brush off any dirt, dust, or loose stuff from the wall.
- Wipe down the area where you want each light with a cloth.
- Mark each spot so the lights are spaced evenly.
- Drill holes at the marks. Make sure they’re deep enough for the lights.
- Double-check the holes line up straight. It’ll keep your wall looking neat.
Tip: If you see cracks or damage, fix ’em before adding any lights. A strong wall keeps your lights safe.
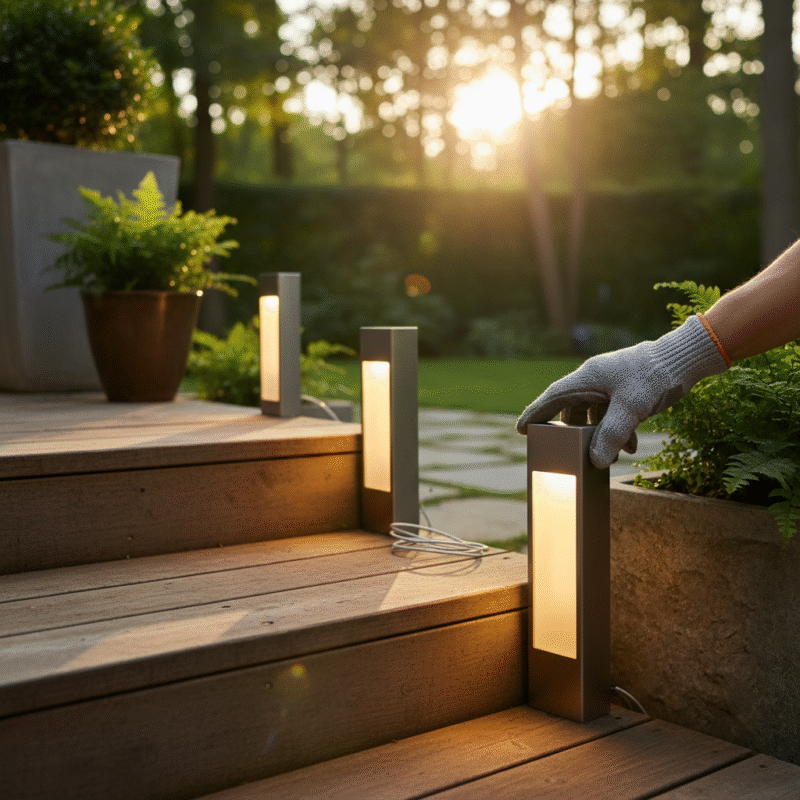
Installing Solar Lights
Now you can put the solar lights in. How you attach ’em depends on what your wall’s made of. Here are a few ways to do it:
- Use moisture cure adhesive like polyurethane construction adhesive for a strong hold.
- Try epoxy systems and anchors if you want the lights to stay extra secure.
- You can make a bracket from material that doesn’t rust and glue it to the wall with epoxy if you want to remove the light later.
- Attach a small piece of wood to the block with polyurethane glue, then screw the light onto the wood.
- Use outdoor caulking or adhesive that sticks to both concrete and the light.
Put the light in place and press down hard. If you’re using glue, wait as long as the package says for it to dry. For block walls, you can use concrete nails or anchoring screws. Always read and follow the instructions that come with your lights.
Note: Even spacing between lights makes your wall look nice and bright. Plan where you want each light before you start.
Securing Fixtures
You want your lights to stay safe from the weather—and from anyone who might try to walk off with them. Here are a few ways to keep everything secure:
- Use bolts, nuts, and screws that are tough to remove.
- Weld or lock bolts in place if you’re after extra safety.
- Go with strong steel poles instead of aluminum for lights in the ground.
- Set poles deep into concrete, about 3 to 4 feet down.
- Use heavy-duty covers for any parts that are easy to reach.
- Hide the lights so they’re harder to spot.
- Put anti-climb paint on poles if you’re worried about people scaling them.
Make sure every light is tight and doesn’t wobble. That helps your lights hold up through wind, rain, and snow.
Tip: Place each light where it gets 6 to 8 hours of sun a day. Clean the solar panels regularly so they keep working well.
Testing and Adjustments
Once you’re done, test each light to make sure it works. Here’s what to do:
- Let the solar lights charge in the sun during the day.
- Check them at night to see if they turn on and shine bright.
- If a light doesn’t work, clean the solar panel and check the battery.
- Look at the wires and sensors for any issues.
- Move the solar panel to get more sun if you need to.
- You can use shiny surfaces nearby to help the panel catch more sunlight.
- Make sure water can drain away so it doesn’t pool around the light.
Common problems include dirty solar panels, old batteries, or broken sensors. You can fix most of these by cleaning, swapping out batteries, or moving the light.
Note: Check your lights often and fix problems quickly to keep your wall bright and safe.
Table: Quick Troubleshooting for Solar Retaining Wall Lights
|
Problem |
Solution |
|---|---|
|
Light not turning on |
Clean panel, check battery |
|
Dim light |
Adjust panel angle, clean panel |
|
Flickering light |
Inspect sensor, replace battery |
|
Water damage |
Improve sealing, check drainage |
And that’s it—you’re all set with the installation. Your wall looks great, and your outdoor space is safer and brighter.
Finishing Up and Maintenance
Final Checks
Now that your solar retaining wall lights are installed, it’s time to double-check everything. Walk along the wall with your checklist. Make sure each light is tight and straight. Look at the solar panels—they should face the sun with nothing in the way. Check for any loose wires or screws. Every part needs a clear label, and emergency contacts should be easy to spot. Keep your plans, warranties, permits, and parts list in a safe place. If you see damage or missing labels, fix them before you wrap up.
- Make sure all lights are tight.
- Check if solar panels get enough sun.
- Look for loose wires or broken parts.
- Review labels and emergency contacts.
- Store your papers and plans safely.
Cleaning and Adjustments
Cleaning your solar retaining wall lights helps them stay bright. Dust and dirt can block sunlight. Wipe the panels with a soft, wet cloth or paper towel. For tough dirt, use mild soap and warm water. Skip rough stuff—it can scratch the panels. Clean the lights every few months, especially after storms or windy days. Take away leaves, branches, or anything blocking the sun. If a light is dim, check the battery and clean the panel. Move the panel if shadows cover it.
Tip: Clean and adjust your lights often so they work well.
Maintenance Tips
You want your solar retaining wall lights to go the distance, right? A little care goes a long way. Check the battery every now and then and swap it out every one to three years. Good batteries make a real difference in how your lights perform. If it’s raining hard, turn ’em off to protect the battery. And when bad weather’s on the way, just bring the lights inside. Keep them away from things like lawnmowers or driveways, too. Watch for rust, cracks, or signs of water damage. If a light starts flickering, check the battery, sensor, and wires. If you spot water inside a light, seal it up. And if water tends to pool nearby, lift the light up.
Here’s a quick table for common maintenance issues and solutions:
|
Issue |
Solution |
|---|---|
|
Flickering lights |
Check battery, clean sensor, secure wires |
|
Water damage |
Reseal unit, check IP rating, elevate |
|
Battery problems |
Replace battery, monitor temperature |
- Clean the solar panels and lamps on the regular.
- Charge the batteries on a set schedule.
- Look for damage or broken parts.
- Clear away anything blocking the lights.
- Do a little maintenance every few months.
With just a bit of effort, your solar retaining wall lights will keep your outdoor space safe and looking good for years to come.
So now you know how to add solar lights to your retaining wall. The steps are pretty straightforward: pick your lights, prep the wall, install, and double-check everything. Use a checklist so you don’t miss a thing. Solar retaining wall lights make your yard safer and look awesome after dark. If you hit a snag, don’t hesitate to ask a friend or call in a pro.
Tip: Share your finished project online! You might just inspire someone else to light up their wall.
FAQ
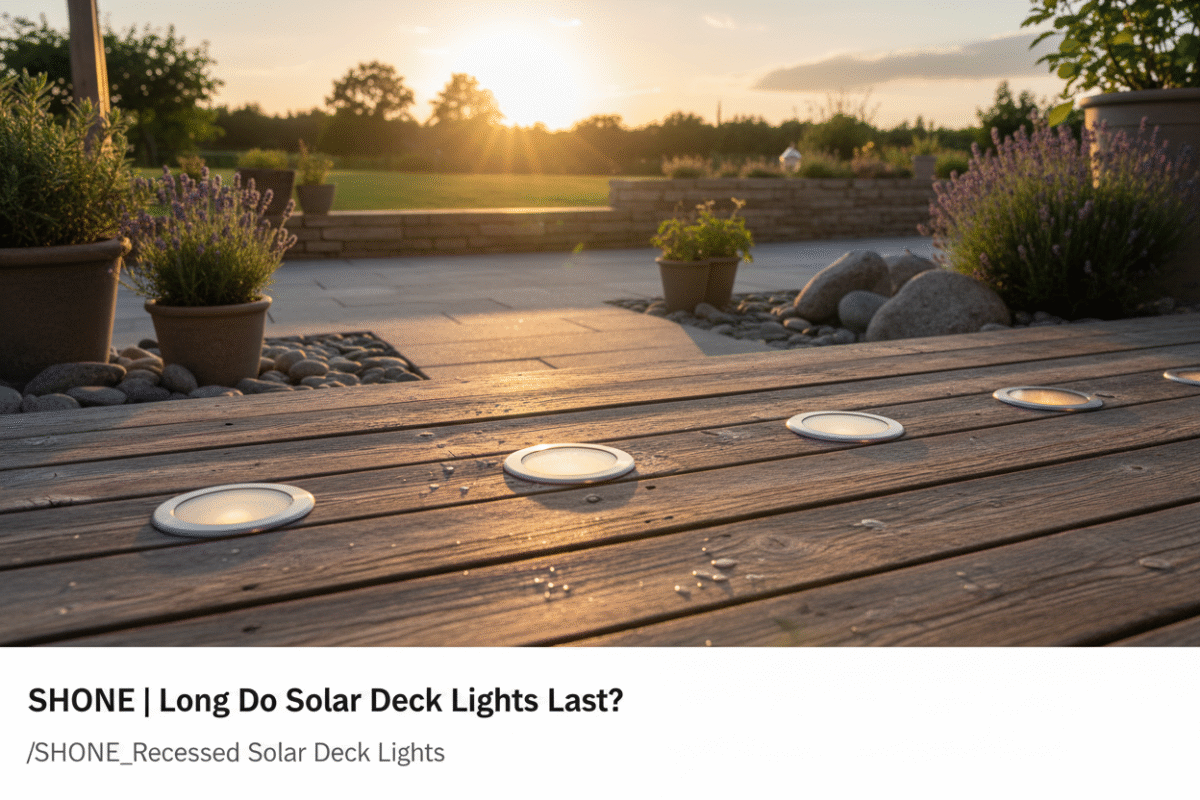
How long do solar retaining wall lights last?
Most solar lights work for 2–5 years. You can stretch that out by cleaning the panels and swapping the batteries when needed. Go for waterproof lights if you want better durability.
Can you install solar lights on any type of retaining wall?
You can put solar lights on concrete, stone, brick, or timber walls. Just pick the right mounting gear. And always check the wall for damage before you start.
Do solar retaining wall lights work in winter?
They do work in winter as long as they get enough sunlight. You might notice shorter run times on cloudy days. Just clean snow off the panels to help them charge up.
What if my solar lights are not turning on?
Try these quick fixes:
- Clean the solar panel – dirt blocks the sun.
- Check the battery – it might need replacing.
- Make sure the light gets direct sun, not shade.
- Inspect for water damage – moisture can short things out.
Can you adjust the brightness of solar retaining wall lights?
Some solar lights let you change brightness. Just check the product features before you buy. If your lights have a dimmer or multiple modes, you can set the brightness you want.