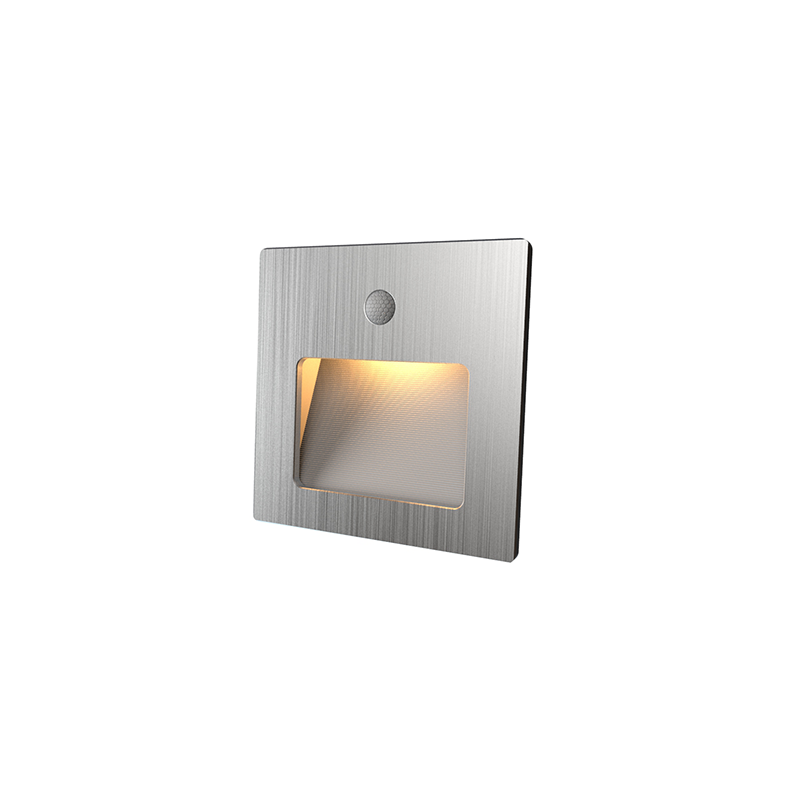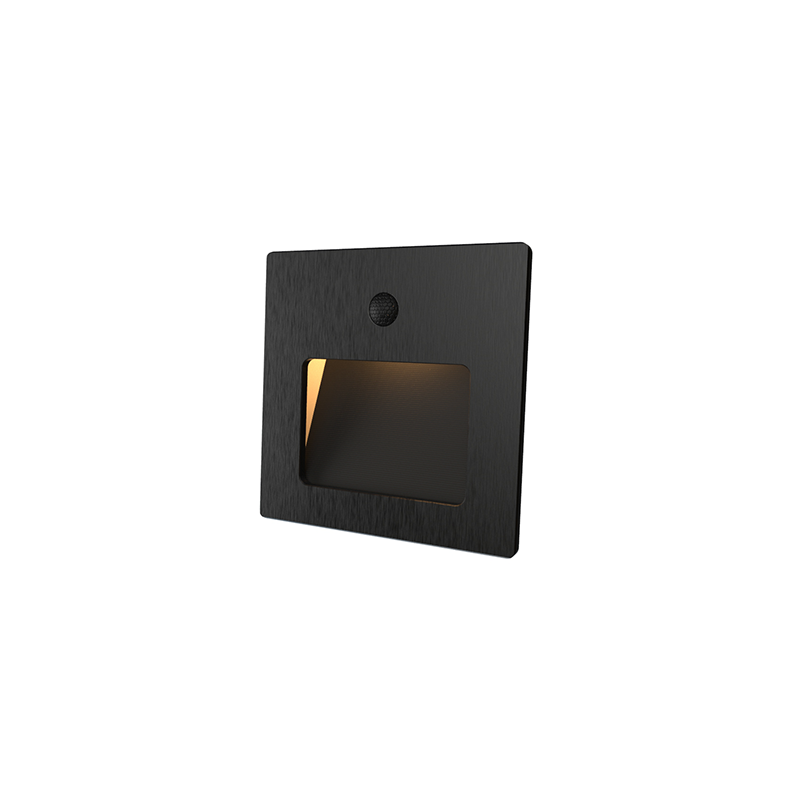
10 Inspiring Ideas for LED Stair Lights Outdoor
Outdoor LED stair lights work best when they do two jobs at once: make each step easier to read at night and support the look of the surrounding space. If you are comparing ideas, start by narrowing down the effect you want first, then check whether that approach fits your stair layout, power setup, and visibility needs.
This guide starts with 10 distinct lighting ideas so you can quickly spot the direction that fits your stairs. From there, it walks through the practical decisions that matter before you buy or install anything: which fixture type suits your structure, where lights should go on different stair layouts, whether solar or low-voltage makes more sense, how to avoid harsh glare, and how to validate your plan step by step.
10 Inspiring Ideas for LED Stair Lights Outdoor
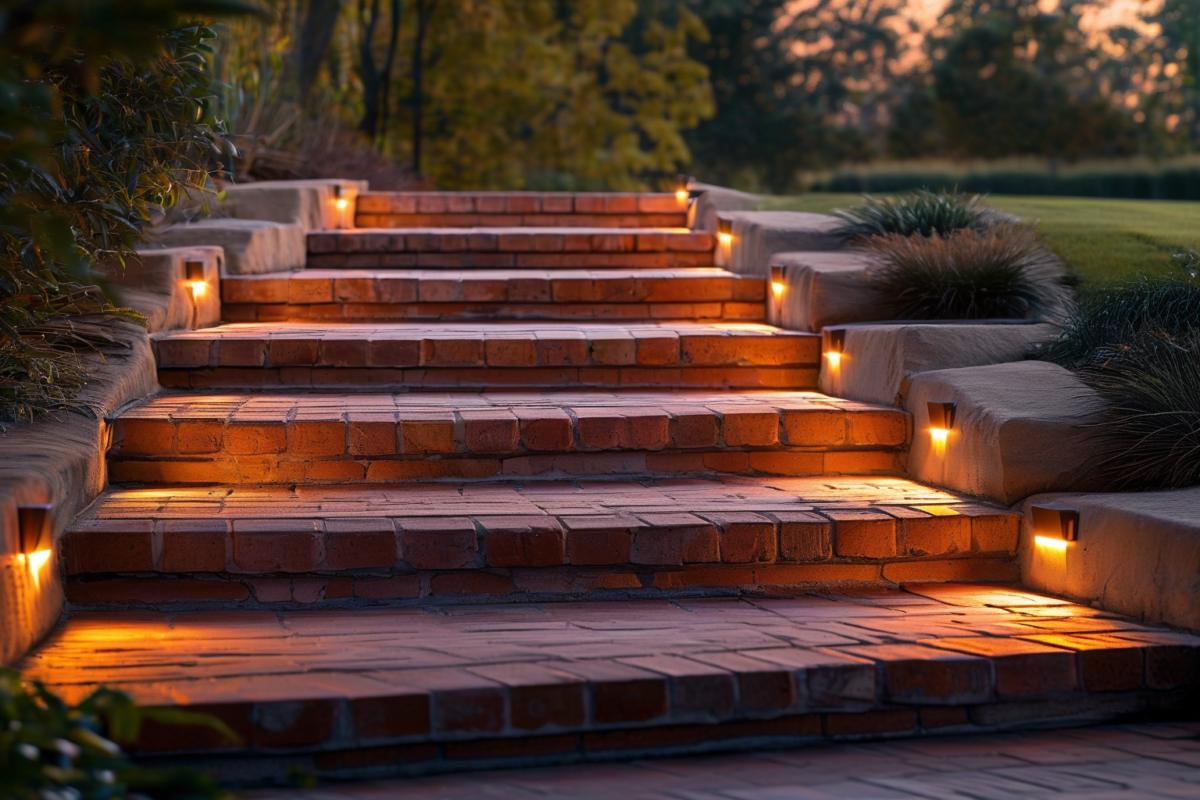
If you want the best outdoor LED stair lighting ideas to consider first, start with concepts that make each step easier to read at night while matching the look and structure of your stairs. The 10 options below give you a fast visual shortlist, with the best-fit use case and one practical trade-off for each.
1. Recessed Riser Lights
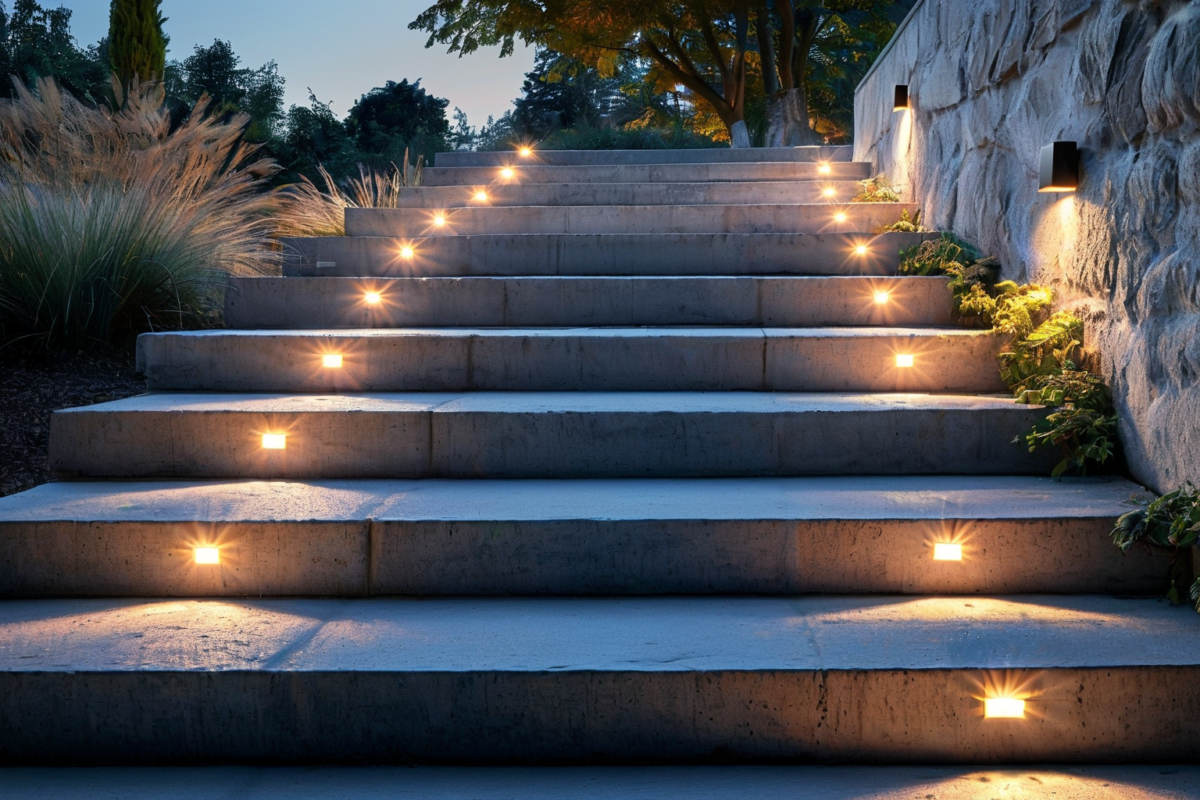
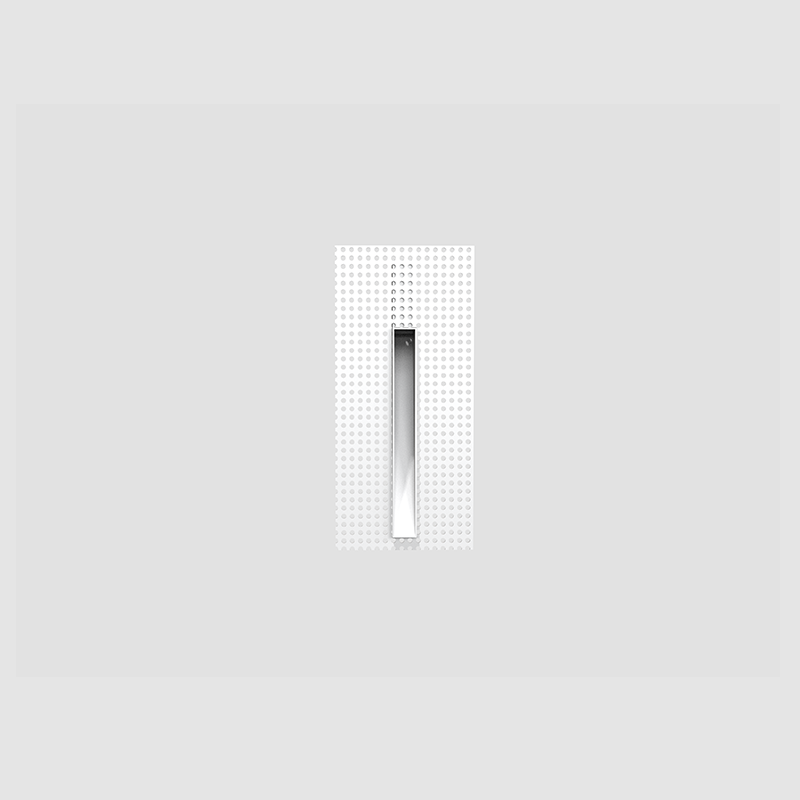
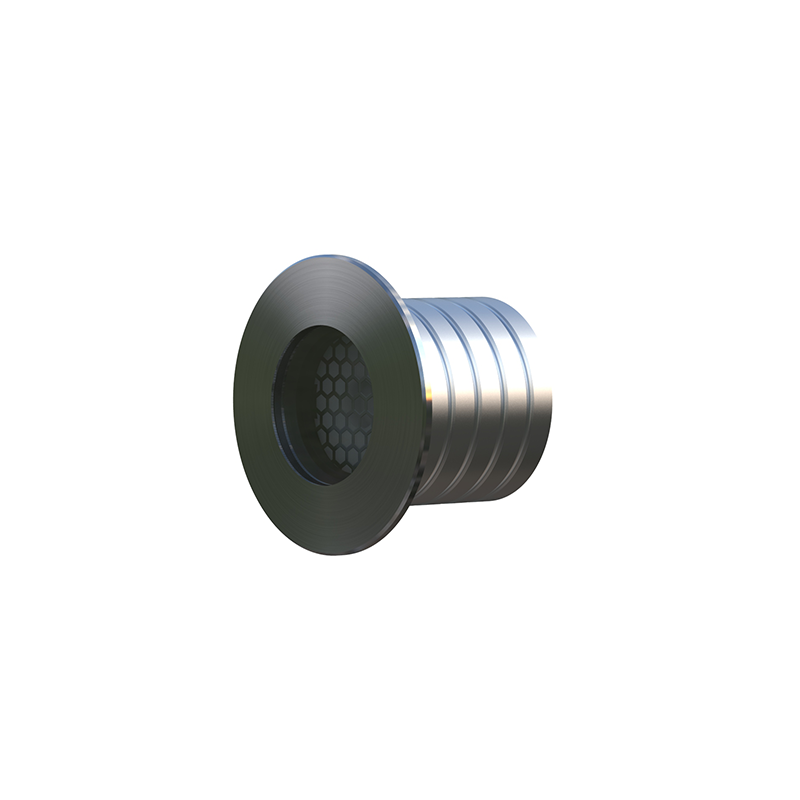
Recessed riser lights are built into the face of each riser, so the fixture itself stays visually quiet while the steps remain clearly defined. Best for: modern entry stairs, commercial patios, or outdoor steps where a clean built-in look matters more than decorative hardware. Trade-off: this subtle effect usually asks more of the stair structure than add-on fixtures, so it is smarter to verify retrofit compatibility before treating it as the easiest upgrade path.
2. Continuous Under-Step LED Strips
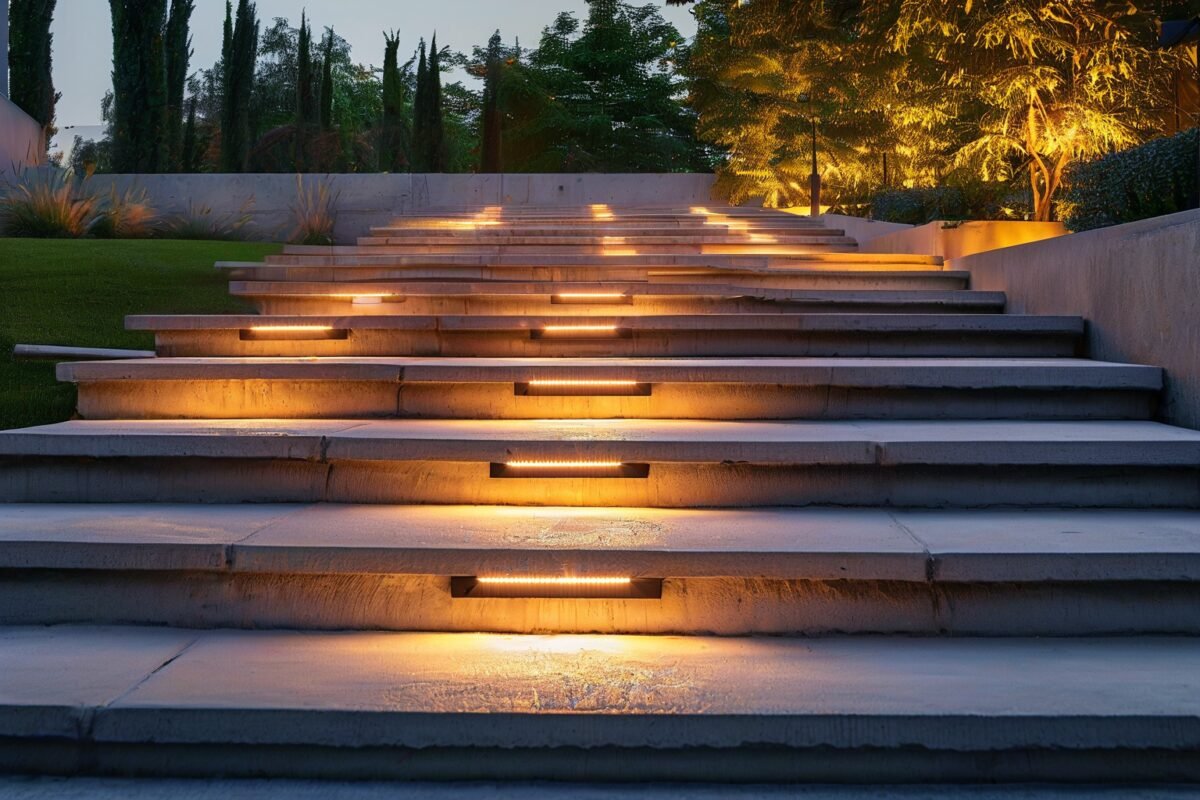
Continuous under-step LED strips tuck under the step lip to create an even line of light along the tread edge, which gives stairs a more contemporary floating-step feel than individual point lights. Best for: businesses that want strong edge definition across each step and a sleek, design-forward nighttime look. Trade-off: because the full edge lights up at once, this approach is more visually noticeable, so check that the glow stays soft rather than turning into a harsh bright line.
3. Sidewall Lights
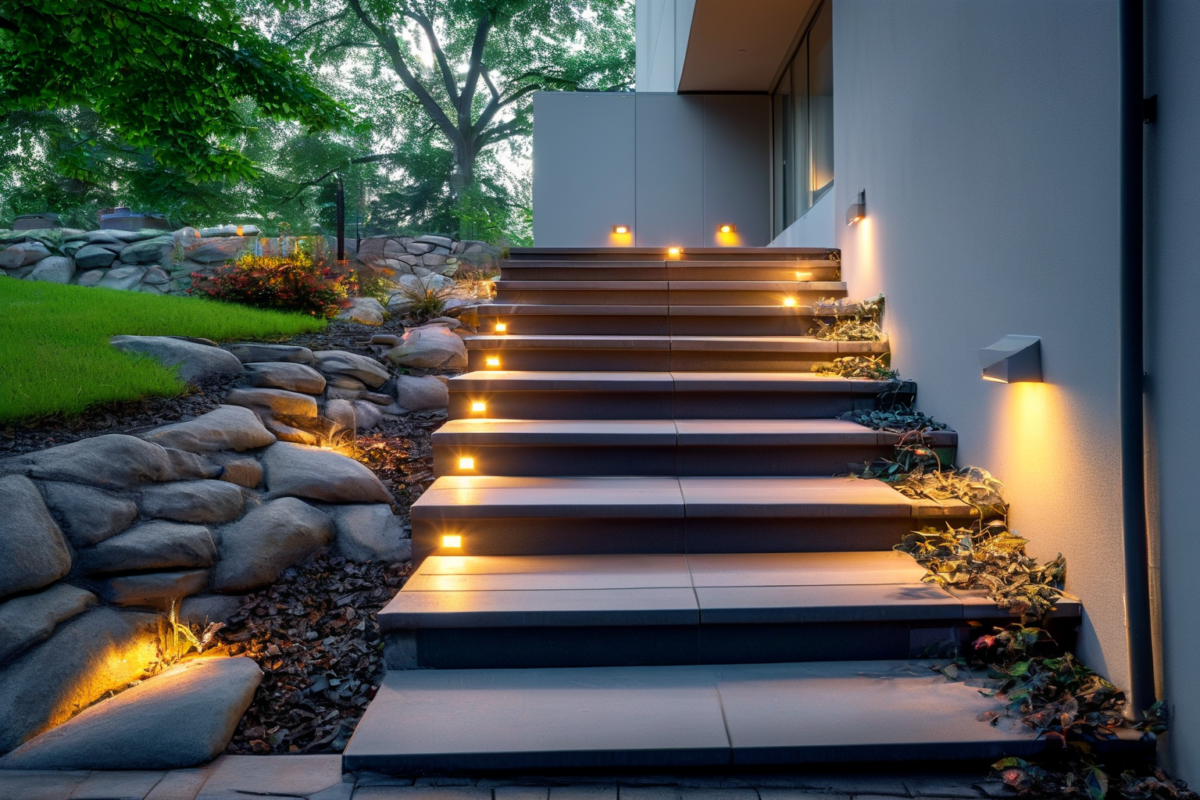
Sidewall lights mount alongside the stairs and throw light across the treads instead of directly from each riser. Best for: stairs bordered by low walls, planters, or side structures where a softer, landscape-style glow feels more natural than lighting every step face. Trade-off: this concept depends on having a useful side mounting surface, so confirm the layout actually allows cross-lighting to reach the walking surface.
4. Railing-Integrated Lights
Railing-integrated lights, including banister or banister-cap lighting, use the stair railing itself as the lighting platform. Best for: deck stairs and retrofit situations where the rail system is already in place and a cohesive add-on solution is more practical than cutting into risers. Trade-off: lighting at the perimeter can make the rails stand out more than the tread edges, so verify that each step still reads clearly from a normal walking angle.
5. Post Cap or Post-Mounted Downlights
Post cap lights and post-mounted downlights use structural posts to cast light downward onto the stair run. Best for: multi-level decks, stair entries, and outdoor spaces that already have posts in the right places to support a gentle top-down glow. Trade-off: this polished look can work well without placing a fixture on every riser, but it still needs enough spread on the walking surface, especially on wider stairs or more complex runs.
6. Single-Center Riser Lights for Narrow Stairs
A single centered light on each riser keeps the layout orderly and visually uncluttered while still marking each step. Best for: narrow stairways where one fixture per riser may be enough to define the elevation change without overcomplicating the design. Trade-off: this only makes sense when the stair is narrow enough for the edges to stay readable, so check whether the outer sides fall into shadow.
7. Multiple Riser Lights for Wide Stairs
Multiple riser lights spaced across each step give broader coverage when one centered fixture would leave dark areas across the tread width. Best for: wide outdoor staircases, gathering spaces, or business entrances where guests may approach from different angles across a broad run. Trade-off: more fixtures can create a busier visual pattern, so spacing and alignment need to feel intentional rather than cluttered.
8. Long Linear Lights for Deep Treads
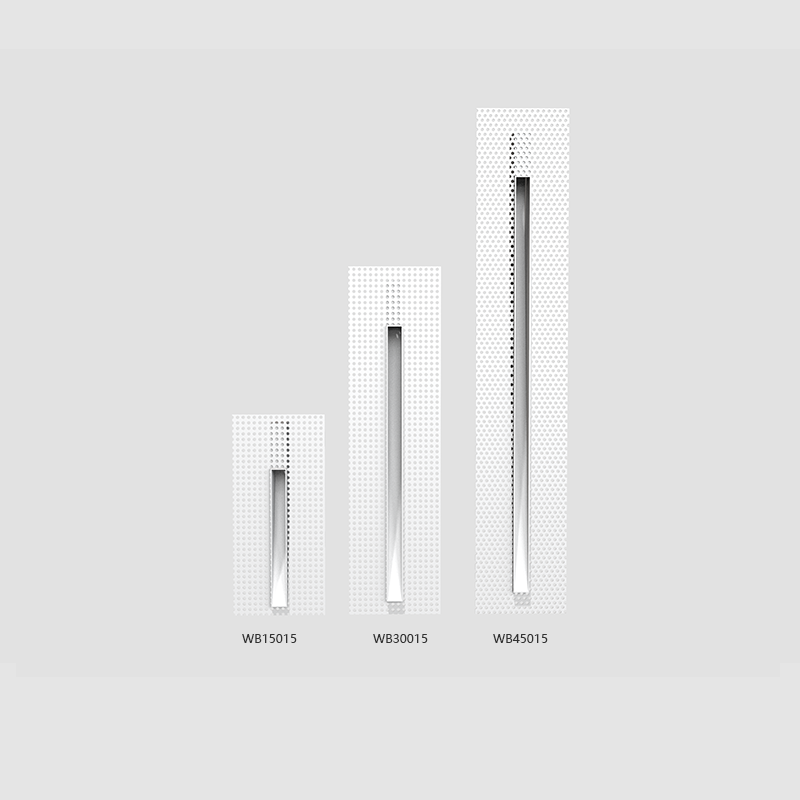
Long linear lights work especially well on deep treads, long low steps, or shallow-looking stair runs that can be hard to read at night with isolated light points. Best for: extended outdoor steps where a longer illuminated edge helps people recognize the full step length more easily. Trade-off: because so much of the edge can light up at once, restraint matters; verify that the stair stays legible without becoming an overlit focal strip.
9. Lantern-Style Side Fixtures
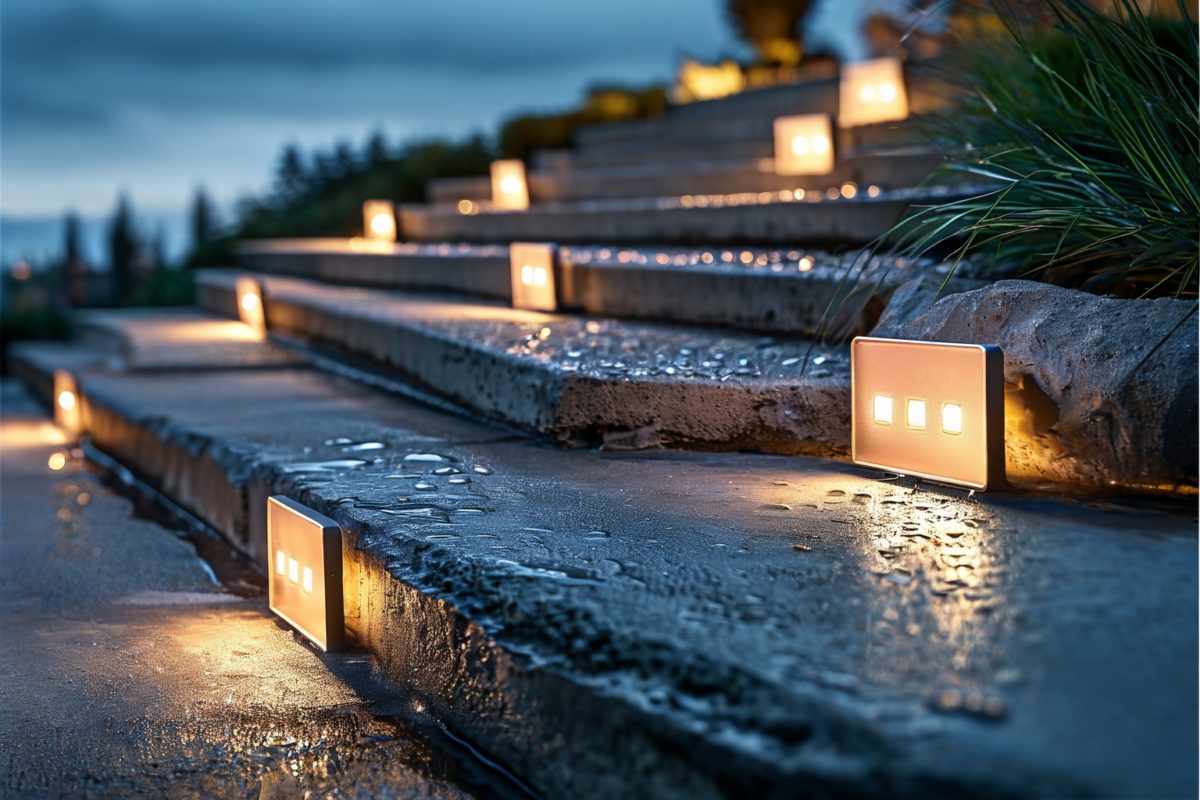
Lantern-style side fixtures make the fixture itself part of the design, adding visible character during the day as well as light at night. Best for: rustic, traditional, or hospitality-style outdoor stairs where decorative atmosphere matters alongside function. Trade-off: visible fixtures can feel bulkier and may expose a brighter apparent light source, so check shielding and sightlines to keep the effect comfortable at eye level.
10. Color-Changing Accent Lighting
Color-changing accent lighting is the boldest idea in the group, using programmable color to turn the stairs into a stronger visual feature. Best for: event-driven businesses, seasonal displays, or brand-forward outdoor spaces that want more dramatic ambiance for holidays or special occasions. Trade-off: dramatic color can compete with everyday wayfinding if overused, so make sure the stair edges still stay easy to read on a normal night, not just during special events.
What Makes Outdoor LED Stair Lighting Work Well?
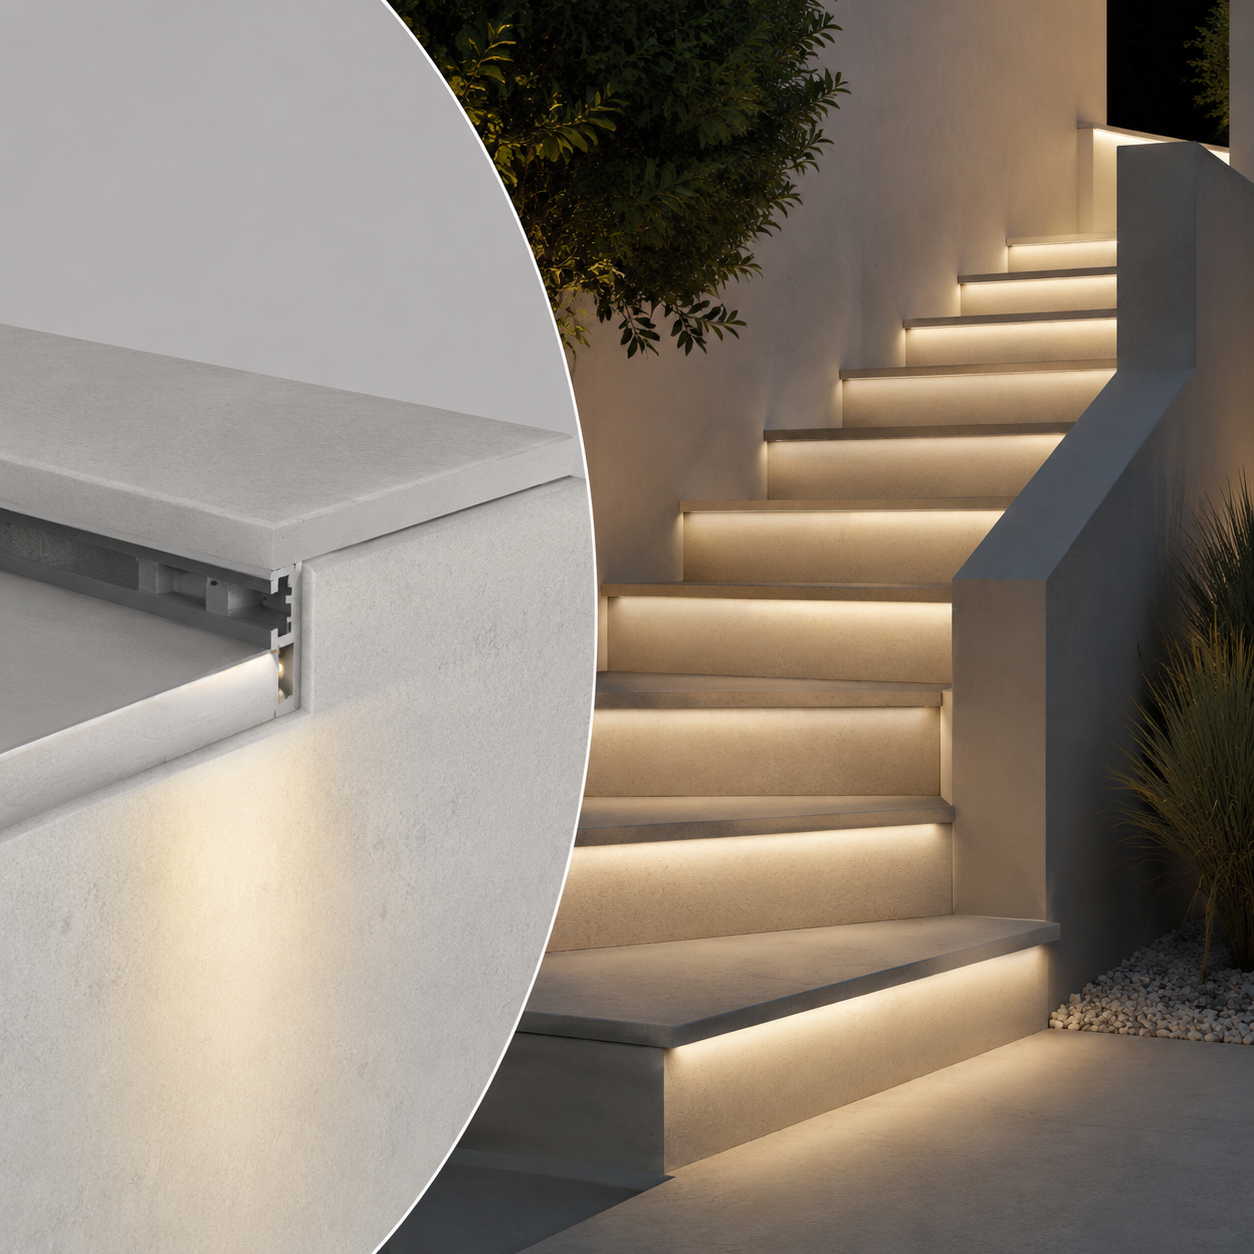
Good outdoor LED stair lighting makes step changes easy to see, helps people move comfortably at night, keeps brightness under control, and still looks like it belongs with the home or landscape. In other words, it succeeds when the stairs are readable first and attractive second without forcing a trade-off between the two.
The practical job of stair lighting is not just to make the area look bright. It is to help the eye recognize where one tread ends and the next elevation change begins so people approaching from above or below can move with more confidence. That is why broad yard illumination and useful step lighting are not the same thing. A patio, garden, or entry can feel generally lit while the actual stair edges still read poorly after dark. The better question is not “Is this area bright enough?” but “Can someone instantly understand the stair path?”
That distinction matters because more light is not automatically better. If the fixture throws light outward, leaves the bulb exposed, or floods the whole area so evenly that tread edges blur together, the stairs can feel harsher without becoming easier to use. A common failure is the “parking lot” effect: plenty of output, not much comfort. Practical outdoor stair lighting usually works better when the light is softer, directed downward, shielded, or otherwise aimed to create visibility on the walking surface instead of glare in a person’s eyes. The goal is comfortable visibility, not maximum output.
A useful way to judge any lighting idea is to run through a short site checklist before getting attached to the look. Stair width matters because a narrow run may read clearly with a simpler lighting approach, while a wider staircase often needs a stronger visual definition across more of the tread. Stair length and the number of levels matter because a short straight run creates a different visibility problem than a long stair, a series of landings, or a multi-level transition. Nearby ambient light matters because dark garden steps need a different lighting effect than front entry stairs that already sit near porch or facade lighting. Traffic frequency matters too: stairs used every evening for entry or customer access usually need a more dependable, immediately legible result than steps used only occasionally for entertaining. Weather exposure changes the standard again, since rain, snow, dirt, and general outdoor wear affect what will continue working well over time. And the stair setting changes the visual role of the lighting: deck stairs often benefit from integration with rails or posts, garden stairs often need subtle path guidance, and entry stairs usually need to feel both welcoming and clearly defined.
Layout also changes what “good” looks like even before getting into exact fixture placement. Wider stairs, long low steps, turning runs, and transitions between levels generally need more deliberate visual guidance than a short, straight set of steps. The key principle is not that every stair needs the same amount of light, but that the full path should make sense at a glance. If people can identify the walking line, the start and end of the stair, and the change in elevation without hesitation, the lighting is doing its job.
Style still matters, but it should be judged as one criterion alongside visibility and comfort, not above them. Decorative fixtures, glowing accents, and architectural effects can absolutely add curb appeal and nighttime character. The strongest ideas simply do that without hiding the step edge, creating distracting hot spots, or pulling attention away from where people place their feet. A lighting concept is working when it fits the house, deck, or landscape in daylight and still keeps the stair route easy to understand after dark.
One final boundary is important: design guidance helps narrow your options, but it does not settle site-specific requirements. Local code, permanent wiring decisions, electrical work, and exact installation details still need to be verified for the property. Outdoor suitability should also be confirmed before purchase rather than assumed from appearance alone, especially for exposure to weather. Use inspiration and design criteria to judge what should work visually, then verify what is allowed, safe, and durable for the actual site.
Which LED Stair Light Type Fits Your Stairs Best?
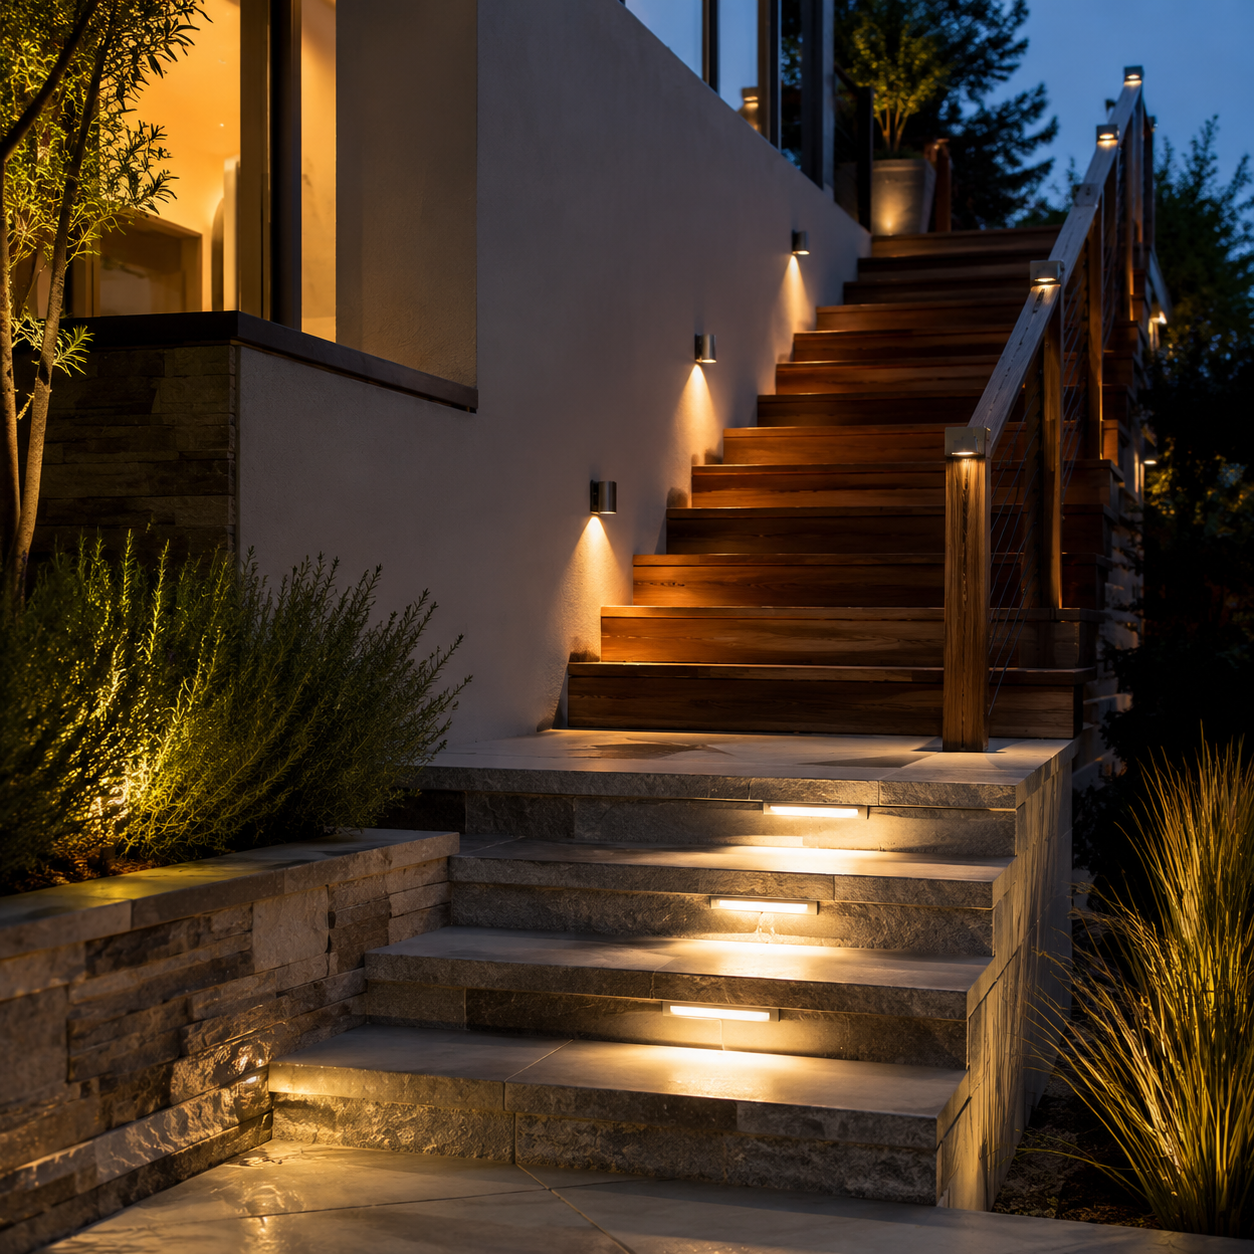
The best LED stair light type depends on what your stairs are made of, what surfaces surround them, and whether you are building new or retrofitting existing steps. There is no single best category for every project: recessed and strip lights are stronger built-in options, side lights work best when a nearby wall can throw light across the treads, and rail or post-based fixtures are often the easiest fit for deck stairs.
| Fixture type | Best-fit stair situation or structure | Lighting effect or visual look | Retrofit difficulty or built-in complexity | Main limitation, trade-off, or verification point | Source or Verification |
|---|---|---|---|---|---|
| Recessed riser lights | Standard stair runs where you want lighting integrated into the stair face itself | Sleek, subtle, built-in step-by-step definition without a prominent fixture | Usually easier to plan during new construction or a larger renovation than a simple retrofit | Wide stairs may need multiple light points across each riser to avoid dark gaps; verify that the stair width will still read clearly at night | Competitor research |
| Under-lip or under-step LED strip lights | Long steps, low steps, or projects where full tread-edge definition matters more than isolated light points | More continuous edge definition with a stronger modern or floating effect | Also tends to be easier when planned into the stair build rather than added later | A continuous look can outperform point lights on long or low steps, but verify outdoor suitability and replacement access before committing | Competitor research |
| Wall- or side-mounted lights | Stairs next to a house wall, retaining wall, or another adjacent surface that can cast light across the run | Softer cross-lighting that can stay visually unobtrusive because the fixture is off the stair itself | Can be simpler than cutting fixtures into the stairs, but only when the nearby surface is in the right position | Works only if the side surface provides useful coverage across the treads; decorative side fixtures alone are not enough if the step edges still read poorly | Competitor research |
| Railing- or banister-integrated lights | Deck stairs or stairways that already have rail structures to work with | Layered deck-focused lighting that helps define the route without centering attention on the risers | Often easier to retrofit than built-in stair-body lighting because the rail structure already exists | Best for deck-oriented layouts, but wider or visually irregular runs may still need added stair-specific lighting to define each elevation change | Competitor research |
| Post-mounted downlights | Deck stairs, landings, and multi-level outdoor areas where posts can wash light downward onto the path | Downward pools of light that feel softer and less jarring than exposed bright points | Often easier to source and retrofit on deck structures than built-in riser systems | Downward wash can mark the path well, but on wide, complex, or turning stairs it may need support from additional stair-focused fixtures | Competitor research |
If your stairs are complex, turning, or spread across multiple levels, combining fixture types can work better than forcing one category to do everything. A common pattern is to use riser or strip lighting for primary step definition, then add side lighting or post/downlights to connect the stairs to the surrounding deck, entry, or landscape. Treat fixture choice as design guidance only: actual coverage, wiring method, outdoor rating, and any site-specific code requirements still need independent verification.
How Should You Place the Lights for Narrow, Wide, Long, or Multi-Level Stairs?
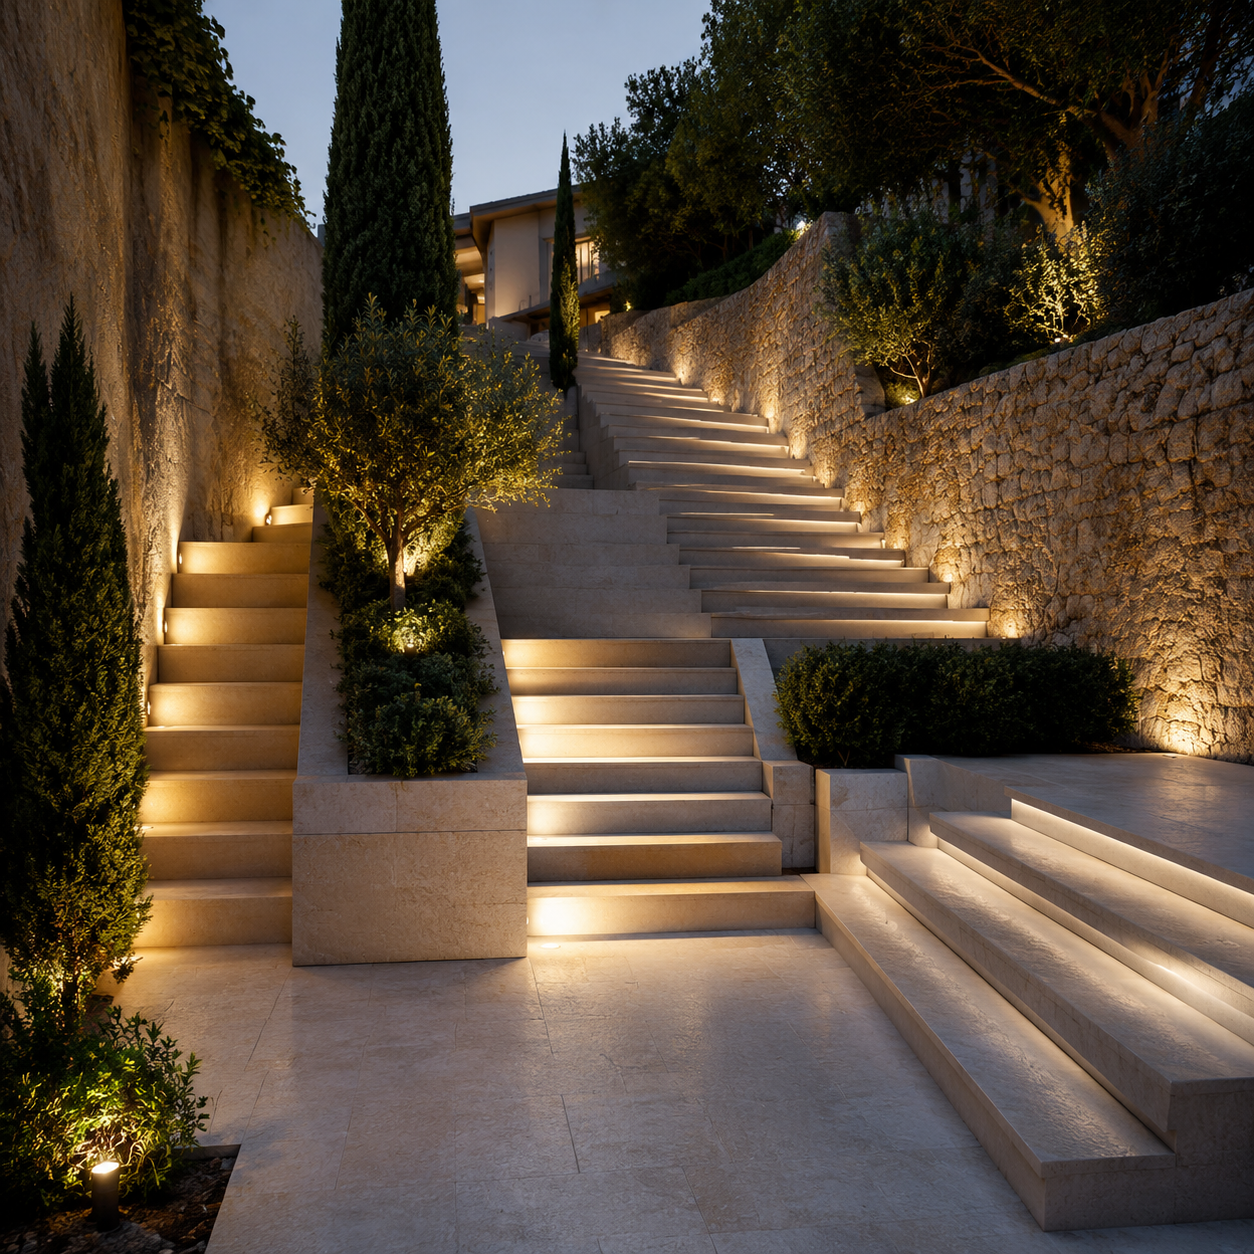
Outdoor LED stair lights should go wherever they make each change in elevation easy to read from a normal approach angle without throwing bright light into someone’s eyes. In practice, that means placing light so it lands on the tread or along the tread edge first, not outward into the viewer’s line of sight. The goal is not to make the whole area look brighter overall. It is to help people instantly understand where the next step begins, where it ends, and where the stair run changes direction. This section focuses on layout logic by stair shape and viewing angle only; site-specific electrical work, code review, and final product validation still need separate checking.
On a narrow outdoor stair run, one centered light in each riser can be enough when that single point of light defines the full tread clearly across the width. That placement often works because it creates a clean, steady rhythm from step to step without crowding the riser face. It can also keep the stairway from looking overdesigned in a compact space. But this is a conditional approach, not a universal rule. If the stairs are visually dark, the material absorbs light, or the outer tread edges disappear from common walking angles, a centered riser light may look neat while still leaving the sides harder to read.
Wide stairs usually need broader coverage across the run. A single light in the middle can make the center feel legible while the left and right edges fall into shadow or feel visually disconnected from the lit portion. On broader stairways, the placement logic shifts from creating a simple rhythm to maintaining continuous readability across more of the walking width. That is why wide stairs often call for multiple fixtures across each riser or another approach that spreads light more evenly. The sources support this concept, but not a universal spacing formula, so exact counts and intervals should be verified on the actual stair width and nighttime sightlines.
Long, low, or deep steps raise a different visibility issue: the horizontal run becomes more visually dominant, so isolated points of light may not define enough of the tread edge. In those cases, continuous or elongated lighting along the riser, or tucked under the tread lip, can make the full step line easier to read than separate point fixtures. This matters most when the danger is not a dramatic height change but a subtle shift in level that can disappear after dark. If the stair design relies on long horizontal lines, fuller edge definition is often more useful than decorative pinpoints of light.
One-sided lighting can work on simple stair runs when the light throws clearly across the treads and keeps each rise legible from the way people actually approach the stairs. Sidewall or low-wall lighting can also be a softer alternative to placing a fixture on every riser, especially when the goal is a washed effect rather than a dotted pattern of bright points. The trade-off is that side lighting usually asks more from the viewing angle. It can look less busy and more architectural, but it still needs a practical check: do the tread edges stay easy to read from the top, the bottom, and the most common path of travel?
Downward or across-tread aiming usually works better than outward-facing light because it puts illumination on the walking surface instead of in the eyes of the person using the stairs. Soft pools or washes of light tend to feel more comfortable than exposed beams aimed out or up, and they can improve visibility without creating a harsh, parking-lot effect. As a placement rule, a good location is one where the beam lands on the stair first and the fixture itself stays visually quiet. If a proposed position creates glare before it defines the step, it is probably solving the wrong problem.
Turning stairs, split runs, and multi-level deck stairs often need layered placement rather than one repeated fixture strategy. The transition at a landing, a change in direction, or a shift between deck levels can be harder to read than a straight run because users must understand both the elevation change and where the path continues next. In these layouts, a mix of riser lighting with side lighting, railing-integrated lighting, or downward post lighting can help define the transition and guide the eye to the next section. Mixed lighting approaches are especially useful when one fixture type clearly lights one part of the stair but leaves the next run or landing less obvious.
The practical takeaway is straightforward: narrow stairs may work with centered riser lights when the full tread still reads clearly, wide stairs usually need more coverage across the run, and long or low steps often benefit from continuous edge definition rather than isolated points. One-sided or sidewall lighting can work when it casts cleanly across the treads, while turning and multi-level layouts often need layered guidance to mark both the transition and the next direction of travel. Before buying or installing anything, view the stairs at night from the normal approach path and confirm two things at once: the tread pattern is easy to read, and the light is comfortable enough that it does not glare into the user’s eyes.
Solar or Low-Voltage LED Stair Lights: Which Power Option Makes More Sense?
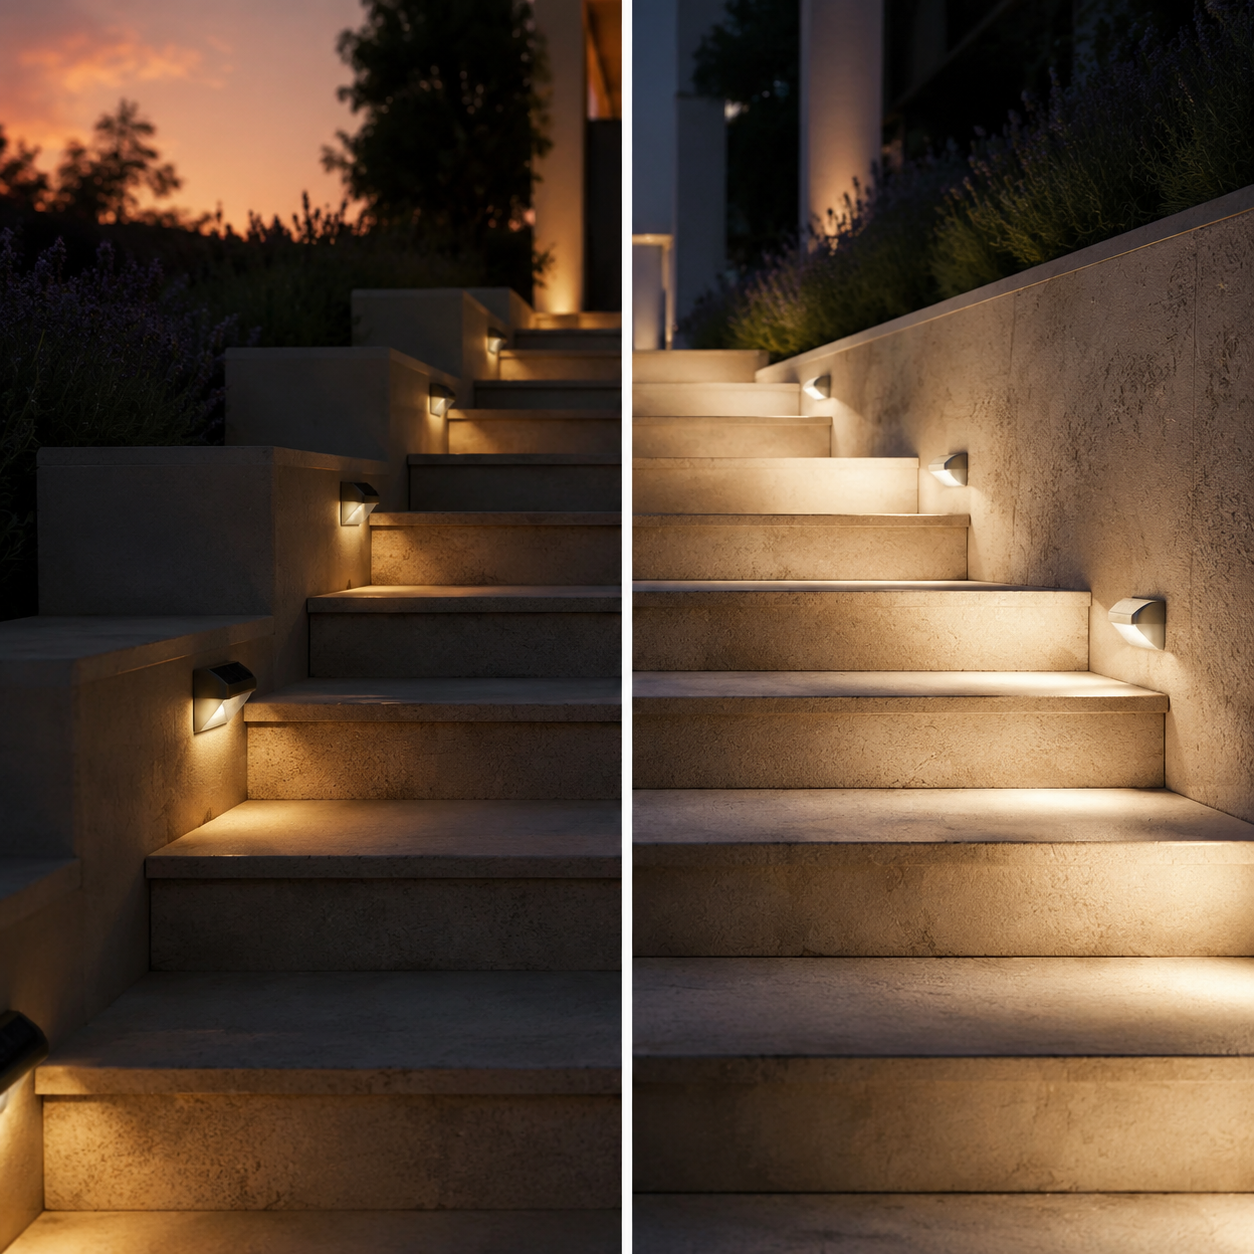
If the goal is the easiest retrofit, solar usually makes more sense because it avoids wiring. If the goal is dependable step visibility night after night, low-voltage lighting is usually the steadier choice because it requires transformer planning but delivers more consistent output. The main trade-off is simple: solar is easier to add, but it can be less bright or less dependable when the stair area does not get enough sun.
| Decision factor | Solar LED stair lights | Low-voltage LED stair lights | What to check before you choose | Source or Verification |
|---|---|---|---|---|
| Installation effort | Usually the simpler add-on because there is no wiring run to plan. | Usually takes more upfront planning because the system needs a transformer connection. | If you want the fastest retrofit, solar is the easier path. If the stairs are a high-use area, decide whether easy installation matters more than nightly consistency. | Competitor comparison; Verify site setup |
| Brightness consistency | Output depends on how well the battery charges during the day, so performance can vary. Solar can also be less bright than wired options. | More reliable for steady brightness from night to night. | For solar shopping, a practical evaluation range is about 50 to 200 lumens for step lighting, but site fit matters as much as brightness. | First-party product guidance; Competitor comparison |
| Dependence on site conditions | Works best where the stair area gets enough daylight to recharge well. Shading from rooflines, trees, or nearby structures can reduce reliability. | Less dependent on sun exposure once power planning is in place. | Look at the actual daylight the stair zone receives, not just whether the yard feels sunny overall. | Competitor comparison; First-party product guidance |
| Maintenance expectations | Avoids wiring, but long-term performance depends on battery health and charging conditions. | Shifts more effort to the initial setup rather than daily charging performance. | If choosing solar, check whether the battery is expected to support about 8 to 10 hours of nighttime operation. | First-party product guidance |
| Weather durability checks | Needs strong weather protection because the entire unit sits outdoors and must keep charging in exposed conditions. | Outdoor rating still matters, but the key difference in this comparison is power stability rather than solar charging exposure. | For solar models, IP65 or higher is a practical screening check before purchase. | First-party product guidance |
| Best fit in real use | Stronger fit for simple add-on projects where wiring is undesirable and sun exposure is favorable. | Stronger fit for stairs used often, where predictable illumination matters more than installation simplicity. | Match the power method to how critical the stairs are after dark. | Competitor comparison; First-party product guidance |
Brightness alone should not decide the purchase. A solar light that looks bright in a product listing can still disappoint on a shaded stair run, while a wired system with more planning can be the better choice for heavily used entry or deck stairs.
| Best choice if… | Recommended option | Why it usually makes sense | Verification point | Source or Verification |
|---|---|---|---|---|
| You want the easiest retrofit without opening up the stair structure for wiring | Solar | It is simpler to add because it avoids wiring runs. | Confirm the stair area gets enough direct daylight to charge reliably. | Competitor comparison; Verify site exposure |
| The stairs are used every evening and dependable visibility matters most | Low-voltage | It is typically the more consistent option for steady night-to-night brightness. | Confirm transformer planning works for the site. | Competitor comparison; Verify electrical plan |
| You have a sunny deck or garden stair and just want a clean add-on solution | Solar | It can be a practical fit when the location charges well and installation simplicity is the priority. | Check for IP65 or higher weather resistance and about 8 to 10 hours of runtime. | First-party product guidance |
| You want more controlled, predictable output for entry stairs or a frequently used path | Low-voltage | It offers more control and consistency than site-dependent solar charging. | Verify power access and layout planning before buying fixtures. | Competitor comparison; Verify electrical plan |
| You are comparing solar products and want to avoid weak performers | Solar, but only if the site supports it | Solar can work well, but weak specs can lead to disappointing overnight performance. | Use 50 to 200 lumens as a practical shopping checkpoint, then compare that against your site conditions. | First-party product guidance |
This comparison is only about power choice. Site-specific electrical requirements, permanent wiring decisions, and local code review still need separate verification for the exact property.
How to Choose the Right Look Without Creating Glare
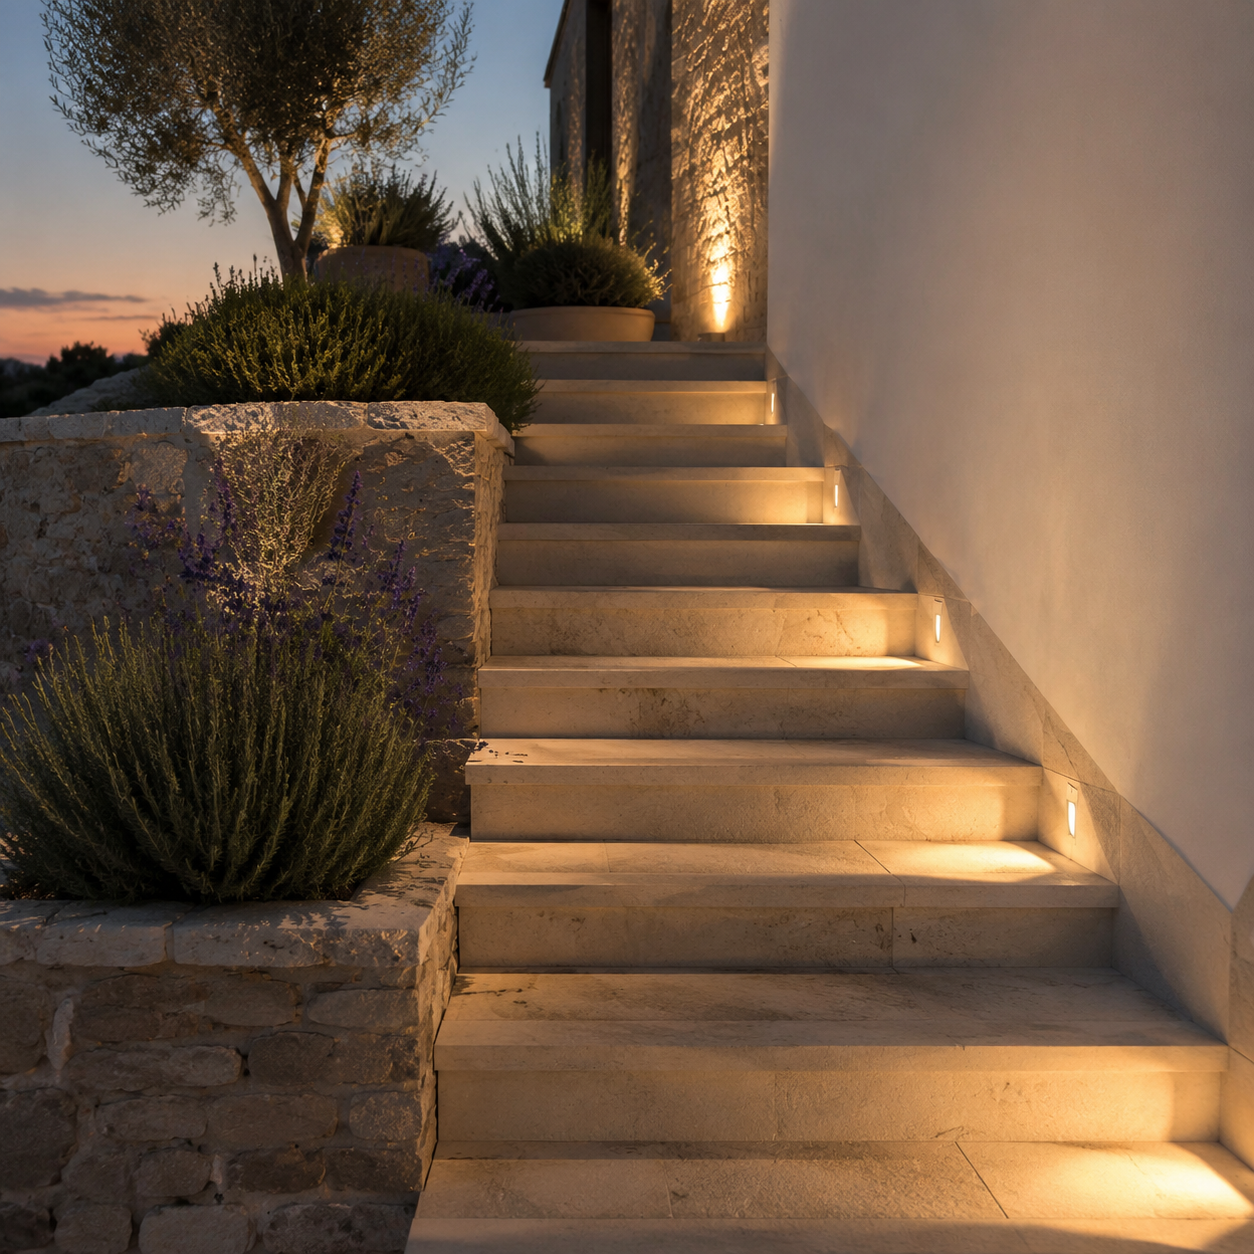
The best outdoor stair lighting style is the one that creates atmosphere without making the step edges harder to read at night. In practice, that usually means choosing a visual effect first: a subtle, downward-focused glow for everyday comfort, or a more decorative, color-forward look if the stairs are meant to be part of the scene. This section is about mood and appearance rather than power source, installation method, or exact layout.
A quieter lighting look usually works best when the goal is to make the stairs feel polished, calm, and easy to use every night. Recessed, low-profile, or otherwise discreet fixtures tend to let the stair material, deck, stonework, or surrounding landscape stay visually dominant instead of turning every light into a focal point. Low-profile faces and trims that keep the light source out of direct view also help the hardware visually recede, which supports a cleaner architectural look.
That understated approach is different from a statement look. Decorative fixtures, lantern-style side lights, or color-changing effects can add more personality and make the stairs stand out intentionally. That can be a good fit when the stairs are part of a hospitality-oriented patio, a rustic entry, or an event-friendly outdoor space. The trade-off is that a bolder look can become visually busier, and if the bright point or bulb is too exposed, the stairs may feel harsher to walk than they looked in a product photo.
Warm light usually feels more welcoming than dramatic. For many entry, deck, and gathering areas, warm white in roughly the 2700K-3000K range is a practical design starting point because it tends to read as inviting rather than clinical. That is not a universal rule, just a useful style direction when the goal is comfort and hospitality. A more dramatic accent effect can still work, especially with visible decorative fixtures or color-changing scenes, but it makes sense to ask whether that mood helps the stairs on an ordinary weeknight or mainly for occasional entertaining.
Downward or shielded light usually feels softer because it puts light where people actually look when using stairs: on the tread surface and step transitions. Glare is the harsh, uncomfortable feeling you get when the light source itself is too visible or aimed too directly at your eyes. When the beam is directed down or across the tread instead of outward, the stairs can feel easier to read without seeming overly bright. Louvered or directional trims help by keeping the diode out of normal sightlines, so comfort comes more from shielding the source than from simply adding more brightness.
Decorative fixtures still have a place when used deliberately. Lantern-style side fixtures and other visible lights can bring daytime character as well as nighttime ambiance, especially in traditional or rustic settings. They work best when the design softens or hides the bulb from direct view, which helps preserve the decorative effect without turning the stairs into a row of exposed bright points.
Here is a simple style matcher for common outdoor settings:
| Setting | Best visual direction | What to watch for | Source or Verification |
|---|---|---|---|
| Modern stairs | Recessed, linear, or low-profile lighting that visually disappears into the structure | Avoid exposed bright dots that interrupt a clean design | First-party design guidance and competitor examples |
| Rustic or traditional stairs | Lantern-style or other visible decorative fixtures that add character | Verify the bulb or brightest point is not directly visible at walking angles | Competitor examples; verify on site |
| Deck stairs | Understated downward or integrated lighting that supports conversation and entertaining | Avoid making the stair run brighter than the rest of the deck | Competitor examples |
| Garden stairs | Soft side-cast or pooled light that blends into the landscape | Check that the glow defines the route without making the area feel overlit | Competitor examples; verify at night |
| Front entry stairs | Warm, welcoming light that makes the approach feel intentional and easy to read | Warm white is often a good fit, but verify the effect with your entry materials and nearby porch lighting | First-party design guidance and competitor examples |
Before finalizing the look, make a few style checks:
- Can the step edges still be read clearly from normal walking approach angles?
- Is the light source hidden, shielded, or softened enough to avoid eye-level harshness?
- Does the mood fit everyday use, not just parties or holiday scenes?
- Does the fixture style still look intentional in daylight, when the lights are off?
- For exterior use, has the fixture been verified as weatherproof or IP65-rated instead of assumed to be outdoor-ready because it looks durable?
The right look should feel intentional in the daytime and comfortable at night. If the stairs look attractive but the light source keeps pulling attention into your eyes, the style is probably too exposed. If the stairs glow softly, the hardware recedes, and the walking surface remains easy to read, the design is doing both jobs well.
Step-by-Step Checklist to Validate Your Outdoor LED Stair Lighting Plan
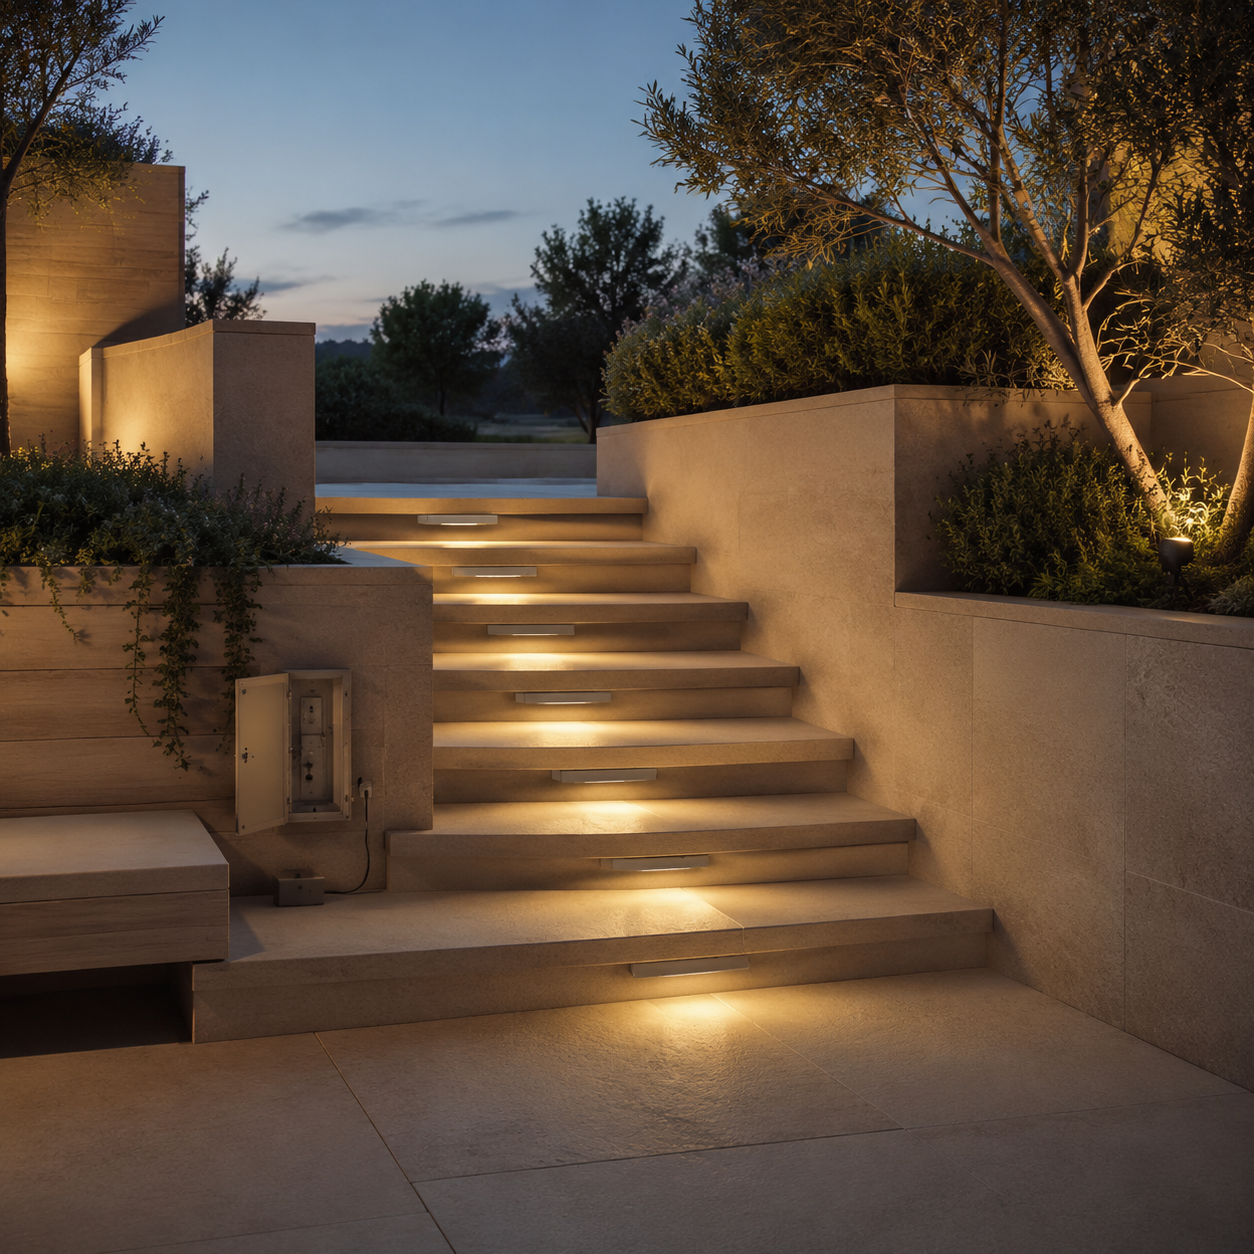
Yes: you can verify whether an outdoor LED stair lighting idea will work before you buy anything by running a simple six-step site check. The goal is to confirm fit, function, nighttime readability, outdoor suitability, and maintenance access in that order so an attractive concept does not turn into a poor retrofit or a frustrating safety compromise.
- Measure the stairs and nearby mounting conditions first. Record the stair width, tread depth, riser faces, railing or banister locations, any sidewalls, and the nearest realistic power access point. This gives you the physical limits of the project before you start comparing products. In practical terms, width affects whether a single light point may be enough or whether broader coverage is more realistic; tread and riser dimensions affect whether a built-in fixture can physically fit; railings and side structures may create alternate mounting opportunities; and nearby power access helps you judge whether a wired plan is realistic or whether a simpler retrofit approach may be easier to validate.
- Choose the stairs’ primary job before choosing the lighting approach. Decide whether the main need is entry safety, deck entertaining, pathway navigation, or decorative accent. This matters because success looks different depending on the use case. A stair run used every night for entry or circulation usually needs dependable guidance and clear step definition, while a lightly used entertaining area may place more value on ambiance as long as basic visibility is still there. Picking one main job first helps prevent a visually appealing idea from underperforming where the stairs are actually used most.
- Match the fixture category to the structure and retrofit limits. Use the site conditions you measured to narrow the concept to fixture types the stairs can actually support. If the risers can accept built-in fixtures, recessed-style lighting may be practical. If there is an under-step lip, a linear or under-edge approach may make more sense. If sidewalls exist, cross-lighting from the side may be easier to validate. If the stairs are part of a deck with posts, rails, or banisters, rail-integrated, cap, or post-downlighting concepts may be more retrofit-friendly. This is also the point to be honest about project timing: some ideas are easier during new construction or renovation, while others are better suited to an existing stair update.
- Mock up likely light positions and test nighttime readability before purchase. Preview the probable fixture locations with temporary lights, clips, or even a simple visual stand-in after dark. Then ask one question: can every change in elevation still be read clearly? Check this on the actual stair shape, especially if the run is narrow, wide, long, low, turning, or split across multiple levels. A centered riser light may be enough on a narrow stair, but a wider run may need broader coverage. Long or low steps often need more continuous edge definition than isolated light points. During the mock-up, also check comfort: the light should land on the walking surface or wash across the tread, not shine straight into people’s eyes.
- Confirm outdoor suitability and independently verify any electrical or code issues. Before treating the plan as ready, confirm the fixture is intended for outdoor use and suitable for the weather exposure at that location rather than assuming it is outdoor-safe based on appearance alone. If the plan involves permanent wiring, structural alterations, or any work that could trigger local electrical review, verify those requirements independently. Local code expectations, wiring rules, and permit needs can vary, so this checklist can help you flag the issue but cannot replace site-specific review.
- Plan maintenance access before you commit to the layout. Make sure the final concept still allows practical access for cleaning, replacement, and wiring inspection where applicable. Outdoor stair lighting collects dirt and debris, and any component can eventually need service. A good-looking built-in or side-mounted layout can become a bad decision if the fixtures are difficult to reach once everything is in place. As a final check, confirm that the selected positions remain accessible on deck stairs, wall-side layouts, and more integrated designs so upkeep stays manageable over time.
| Validation question | What to confirm | Source or Verification |
|---|---|---|
| Do the stairs physically support the idea? | Width, tread, riser, railing, sidewall, and power conditions fit the concept | Site measurement |
| Does the lighting match the real use case? | Safety, navigation, entertaining, or accent is prioritized clearly | Site needs review |
| Will the steps read clearly at night? | Every elevation change stays legible in the mock-up | Nighttime mock-up |
| Is the fixture appropriate outdoors? | Product is specifically intended for outdoor exposure | Product documentation |
| Is additional review needed? | Permanent wiring or local code questions are checked independently | Verify locally |
| Can you maintain it later? | Cleaning, replacement, and inspection remain practical after install | Access check |
Use the checklist in sequence. If a lighting idea fails at any step, revise the concept before buying rather than trying to force a fixture type or layout that does not match the stairs.
Common Outdoor Stair Lighting Mistakes to Avoid
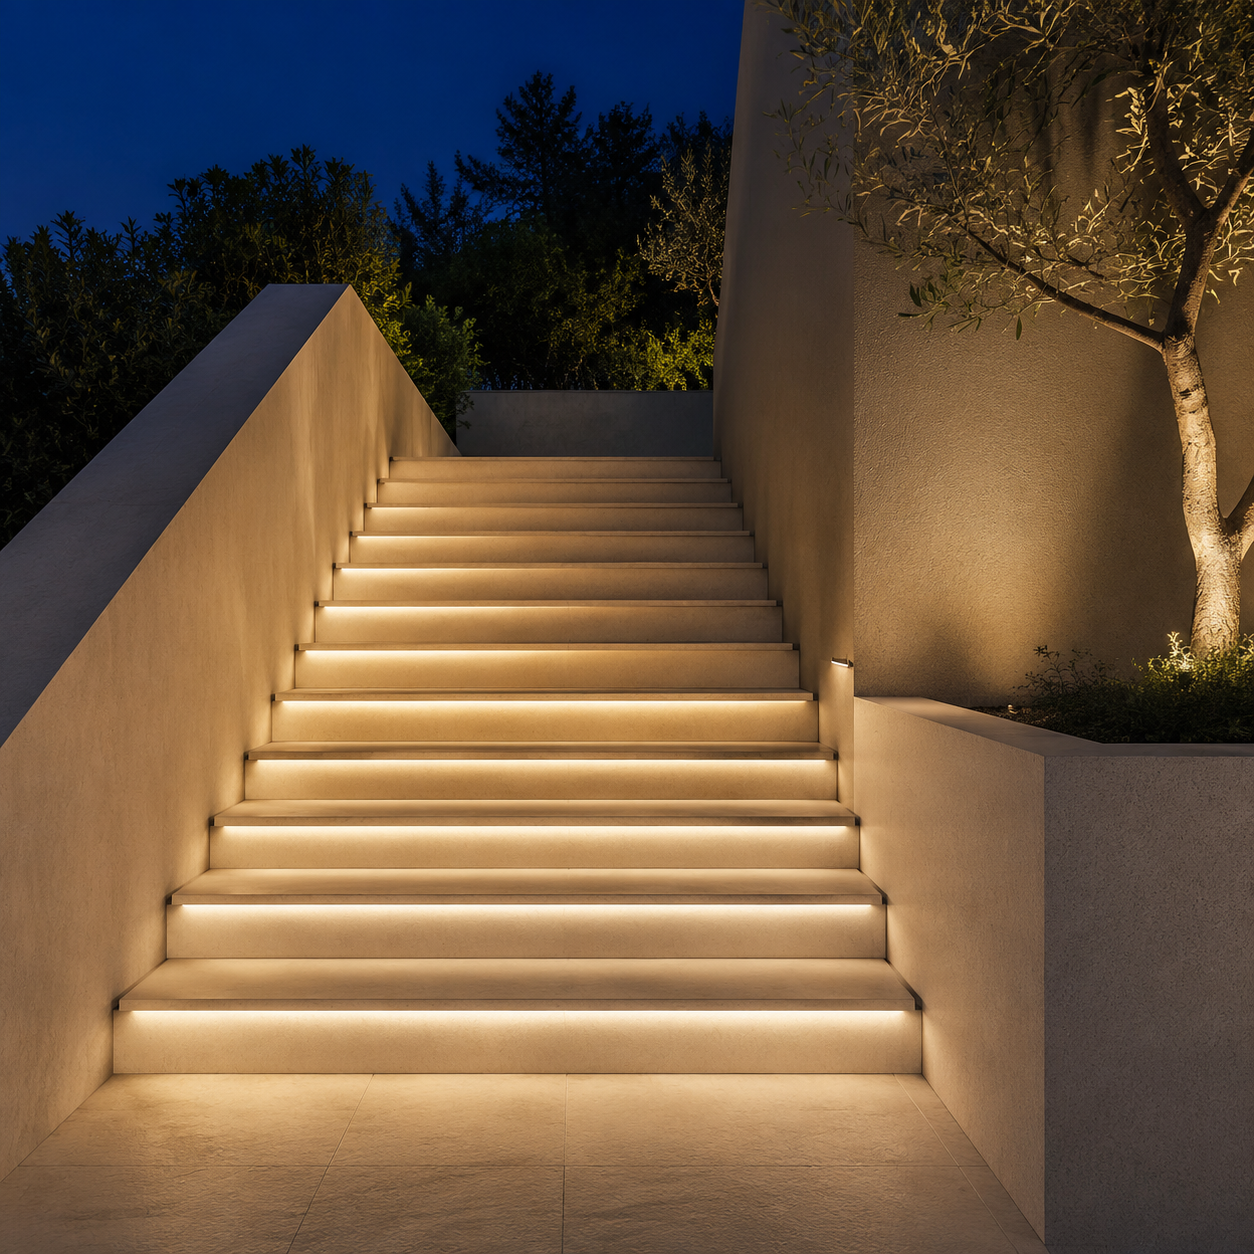
What usually goes wrong with outdoor LED stair lights is simple: the setup looks good in a product photo or daytime walkthrough, but it does not help people read each step clearly and comfortably at night. The biggest mistakes tend to create glare, shadows, unreliable performance, or installation problems that only show up after purchase.
- Mistake 1: Using too much brightness or leaving the light source exposed. Brighter is not always better on stairs. The real problem is light that shines outward or upward into people’s eyes instead of onto the tread or riser. That can make the stair feel harsh, flatten the visibility of elevation changes, and create the same uncomfortable effect as an overlit parking area. A better approach is light directed downward or across the step surface so the change from one tread to the next stays easy to read from normal walking angles.
- Mistake 2: Using too few fixtures for the width of the stairs. A single light point can work on a narrow run, but wider stairs often need more than one light position across the riser or along the stair edge. When coverage does not match the width, the center may look lit while the outer edges fall into shadow. That uneven read can make the stairway feel patchy and less predictable at night. Before buying, check whether the full walking width is visible rather than assuming one fixture pattern works on every staircase.
- Mistake 3: Choosing solar lights for a low-sun location. Solar can be appealing because it avoids wiring and can be easier to add to an existing stair. The trade-off is site dependence. If the stairs do not receive enough daylight for reliable charging, nighttime performance may be inconsistent when you need it most. For a decorative accent, that may be acceptable. For an everyday safety function, it is smarter to verify sun exposure first instead of assuming solar will perform the same in shaded entries, tree-covered paths, or other low-sun spots.
- Mistake 4: Buying for looks first and ignoring outdoor suitability or maintenance access. Outdoor stair lights live with rain, snow, temperature swings, dirt, and debris, so appearance alone is not enough. A fixture that looks great on day one can become frustrating if it is not clearly rated for outdoor use or if it is hard to reach for cleaning, inspection, or replacement. A practical check is to confirm both the outdoor rating and how serviceable the location will be after installation. If maintenance access is awkward, even a good-looking design can become a long-term hassle.
- Mistake 5: Relying on decorative lighting alone. Lanterns, accent fixtures, colored effects, and general ambient glow can absolutely improve atmosphere, but they do not automatically make stair edges easier to read. This is a common problem when the area feels welcoming overall, yet the actual tread changes are still visually soft or unclear. Decorative lighting works best as a second layer, not the only layer. The path itself still needs to stay legible so users can tell where each step begins and ends.
- Mistake 6: Skipping code and installation verification for permanent electrical work. Design ideas can help narrow the right look, fixture style, and placement approach, but they do not replace local requirements or project-specific electrical review. Permanent installations may involve wiring, transformer planning, mounting conditions, or other compliance details that vary by site. Treat verification as a final boundary check before purchase or installation, especially when the system is wired rather than portable or temporary.
In short, the most successful outdoor stair lighting plans are the ones that balance style with clear step definition, realistic site conditions, and installation requirements. Inspiration is useful, but it still needs to be checked against the actual stair width, exposure, sun conditions, and permanent-installation rules before money is spent or fixtures go in.
Best LED Stair Light Ideas by Outdoor Situation
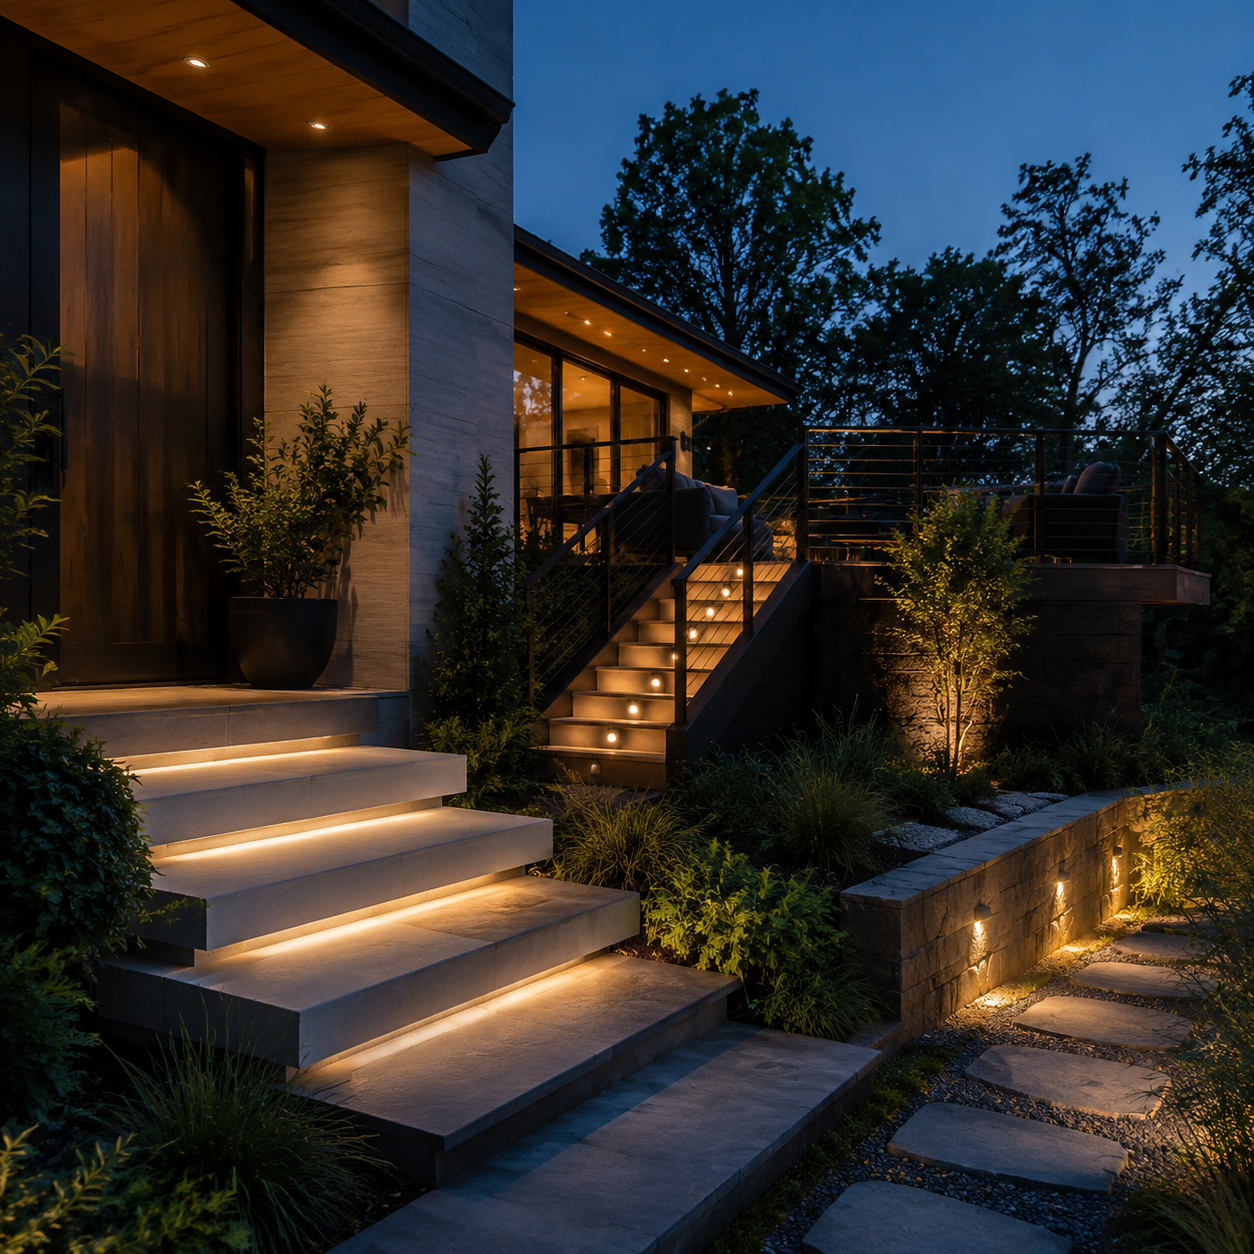
The best outdoor LED stair lighting idea depends more on the kind of stairs you have than on style alone. If you match the lighting concept to the stair setting, it becomes much easier to narrow your options quickly without getting pulled into the wrong fixture type too early.
Use this selector to shortlist the strongest-fit ideas for common outdoor stair situations.
| Outdoor Situation | Best-Fit Lighting Ideas | Why This Match Works | What to Verify | Source or Verification |
|---|---|---|---|---|
| Deck stairs | Railing-integrated lights, banister cap lights, post-mounted downlights, recessed riser lights | Deck stairs often already have rails or posts, so those structures can support a cohesive look and make retrofit-friendly lighting easier to add. Recessed riser lights are also a strong fit when you want a cleaner built-in appearance instead of visible hardware. | If the stair run is wide or visually busy, confirm the lighting still makes each tread change easy to read rather than only lighting the perimeter. | Competitor research |
| Front entry stairs | Downlighting, recessed riser lighting, decorative side fixtures | Entry stairs need to feel welcoming, but they also need visitors to recognize the top and bottom of the stair run immediately as they approach from a walkway or drive. A mix of stair-focused light and restrained decorative light usually supports both wayfinding and curb appeal better than glow alone. | Check that decorative fixtures do not expose bright bulbs at eye level and that the entry reads as inviting rather than harsh. | Competitor research |
| Garden or landscape stairs | Sidewall lights, low-wall integrated lights, sidelights, gentle downlighting | Landscape stairs often look better with softer cross-lighting that blends into planting beds, retaining walls, and outdoor rooms instead of making every step feel over-engineered. This approach can stay visually unobtrusive in daylight while still washing light across the walking surface at night. | Side lighting works best only when nearby walls or edges are positioned to throw useful light across each elevation change. | Competitor research |
| Long, deep, or irregular steps | Continuous under-step lighting, long linear riser lighting, layered edge-defining light | Long or low-profile steps can be harder to read at night when the full edge is not clearly defined. A longer line of light usually makes the change in level more obvious than isolated point fixtures, especially when the stair geometry is irregular. | Make sure the lit edge stays controlled and does not turn into an overbright strip that draws attention without improving navigation. | Competitor research |
| Multi-level or turning stairs | Mixed lighting layers such as riser lights plus side lighting, or post/downlights plus stair-specific illumination | Direction changes, landings, and segmented runs often need more than one lighting layer so people can read the current steps and the next destination at the same time. On more complex layouts, a combined approach is often more effective than relying on one decorative effect or one fixture category alone. | Stand at normal approach angles and confirm the turn, landing, and next run are all legible, not just the first visible section. | Competitor research |
The practical takeaway is simple: deck stairs usually reward retrofit-friendly rail or post solutions, entry stairs need a welcoming but clearly defined run, landscape stairs benefit from softer integrated side lighting, long steps need more continuous edge definition, and turning stairs usually perform best with layered light rather than a single lighting idea.
Outdoor LED Stair Lights FAQ
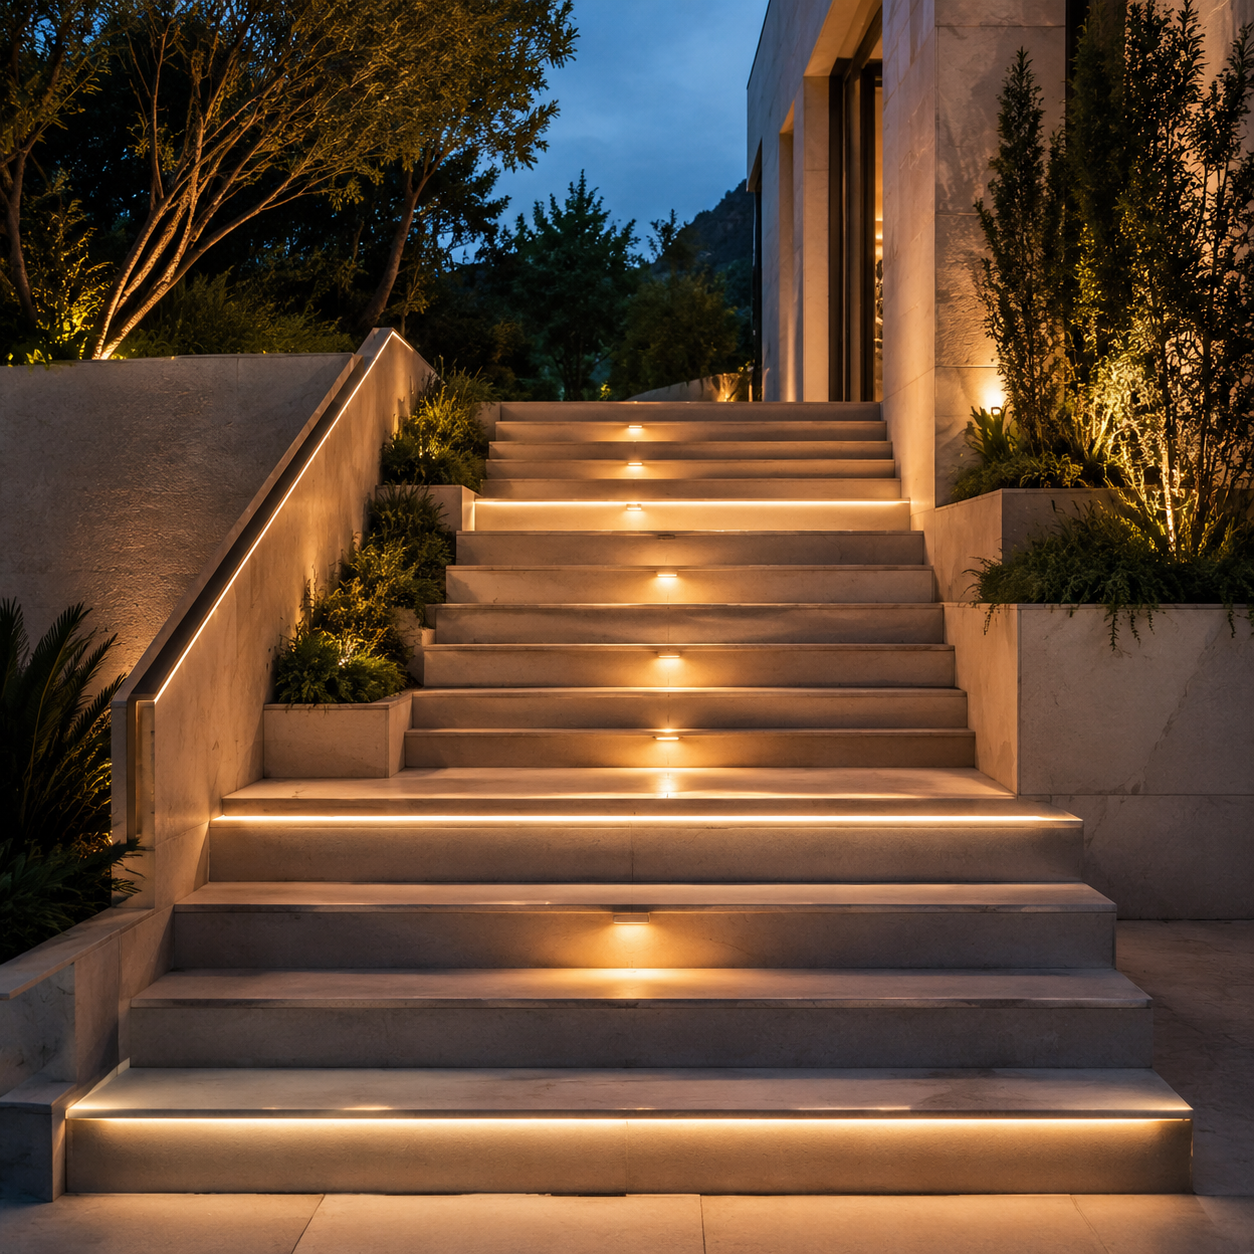
If you still have implementation questions, the short answer is that outdoor LED stair lighting usually works best when the layout, light direction, and power method match the actual stairs rather than a fixed formula.
How many LED stair lights do outdoor stairs usually need?
There is no one-count answer. The right quantity depends mostly on stair width, stair length, and whether the goal is to mark each step with individual points of light or define the full tread edge with a longer line of light. A narrow stair run may work with one centered light in each riser, while a wider run often needs multiple lights across the riser so the full step reads clearly from side to side.
Long, low, or visually deep steps are a separate case because isolated points can leave parts of the tread edge harder to read. In those layouts, a longer linear effect can make more sense than treating each step as a single point of light. You may also see a loose rule of thumb suggesting a light every two or three steps, but that is best treated as a starting idea rather than a plan. Before buying, do a nighttime mock-up or visual check to make sure no tread edges disappear into shadow.
When is one-sided lighting enough?
One-sided lighting can be enough on simpler stair runs when the light reaches across the treads and keeps every change in elevation easy to read during normal walking. This approach often works as a softer-looking alternative to lighting every riser, especially when the fixtures run along one side or are set into a low wall beside the stairs.
The limitation is that one-sided lighting is more dependent on the shape of the stairs. It is less safe to assume it will perform the same way on wide, turning, irregular, or multi-level stairs, where shadows and uneven coverage become more likely. The practical test is not whether the area looks generally lit from a distance, but whether each step is legible from the angles people actually use when going up and down.
Are solar stair lights practical year-round?
They can be, but only when the site gets reliable daily sun and the priority is easy installation without running wiring. Solar is appealing for simple retrofits, but it is not always the most dependable choice for stairs that need consistent nightly performance. The main trade-off is that solar options may be less bright than wired lighting and can be less predictable when charging conditions are weak.
For a stairway that sees regular evening traffic, verify the real sun exposure instead of assuming the location is “sunny enough.” Check for seasonal shade, nearby walls or railings that block charging, and whether dependable output matters more than installation convenience. If consistency is the higher priority, wired low-voltage lighting is generally the steadier path.
What kind of light effect feels inviting instead of harsh?
An inviting effect usually means the steps are easy to read without making the whole area feel overlit. Downward-shining, side-cast, or otherwise shielded light tends to create softer pools of light across the walking surface, which is usually more comfortable than exposed bright points aimed outward or upward.
A warm-looking glow is commonly associated with a more welcoming result, but appearance should still serve usability. Decorative color effects or very bold points of light can be visually interesting, yet they may feel less comfortable for everyday stair use if they distract from the tread edges. A good final check is simple: stand at the top and bottom of the stairs at night and confirm the light feels calm while every step remains easy to distinguish.
Can existing outdoor stairs usually be retrofitted with LED lighting?
Yes, in many cases, but the easiest retrofit path depends on what the current stair structure gives you to work with. Surface-friendly options such as banister cap lights, rope lights, and downlights built into posts are often easier to add to an existing deck stairway than recessed or integrated fixtures that need the stair body itself to be cut or rebuilt.
That does not mean built-in looks are impossible after the fact, only that retrofit difficulty increases when the design relies on recessed placement or concealed construction details. Before choosing a fixture style, verify whether there are usable railings, posts, side walls, or riser faces for mounting. Also confirm whether the look you want can be achieved without more permanent electrical work than the site can reasonably support.
The best outdoor LED stair lighting idea is the one that fits both the way your stairs are used and the conditions around them. Once you have a favorite concept, the next step is to pressure-test it against fixture type, placement, power method, glare control, and a simple pre-installation checklist so the finished result looks good and works reliably.
Use the ideas section to shortlist a few options, then move through the comparison and validation sections to decide which one makes the most sense for your specific stairs.